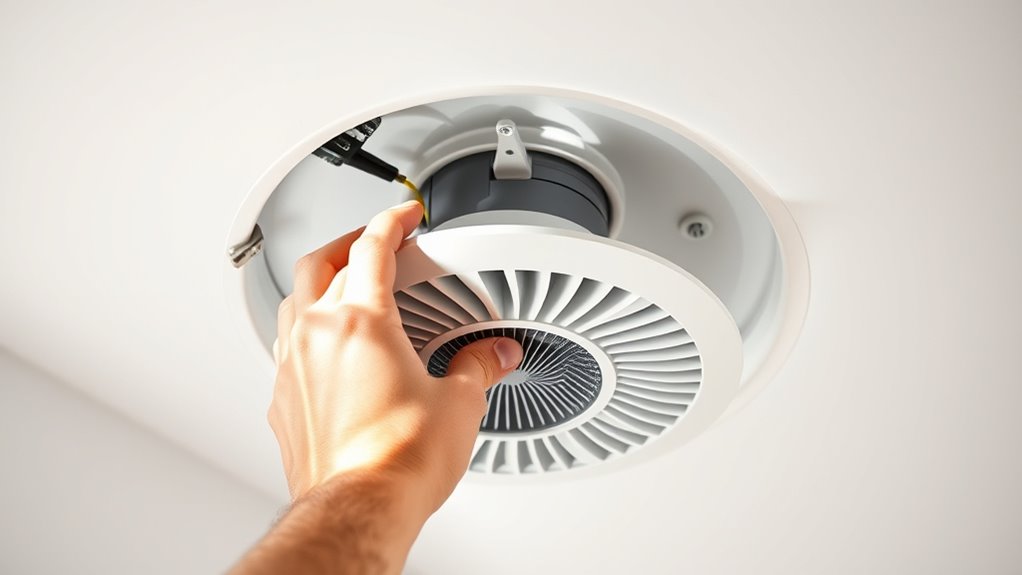
10 Easy Steps to Install a Bathroom Fan Like a Pro
Install a Bathroom Fan : If you’ve ever dealt with a steamy, stuffy bathroom that just won’t clear out, you’re not alone. Many people struggle with installing a bathroom fan that’s both effective and quiet. Finding the right fan and getting it set up properly can feel overwhelming, but it doesn’t have to be that way.
Start by choosing a bathroom fan sized to your bathroom’s square footage and guarantee it’s quiet. Gather all tools and materials before turning off the power and prepping your workspace.
Locate the ideal fan spot near moisture areas but away from doors, then carefully cut the ceiling opening.
Connect wiring safely, attach the vent duct securely, and mount the fan cover. Finally, seal and insulate around your fan for efficiency.
Keep going and you’ll master each step effortlessly.
Key Takeaways
- Measure your bathroom size to pick a fan with the right CFM and low noise for good ventilation.
- Turn off the power at the circuit breaker and double-check with a voltage tester before you start any electrical work.
- Mark, cut, and fit the ceiling opening carefully so the fan housing fits snugly and lines up with the ductwork.
- Connect the electrical wires by matching power, neutral, and ground wires securely using the right wire nuts.
- Attach and seal the vent duct with metal foil tape, insulate around the housing, and test the fan to make sure it works well.
Choose the Right Bathroom Fan for Your Bathroom Size and Ventilation Needs
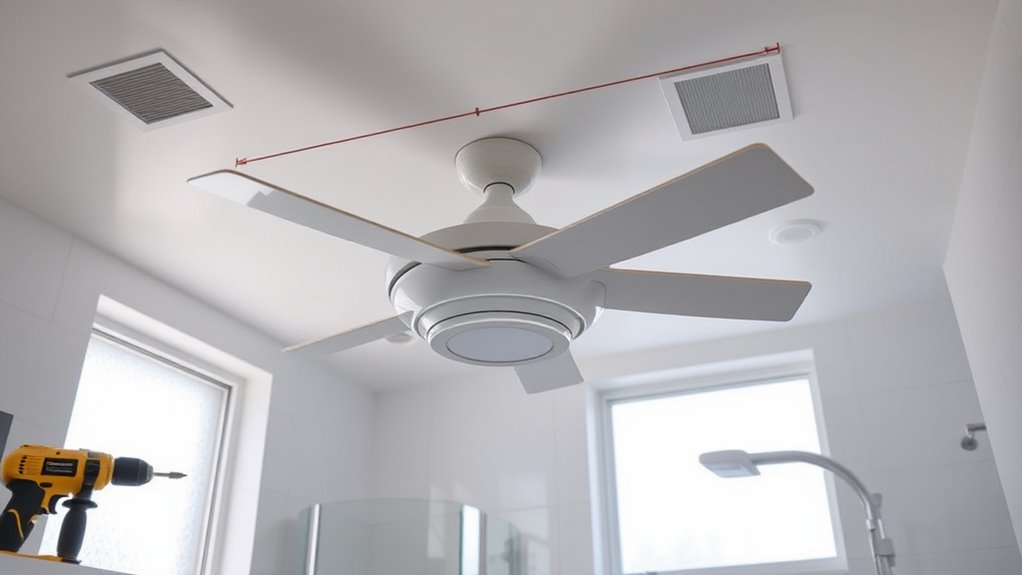
Before you begin installing your bathroom fan, you need to pick the right one for your space. Start by measuring your bathroom’s square footage to determine the required ventilation efficiency. Fans are rated in cubic feet per minute (CFM), and you’ll want a fan that can exchange the air in your bathroom at least eight times per hour. For smaller bathrooms, a fan with about 50 CFM might suffice, but larger bathrooms need higher CFM ratings to maintain proper air quality.
Next, consider fan noise levels. A quiet fan improves comfort and usability, especially in shared homes. Look for models with low sones ratings. One sone or less is whisper-quiet. Balancing ventilation efficiency with fan noise levels ensures you get effective moisture removal without disruptive sounds. Choosing the right fan upfront prevents issues during installation and keeps your bathroom fresh and comfortable long-term.
Gather Tools and Materials for Bathroom Fan Installation
Once you’ve selected the right bathroom fan, gather all the necessary tools and materials to guarantee a smooth installation process. Having a clear tools overview and material checklist helps you stay organized and avoid last-minute trips to the hardware store.
Here’s a quick guide to what you’ll need:
| Tools Overview | Material Checklist |
|---|---|
| Cordless drill | Bathroom fan unit |
| Screwdrivers (flat & Phillips) | Vent duct (flexible or rigid) |
| Measuring tape | Mounting brackets |
| Utility knife | Electrical wire |
| Wire stripper | Wire nuts & connectors |
Make sure your tools are in good condition and ready to use. Double-check your materials to match the fan’s specifications and your bathroom’s layout. With this preparation, you’ll set yourself up for a fast, hassle-free installation.
Turn Off Power and Prepare Your Work Area
Before you start, go over to your circuit breaker panel and switch off the power to the bathroom. It’s a good idea to double-check that the power is completely off so you don’t run into any accidents. Also, take some time to clear and organize your workspace — this will help make the installation process a lot smoother and safer.
Locate Circuit Breaker Panel
Start by finding your circuit breaker panel to safely cut the power to the bathroom. This step is essential for electrical safety and prevents accidents while installing your fan. The panel is usually located in a utility room, basement, or garage.
Before you begin, make sure you have clear access to it. Knowing how to locate your panel also helps if you need to troubleshoot electrical issues later.
Keep these tips in mind:
- Identify the main breaker panel quickly.
- Label all breakers clearly for future reference.
- Use a flashlight if the panel area is dim.
- Keep the panel door unobstructed.
- Wear insulated gloves when handling breakers.
Taking these precautions helps you work safely and efficiently.
Verify Power Is Off
Although you’ve located the circuit breaker panel, you need to turn off the specific breaker controlling your bathroom to assure no power flows to the fan area. Prioritizing electrical safety is essential to avoid shocks or damage. Use a voltage tester to confirm the power is truly off before starting any work.
Here’s a quick checklist to guarantee you’re electrically safe:
| Step | Action | Tool Needed |
|---|---|---|
| 1 | Locate breaker panel | Flashlight |
| 2 | Identify bathroom breaker | Circuit breaker map |
| 3 | Switch off the bathroom breaker | None |
| 4 | Test power with voltage tester | Voltage tester |
| 5 | Double-check power is off | Voltage tester |
Following these steps keeps your work safe and smooth.
Clear And Organize Workspace
Two key actions will make your bathroom fan installation smoother: clearing your workspace and organizing your tools. Before you start, turn off the power to avoid any accidents. Then, focus on workspace organization by removing clutter and setting up a clean, well-lit area.
Proper tool arrangement helps you find what you need quickly, saving time and effort.
Here’s how to prepare your work area effectively:
- Clear all unnecessary items from the workspace
- Lay out essential tools neatly within reach
- Use containers or trays to keep small parts organized
- Make sure adequate lighting for better visibility
- Keep a trash bin nearby for easy cleanup
Locate and Mark the Best Spot for Your Bathroom Fan
Before you cut into the ceiling, you’ll want to find the best location for your bathroom fan to guarantee effective ventilation. Choose a spot near the shower or bathtub where moisture builds up most. This ensures maximum ventilation efficiency and helps reduce lingering humidity. Also, avoid placing the fan too close to the bathroom door to minimize noise disruption in adjacent rooms.
Next, check for ceiling joists or obstructions like wiring and plumbing that can affect installation. Mark the spot clearly with a pencil for precise cutting later. Use this quick reference table to evaluate your options:
| Location Criterion | Advantage | Consideration |
|---|---|---|
| Near shower | Optimal moisture removal | Possible joist interference |
| Away from door | Noise reduction | May reduce ventilation reach |
| Central ceiling | Balanced airflow | Harder to avoid obstructions |
| Away from lights | Avoids electrical hazards | May limit placement options |
| Accessible for duct | Easier installation | May not be best airflow spot |
Picking the right spot maximizes performance and comfort.
Cut the Ceiling Opening for Your Fan
Now that you’ve marked the spot, go ahead and measure your fan’s dimensions carefully to make sure it fits perfectly. Then, take a pencil and mark the exact cut lines on the ceiling. When you’re ready, grab the right cutting tools and cut along your marks with steady, controlled motions. Easy does it!
Measure Fan Dimensions Accurately
Accurately measuring your bathroom fan’s dimensions is essential for a clean, secure fit in your ceiling. Before you cut, focus on the fan size and confirm measurement accuracy to avoid gaps or forced fits. Use a tape measure to record the fan’s height, width, and depth precisely. Double-check these dimensions against the manufacturer’s specifications. Remember, even small errors can cause installation issues or affect performance.
Keep these measurement tips in mind:
- Measure the fan housing, not just the grille
- Include clearance space for wiring and duct connections
- Use a pencil to mark measurements on a scrap piece of wood first
- Verify all numbers twice for accuracy
- Account for any additional mounting brackets or supports
This careful approach guarantees your ceiling opening matches the fan perfectly.
Mark Ceiling Cut Lines
Start by transferring your fan measurements onto the ceiling to outline the exact cut lines. Use a pencil to draw a clear, precise rectangle or square that matches your fan’s housing. Double-check these lines to verify the opening won’t be too large or small.
If your ceiling has been recently painted, be careful not to scrape off ceiling paint along the edges when marking. This helps maintain a clean look once the fan is installed.
Also, consider any decorative trim near the fan’s placement so your cut lines won’t interfere with the trim’s design or attachment. Taking time here means your fan will fit snugly, and you’ll avoid unnecessary patching or repainting later.
Accurate cut lines set the stage for a professional installation.
Use Proper Cutting Tools
Once your cut lines are perfectly marked, grab the right tools to make clean, precise cuts in the ceiling. Using proper cutting tools assures your bathroom fan fits snugly and prevents damage to surrounding areas. Always follow safety precautions, like wearing goggles and a dust mask, to protect yourself from debris and dust.
Here are essential cutting tools you’ll need:
- Drywall saw or jab saw
- Keyhole saw for tight corners
- Utility knife for scoring edges
- Measuring tape for accuracy
- Ladder for stable reach
Choose sharp, reliable tools to make smooth cuts and avoid rough edges. Taking the time to use the appropriate cutting tools not only speeds up your work but also guarantees a professional finish on your bathroom fan installation.
Install and Secure the Fan Housing
Before you secure the fan housing, make sure the electrical wiring is safely in place and the mounting location is ready. Position the fan housing into the cutout, guaranteeing it fits snugly without forcing it.
Align the housing so that the vent opening matches up with the ductwork for proper airflow. Use the mounting brackets or built-in flanges to hold the fan housing firmly in place.
When securing installation, fasten screws or nails tightly to prevent any movement or rattling during operation. Double-check that the fan housing is level and flush with the ceiling or wall surface for a professional finish.
Avoid overtightening, which can damage the housing or mounting surface. Taking these steps ensures a secure, stable base for your bathroom fan, preventing vibrations and noise.
Once the fan housing is properly installed and secured, you’ll be ready to move on to connecting the electrical wiring safely.
Connect Electrical Wiring Safely
Before you start connecting wires, make sure to turn off the power to avoid any shocks. It’s really important to keep safety first.
Next, identify the wiring types clearly so you can match the fan’s connections correctly. This step helps prevent any mix-ups later on.
And don’t forget to always use proper connectors. They’re key to guaranteeing a secure and safe electrical connection.
Turn Off Power
Two crucial safety steps must happen before you touch any wiring: turn off the power and verify it’s off. Electrical safety is critical, so don’t skip these. First, locate the correct circuit breaker and switch it off.
Next, use a voltage tester or multimeter to confirm the power is truly off. This avoids nasty shocks and makes circuit troubleshooting easier if something’s amiss.
Remember these tips for safe power shutdown:
Always switch off the breaker controlling the bathroom fan’s circuit.
Test the wires with a voltage tester before touching.
Avoid relying solely on the breaker position without verification.
Inform others in the household about the power off to prevent surprises.
Keep your tools insulated to reduce risk during checks.
Following these steps guarantees your wiring work starts safely and smoothly.
Identify Wiring Types
Although it might seem straightforward, identifying the wiring types in your bathroom is essential for a safe and effective fan installation. First, examine the wiring color to determine each wire’s function. Typically, black or red wires carry power, white wires serve as neutral, and green or bare wires are ground.
Knowing this helps you connect the fan correctly and avoid hazards. Remember to follow local electrical codes, which dictate how wiring should be handled and connected. These codes ensure safety and compliance, preventing electrical issues down the line.
Take your time to inspect wires carefully, and if anything looks unusual or damaged, address it before proceeding. Properly identifying wiring types sets a solid foundation for a safe bathroom fan installation.
Use Proper Connectors
After you’ve identified the wiring types, the next step is to connect them securely using the right connectors. Proper connectors guarantee electrical safety and maintain ventilation efficiency by preventing loose or faulty connections.
When choosing connectors, consider these key points:
- Use wire nuts or twist-on connectors rated for your wire gauge.
- Avoid tape-only connections because they degrade over time.
- Match connectors to indoor humidity conditions to prevent corrosion.
- Make sure all connections are tight but not over-torqued to avoid damaging wires.
- Double-check that connectors fully cover exposed wires to prevent shorts.
Attach the Bathroom Fan Vent Duct for Proper Airflow
When you attach the bathroom fan vent duct, you’ll guarantee proper airflow and prevent moisture buildup. Start by selecting the right duct material; rigid metal ducts offer the best ventilation efficiency and durability, reducing resistance and minimizing condensation. Avoid flexible plastic ducts as they can sag and trap moisture.
Next, connect the duct securely to the fan’s exhaust port, ensuring a tight fit to prevent air leaks. Use metal foil tape rather than duct tape to seal the joints, as it withstands humidity better.
Keep the duct as straight and short as possible, limiting bends to maintain airflow efficiency. Proper duct routing also helps avoid issues like mold growth and structural damage caused by trapped moisture.
Mount the Fan Cover and Test Its Operation
How do you guarantee your bathroom fan not only looks good but functions perfectly? Start with careful fan cover installation. Align the cover properly with the housing, then secure it using screws or clips provided. This ensures a snug fit that prevents rattling and looks neat.
Next, move on to operation testing to confirm your hard work pays off. During operation testing, switch the fan on and listen for unusual noises, check airflow, and ensure the fan runs smoothly without vibration.
Here’s a quick checklist to guide you:
- Confirm the fan cover fits flush and tight
- Tighten all fasteners securely
- Turn on the fan and listen for smooth operation
- Check that airflow is strong and consistent
- Ensure no parts vibrate or rattle
Seal and Insulate Around Your Fan to Save Energy
Although your fan may be securely mounted, sealing and insulating around it is vital to prevent air leaks and improve energy efficiency. Start by applying a high-quality caulk or foam sealant around the fan housing where it meets the ceiling. This simple sealing technique blocks drafts and keeps conditioned air from escaping your home.
Next, add insulation around the fan’s housing in the attic or ceiling space. Use fiberglass or foam insulation to fill gaps but avoid covering the fan’s vent or motor. Proper insulation helps maintain consistent temperatures and reduces energy waste.
By combining these sealing techniques, you’ll boost your bathroom fan’s performance and lower your energy bills. Remember, neglecting this step can lead to heat loss in winter or unwanted heat gain in summer, making your HVAC system work harder.
Taking a little extra time to seal and insulate guarantees you save energy while keeping your bathroom fresh and dry.
Frequently Asked Questions
How Often Should I Clean My Bathroom Fan?
You should clean your bathroom fan every six months to keep it running efficiently. Regular ventilation maintenance prevents dust buildup and reduces moisture problems.
Use fan cleaning tips like turning off the power, removing the cover, and gently vacuuming or wiping the blades and vents. Staying on top of this maintenance helps your fan work better and last longer, keeping your bathroom fresh and mold-free. Don’t skip this important routine!
Can I Install a Bathroom Fan Myself Without Electrical Experience?
You might think you can plunge into a DIY installation, but wait, there’s more to consider. Without electrical experience, you risk compromising electrical safety. Handling wiring incorrectly can lead to shocks or fire hazards.
However, if you’re confident in following detailed instructions and turning off power at the breaker, you can attempt it carefully. Otherwise, calling a professional guarantees the job’s done safely and correctly, protecting you and your home.
What Noise Level Is Acceptable for a Bathroom Fan?
You should look for bathroom fans with noise levels at or below 1.0 sones for a quiet experience. Fan specifications usually list sone ratings, which measure how loud the fan is. Lower numbers mean quieter operation.
If you want a nearly silent fan, aim for 0.3 to 0.8 sones. Anything above 3.0 sones can be pretty noisy and annoying, so check the specs carefully before buying.
Are There Energy-Efficient Bathroom Fans Available?
Absolutely, you can find energy-efficient bathroom fans that work like a refreshing gust for your home. These fans use advanced ventilation technology combined with energy-saving features to keep your space dry without driving up your electricity bill.
When you choose one, you’re not just improving airflow. You’re embracing smart design that saves energy and money, making your bathroom a quieter, greener sanctuary.
How Do I Know if My Bathroom Fan Needs Replacement?
You’ll know your bathroom fan needs replacement if the fan motor sounds noisy, struggles to spin, or stops working altogether. If your ventilation system isn’t pulling moisture effectively, causing lingering humidity or mold growth, it’s a clear sign.
Also, if the fan’s over 10-15 years old, it may be less energy-efficient. Check for visible damage or rust on the fan motor, and if any issues persist, it’s time to replace it.
Conclusion
Installing your bathroom fan is like planting a sturdy tree in your home’s ecosystem. With each careful step, choosing the right fan, wiring safely, and sealing perfectly, you’re nurturing fresh air to flow freely.
This keeps moisture and mold at bay. Just as a tree breathes life into a garden, your new fan will refresh your bathroom, making it a healthier, more comfortable space.
Follow these steps, and you’ll enjoy the breeze of success every time you step inside your bathroom with a professionally installed bathroom fan.