3 Simple Steps to Repair House Siding
Dealing with damaged house siding can feel overwhelming, and you’re definitely not alone. Many homeowners struggle with knowing where to start or how to fix the problem without making things worse.
The good news is that repairing your siding doesn’t have to be complicated or expensive.
You can quickly fix your house siding by following three simple steps. First, inspect your siding carefully for damage and prepare a clean, safe workspace.
Next, gently remove any damaged panels using proper tools, checking for underlying issues like moisture.
Finally, install matching replacement panels, seal edges to prevent moisture, and paint for protection and curb appeal.
Stick with these basics, and you’ll be ready to tackle siding repairs with confidence and uncover helpful tips along the way.
Key Takeaways
- Inspect and identify damaged siding areas, clearing debris and making sure your workspace is stable before you start repairs.
- Carefully remove damaged siding panels using the right tools, being careful not to damage the surrounding areas.
- Select matching replacement siding and install it with proper alignment and secure fastening.
- Apply weatherproofing sealant evenly on edges and joints to keep moisture out.
- Paint the repaired siding when the weather is suitable, avoiding direct sunlight and rain.
Identify Damage and Prepare Your Workspace
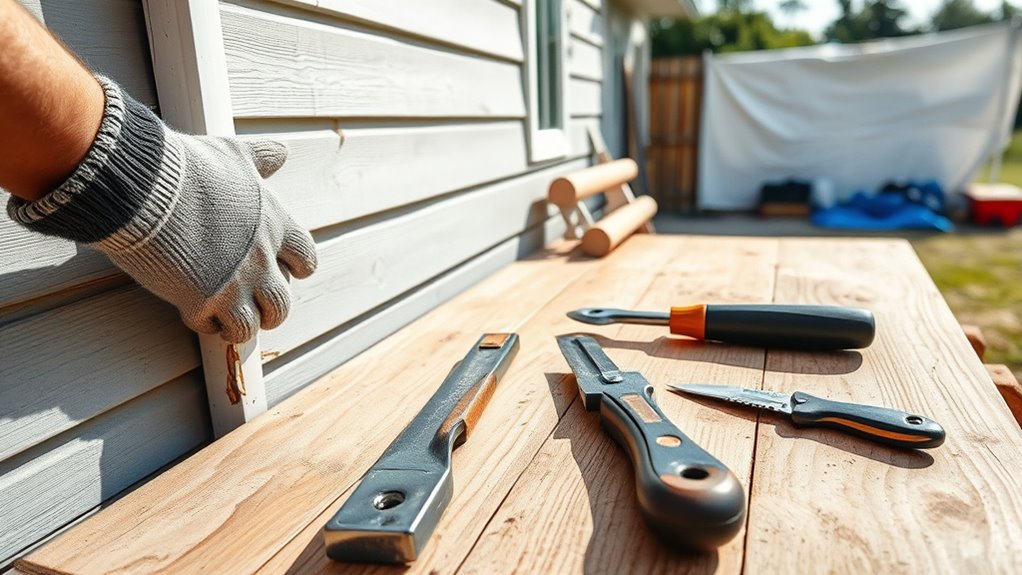
Before you begin repairing your house siding, carefully inspect the entire exterior to spot any cracks, holes, or warping. Use an inspection checklist to guarantee you don’t miss anything vital, such as loose nails, water damage, or discoloration.
Carefully inspect your siding for cracks, holes, or warping using a checklist to catch all vital issues.
Take note of all the damaged areas so you can address them efficiently. Once you’ve identified the damage, prepare your workspace by clearing debris and setting up a safe, accessible area to work.
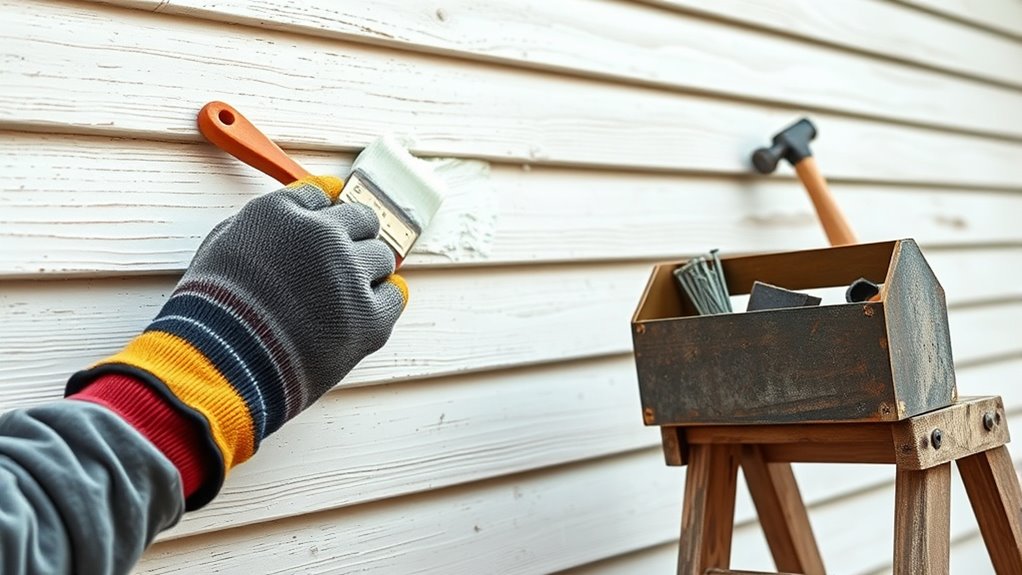
Gather your tool essentials like a hammer, pry bar, utility knife, measuring tape, and replacement siding materials. Organizing your tools beforehand saves you time and prevents unnecessary interruptions.
Make sure your ladder is stable and placed on solid ground to avoid accidents. By thoroughly evaluating the siding and preparing your workspace with the right tools, you’ll set yourself up for a smoother, safer repair process.
This initial step is vital before moving on to removal or replacement.
Safely Remove and Repair Damaged Siding Panels
When you spot damaged siding panels, you’ll want to remove them carefully to avoid harming the surrounding areas. Start by loosening the nails or screws holding the panel with a pry bar or screwdriver. Gently work from the edges to prevent cracking nearby panels. Once removed, inspect the underlying wall for any moisture or rot damage that needs attention before installing the new siding.
Choose siding material options that match your existing panels, considering durability and compatibility with your home’s style. Whether vinyl, wood, or fiber cement, select materials designed to withstand your climate. Apply proper weatherproofing techniques, such as using a moisture barrier or flashing tape, to protect your home from water infiltration.
Finally, align the new panel carefully, securing it firmly without overdriving fasteners, which can cause damage. This careful removal and replacement process ensures your siding remains sturdy and weather-resistant for years to come.
Seal and Paint Siding to Protect and Beautify
After replacing damaged siding panels, sealing and painting them will extend their lifespan and improve your home’s curb appeal. Start by choosing a high-quality exterior sealant to protect against moisture and prevent future damage. Apply it evenly, making sure to cover all edges and joints.
As for paint, your color selection is vital not just for aesthetics but also for how the siding handles sunlight and heat. Lighter colors reflect heat and can help maintain your home’s temperature, while darker colors may fade faster.
Keep weather considerations in mind before you start painting. Pick a dry day with moderate temperatures to guarantee proper drying and adhesion. Avoid painting in direct sunlight or when rain is expected.
Frequently Asked Questions
What Tools Are Essential for Siding Repair?
You’ll need a few essential tools for siding repair: a utility knife, pry bar, hammer, nails, caulk gun, and paintbrush. Don’t forget color matching paint to blend your repairs seamlessly.
Keep your tools sharp and clean. Tool maintenance is key for smooth, efficient work. Having these ready guarantees you can tackle damage quickly and effectively, making your siding look great without hassle or delay.
How Do I Choose the Right Siding Material?
Choosing the right siding material feels like picking the key to a fortress! You’ll want to evaluate material durability first, how well it stands up to weather and wear.
Then, weigh your aesthetic options to match your home’s style. Vinyl offers low maintenance, while wood brings charm but needs upkeep. Fiber cement balances strength and looks.
Think about your climate, budget, and maintenance willingness to make the perfect choice for your home’s protection and curb appeal.
Can I Repair Siding in Cold or Rainy Weather?
You shouldn’t repair siding in cold or rainy weather because weather considerations are vital for a successful fix. Moisture can prevent adhesives and paints from bonding properly, and freezing temperatures can make materials brittle.
Plus, working in wet or icy conditions risks your DIY safety by increasing the chance of slips or accidents. It’s best to wait for dry, mild weather to guarantee your repair lasts and you stay safe throughout the process.
How Long Does a Typical Siding Repair Take?
You’ll usually spend a few hours to a full day on siding repair, depending on the damage’s size and type. Imagine peeling back chipped paint or replacing cracked panels. That’s your siding maintenance in action.
Quick repairs keep your home’s look fresh and can lower repair costs down the road. If you catch issues early, you’ll save time and money, making your siding last longer and your house stand out beautifully.
When Should I Hire a Professional for Siding Repair?
You should hire a professional for siding repair when the damage is extensive or requires specialized tools. Cost considerations matter. Sometimes DIY repairs can lead to bigger expenses if done wrong.
If you’re unsure about your skills or safety, it’s better to call an expert. Remember, DIY safety tips only go so far. Complex repairs can be risky.
Professionals guarantee quality work and save you time and stress.
Conclusion
By following these three simple steps, you can restore your house siding efficiently and effectively. Imagine spotting a cracked panel after a storm. By quickly identifying the damage, carefully removing and repairing the panel, then sealing and painting it, you’ll protect your home and keep it looking great.
Taking these actions not only boosts your curb appeal but also prevents costly repairs down the road. This makes your home safer and more beautiful. Repairing house siding is a smart way to maintain your property’s value and appearance.