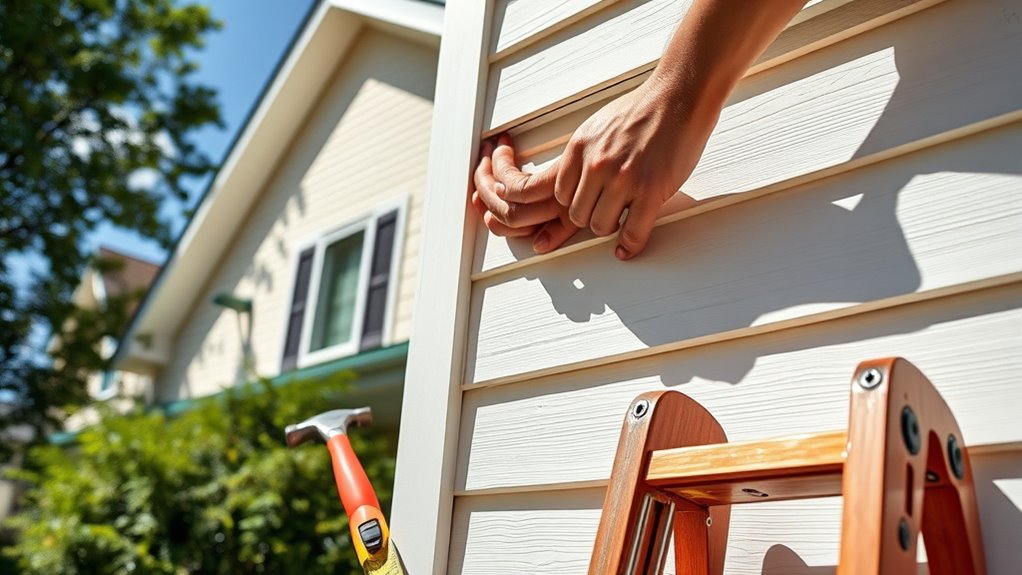
Best Siding Repair Methods for Homeowners
Dealing with siding damage can be frustrating, and if you’re a homeowner, you’re not alone. Many people struggle with keeping their siding in top shape, especially after harsh weather or over time. Finding the best siding repair methods can make a huge difference in protecting your home and saving you money down the road.
You can keep your siding in great shape by regularly inspecting for cracks, warping, or water damage, especially after storms. Fix small holes with filler, replace rotten sections carefully, and seal gaps with weatherproof caulk.
Clean and refresh siding using suitable paint or stain to extend its life. Use proper tools and safety gear for DIY repairs, but call a pro if damage is extensive or tricky.
Uncover more ways to protect and maintain your siding effectively.
Key Takeaways
- Regularly inspect siding for cracks, warping, or water damage to catch issues early. This helps prevent further deterioration.
- Repair small cracks with filler and matching paint. Replace warped or rotten panels with carefully measured, compatible materials.
- Clean siding using gentle, siding-specific solutions. Refresh the appearance with high-quality paint or stain to extend durability.
- Use proper tools like putty knives, caulking guns, and safety gear to ensure effective and safe DIY repairs.
- Hire professionals for extensive damage, mold problems, or when matching siding colors is challenging. This guarantees lasting quality.
How To Identify Common Siding Problems Early
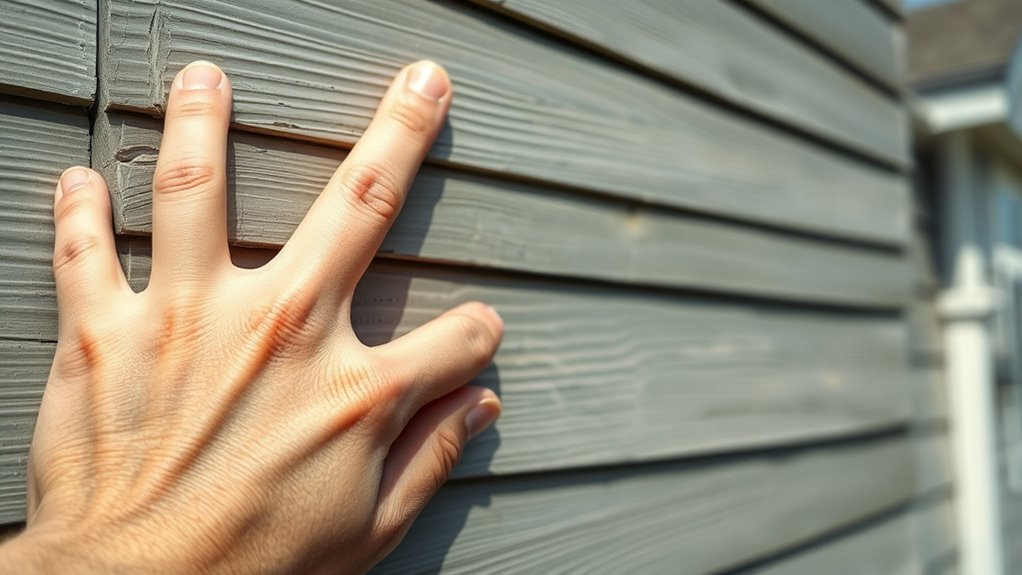
Although siding problems can start small, catching them early can save you time and money. You should regularly inspect your siding material for signs of damage caused by weather impact, such as warping, cracking, or fading.
Pay close attention after storms or extreme weather conditions since moisture and temperature changes can weaken the siding. Look for any loose panels, chipped paint, or discoloration that might indicate water infiltration or mildew growth.
If your siding feels soft or swollen when you press it, that’s a clear warning sign. Keep an eye on areas near windows, doors, and corners, as these spots often show early signs of wear.
Fix Small Cracks And Holes In Siding
How do you tackle small cracks and holes in your siding before they turn into bigger problems? First, clean the damaged area thoroughly to remove dirt and loose debris. Then, choose a filler or patching compound compatible with your siding material, whether vinyl, wood, or fiber cement, to guarantee a strong bond and durability. Material compatibility is essential to prevent further damage or peeling.
After applying the filler, sand it smooth once it dries. To maintain your home’s curb appeal, focus on color matching when you repaint or touch up the repaired area. Use paint or stain that blends seamlessly with your existing siding to make repairs virtually invisible.
Taking these steps promptly not only preserves the siding’s protective function but also keeps your home looking its best. Fixing small cracks and holes early saves you from costly repairs down the line and extends the life of your siding.
Repair Warped Or Buckled Siding Panels
When you notice warped or buckled siding panels, the first thing to do is figure out what caused the damage. It could be moisture, improper installation, or something else. Once you know the cause, carefully remove the damaged panels—this helps avoid creating more problems down the line. After that, go ahead and install new siding that matches your home’s exterior. This way, you’ll restore both the look and protection of your house.
Identify Warping Causes
Since siding panels can warp or buckle for several reasons, you’ll want to pinpoint the exact cause before starting repairs. Common warping causes include moisture buildup, improper installation, and extreme temperature changes.
Siding expansion due to heat can cause panels to buckle if they don’t have enough room to expand and contract. Check for gaps or nails that are too tight, as these restrict natural movement.
Also, look for water damage from clogged gutters or poor drainage, which can weaken the siding material. By identifying the specific warping causes early, you’ll know whether the issue stems from environmental factors or installation errors.
This helps you choose the right repair method and prevent future problems, keeping your siding functional and attractive.
Remove Damaged Panels
Before you can install new siding, you’ll need to carefully remove the warped or buckled panels without damaging the surrounding ones. Start by loosening nails or screws with a pry bar or screwdriver.
Take note of the siding material options to guarantee you handle the panels appropriately. Keep siding color matching in mind for seamless repairs later.
| Step | Tool Needed | Tip |
|---|---|---|
| Loosen fasteners | Pry bar/screwdriver | Work gently to avoid breakage |
| Remove panel | Hammer/crowbar | Slide panel out slowly |
| Inspect backing | Flashlight | Check for water damage |
| Prepare for replace | Sandpaper/cleaner | Clean edges for better adhesion |
This careful removal keeps your siding intact and preps the area for smooth replacement.
Install Replacement Siding
After removing the damaged siding panels and preparing the surface, you can install the replacement pieces to restore your home’s exterior. Begin by choosing the right siding material that matches your current siding type to guarantee durability and uniformity.
Carefully measure and cut the new panels to fit the gaps left by the warped or buckled sections. When installing, secure each panel snugly but avoid over-tightening to prevent future warping.
Take advantage of siding color options to blend the replacements seamlessly or refresh your home’s look with a subtle contrast. Finish by sealing edges and joints to protect against moisture and improve insulation.
With precise installation, you’ll extend your siding’s lifespan and maintain your home’s curb appeal.
Replace Damaged Or Rotten Siding Sections
First, you’ll want to take a close look and identify any damaged or rotten siding. Once you know what needs fixing, carefully remove those sections to avoid causing more problems. After that, go ahead and install new panels that match your current siding. This will help bring back your home’s look and keep it well protected.
Identifying Damaged Siding
When siding shows signs of damage or rot, it’s crucial to act quickly to prevent further deterioration. You should start by carefully inspecting your siding for visible cracks, warping, or discoloration.
Keep in mind that identifying damage varies depending on historical styles, as older homes may use materials like wood shingles, while newer builds often feature vinyl or fiber cement. Making material comparisons helps you spot inconsistencies. Wood siding might peel or rot, while vinyl could crack or fade.
Don’t overlook soft spots or bubbling paint, which often signal moisture issues beneath the surface. By knowing what to look for based on your siding’s material and style, you can accurately identify damaged areas and plan effective repairs before problems worsen.
Removing Rotten Sections
Spotting damaged siding is only the first step. Addressing those problem areas quickly helps protect your home from further harm.
When you find rotten wood or siding deterioration, act fast to remove the affected sections. Start by carefully cutting out the damaged siding using a saw or pry bar, making sure to remove all compromised material. Rotten wood can spread moisture and cause structural issues if left unchecked, so be thorough.
Wear protective gear and work cautiously to avoid damaging surrounding panels. Once the rotten sections are out, clean the area to prepare for repairs.
Removing deteriorated siding promptly prevents further water infiltration and preserves your home’s integrity. Taking these steps ensures you maintain a solid, weather-resistant exterior.
Installing Replacement Panels
How do you guarantee your siding looks seamless after removing damaged sections? Start by choosing replacement panels that match your existing siding color and texture closely. Precision is key to avoid noticeable patches.
Follow these steps:
- Measure the opening accurately to cut the replacement panel to size.
- Match the siding texture by comparing the panel under different lighting.
- Install the panel securely, making sure it aligns flush with the surrounding siding.
- Seal edges to prevent moisture intrusion, and do paint touch-ups if needed for color blending.
Seal Siding Gaps To Keep Water And Pests Out
Although siding gaps might seem minor, they can quickly allow water and pests to invade your home, causing significant damage. To protect your investment, sealing these gaps is essential.
Use weatherproofing techniques like caulking or foam sealants tailored for your siding material choices to guarantee a tight barrier. Regularly inspect these areas, especially after storms or seasonal changes.
Here’s a quick guide on sealing siding gaps:
| Material Type | Recommended Sealant | Weatherproofing Tips |
|---|---|---|
| Vinyl | Latex caulk | Clean surface before sealing |
| Wood | Acrylic-latex caulk | Prime gaps to prevent rot |
| Fiber Cement | Polyurethane sealant | Use flexible sealants for cracks |
Clean And Restore Discolored Siding
Why let discolored siding undermine your home’s curb appeal? Over time, color fading and mold growth can make your siding look dull and neglected. You can easily clean and restore it to bring back its original charm.
Start by rinsing the siding with a garden hose to remove loose dirt and debris. Then, apply a cleaning solution specifically designed for siding to tackle stains and mold growth without damaging the surface.
Next, scrub gently with a soft brush or cloth to lift discoloration and restore color vibrancy. Finally, rinse thoroughly to wash away all cleaning residue and prevent streaks.
Addressing discoloration promptly helps maintain your siding’s appearance and prevents further damage caused by mold growth or prolonged color fading. With regular cleaning, you’ll keep your home looking fresh and inviting, boosting its value and curb appeal effortlessly.
Use Paint And Stain To Refresh Your Siding
When your siding starts to look worn or faded, applying paint or stain can instantly revive its appearance and protect it from the elements. Before you start, focus on color matching to guarantee the new finish blends seamlessly with the existing siding or complements your home’s style.
Refreshing faded siding with paint or stain instantly enhances appearance and shields it from weather damage.
Choosing the right shade helps maintain curb appeal and avoids an uneven look. Select high-quality paint or stain known for excellent durability, so your siding stays vibrant and protected longer, even against harsh weather.
Make certain to prep the surface by cleaning and repairing any damaged areas first. Apply paint or stain evenly, following the manufacturer’s instructions for the best results.
Rejuvenating your siding with paint or stain not only boosts your home’s look but also adds a protective layer that helps prevent moisture damage and extends the siding’s lifespan. This simple step can save you time and money on major repairs down the road.
Essential Tools For DIY Siding Repair
If you’re planning to handle siding repairs yourself, having the right tools and safety gear is key. They help you work efficiently and keep you protected. You probably already know that common tools like hammers and pry bars are must-haves. But here’s the thing—different siding materials often call for specific equipment, so it’s good to be prepared. Let’s dive into what you should have ready before you get started on your project.
Common Repair Tools
Several essential tools will make your DIY siding repair smoother and more efficient. Using the right tools guarantees you maintain quality and protect your siding warranties. Accurate color matching is vital when replacing damaged sections to keep your home’s exterior looking seamless.
Here are four common repair tools you’ll need:
- Putty knife for applying and smoothing filler on cracks or holes.
- Hammer and nails or nail gun to secure loose siding panels.
- Utility knife perfect for trimming damaged siding or cutting replacement pieces.
- Caulking gun indispensable for sealing gaps and preventing moisture intrusion.
With these tools, you’ll handle most siding repairs confidently while preserving your siding’s integrity and appearance.
Safety Equipment Essentials
How can you protect yourself while tackling siding repairs? The key is using the right safety gear and protective equipment. Start with sturdy gloves to shield your hands from sharp edges and splinters.
Safety goggles are a must to protect your eyes from flying debris. Wearing a dust mask helps prevent inhaling harmful particles, especially when sanding or cutting siding materials.
Don’t forget a hard hat if you’re working on a ladder or scaffolding to guard against falling objects. Slip-resistant shoes provide stable footing, reducing the risk of falls.
Always check your protective equipment for damage before use to ensure it functions properly. By prioritizing safety gear, you minimize injury risks and create a safer workspace for your siding repairs.
Material-Specific Toolkits
Although siding repair techniques vary by material, having the right toolkit tailored to your specific siding type makes the job much easier. Different materials offer varying durability and siding color options, so your tools should match those characteristics for efficient repairs. Here’s a basic toolkit to get you started:
- Vinyl siding removal tool helps pry off damaged panels without cracking.
- Utility knife is essential for trimming fiber cement or vinyl to size.
- Hammer and nails or siding screws depending on your siding’s fastening needs.
- Caulking gun with exterior-grade sealant seals gaps to maintain material durability and color integrity.
When To Call A Pro For Siding Repairs
If you notice extensive damage or your siding shows signs of warping, cracking, or mold, it’s time to call a pro for repairs. Handling severe issues yourself can worsen the problem or void your siding warranties. Professionals have the experience and tools to assess the full extent of damage and ensure repairs meet manufacturer standards.
Another reason to hire a pro is color matching. Even if you’re skilled with tools, matching your existing siding color perfectly can be tricky. Pros have access to color databases and paint formulas that ensure seamless blending, preserving your home’s curb appeal.
Additionally, siding warranties often require repairs to be done by licensed contractors. Attempting DIY fixes might void these protections, leaving you responsible for future costs. When in doubt, calling a pro safeguards your investment and ensures your siding looks great and functions properly for years to come.
Tips To Maintain Your Siding After Repairs
Once you’ve completed siding repairs, maintaining your siding regularly helps extend its life and keeps your home looking its best. To guarantee your repairs last and blend seamlessly, pay close attention to color matching during touch-ups. Also, keep your siding warranties in mind. Proper maintenance often protects your coverage.
Regular siding maintenance ensures lasting repairs, seamless touch-ups, and protection of your warranty coverage.
Here are some tips to maintain your siding after repairs:
- Inspect your siding at least twice a year for cracks, warping, or loose panels.
- Gently clean your siding with a mild detergent and soft brush to remove dirt and mildew without damaging the surface.
- Touch up any paint chips promptly, matching the color precisely to avoid unsightly patches.
- Keep gutters and downspouts clear to prevent water damage that can compromise siding integrity and affect warranties.
Following these tips helps you protect your investment and keeps your home’s exterior in top shape.
Frequently Asked Questions
What Siding Material Lasts the Longest in Harsh Climates?
Fiber cement siding lasts the longest in harsh climates, and you’ll appreciate its insulation benefits and durability against extreme weather. It resists moisture, fire, and pests, so you won’t worry about frequent repairs.
Plus, it offers great aesthetic improvements because you can choose from various textures and colors that mimic wood or stone. When you pick fiber cement, you get both lasting protection and a stylish look that boosts your home’s curb appeal.
How Does Siding Affect Home Energy Efficiency?
Siding affects your home’s energy efficiency by providing thermal insulation that helps keep indoor temperatures steady, like a trusty knight’s armor protecting a castle. When your siding offers strong weather resistance, it blocks drafts, moisture, and heat loss, reducing your heating and cooling costs.
If your siding’s damaged or outdated, you’ll notice higher energy bills. So, keeping your siding in good shape directly saves you money and keeps your home comfy year-round.
Are There Eco-Friendly Siding Repair Options?
Yes, you can choose eco-friendly siding repair options by using recycled siding or sustainable materials. These options help reduce waste and lower your home’s environmental impact.
Materials like fiber cement, reclaimed wood, or recycled metal not only last long but also contribute to sustainability. When you repair your siding with these choices, you’re making a smart, green decision that benefits both your home and the planet.
Can Siding Repairs Increase Home Resale Value?
Yes, siding repairs can boost your home’s resale value by improving curb appeal, enhancing durability, and preventing damage. When you file insurance claims, you can often offset repair costs, making upgrades more affordable.
These aesthetic upgrades not only attract buyers but also show that you’ve maintained your home well. By tackling siding issues promptly, you increase your home’s marketability and protect your investment, giving you a stronger selling position.
What Are the Common Costs Associated With Siding Replacement?
When figuring out the common costs associated with siding replacement, you’ll want a clear cost estimation that includes materials, labor, and contractor fees. Material prices vary by type. Vinyl is cheaper, while wood or fiber cement costs more.
Contractor fees depend on the project size and complexity, so getting multiple quotes helps. Don’t forget to budget for disposal of old siding and any necessary repairs to the underlying structure.
Conclusion
If you ignore siding repairs, your home could turn into a waterlogged, pest-infested disaster overnight! But don’t worry, you’ve got the power to stop that. By catching problems early and tackling repairs yourself, you’ll protect your home’s value and keep it looking amazing.
Remember, a little effort now saves you from a mountain of headaches later. So grab your tools, get to work, and keep your siding in superhero shape! Taking care of your siding repair is the key to maintaining a safe and beautiful home.