3 Simple Steps to Replace Windows
Replacing your windows can feel overwhelming, and you’re not alone if you’ve struggled with finding the right method. Many people want to improve their home’s energy efficiency and curb appeal but worry about the hassle and precision required.
Luckily, with the right approach, you can achieve a smooth, professional-looking window replacement without the stress.
To replace your windows smoothly, start by measuring the opening carefully at several points and use the smallest width and height for the best fit.
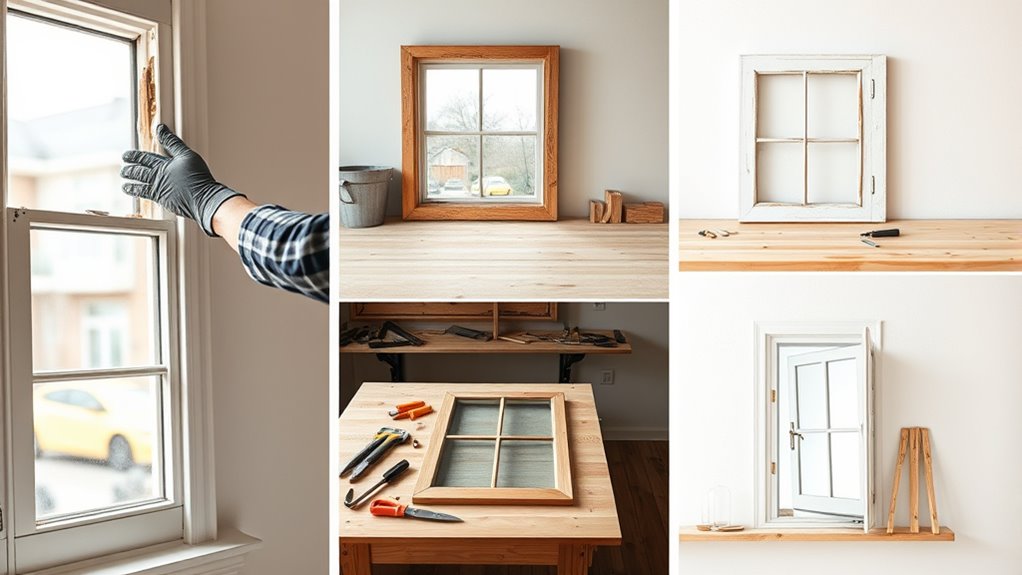
Next, remove the old window gently—wear gloves, pry off trim slowly, and support the window to avoid damage.
Finally, install the new window squarely, seal all gaps with quality caulk and flashing tape, and insulate properly to prevent leaks.
Follow these steps, and you’ll realize how to make your replacement durable and efficient.
Key Takeaways
- Measure the window width and height accurately. Use the smallest measurements for a perfect fit before ordering replacements.
- Remove old windows carefully by wearing protective gear. Gently pry out frames without damaging the opening.
- Position the new window squarely and secure it. Check for level and plumb alignment as you go.
- Seal gaps with exterior caulk. Then apply expanding foam insulation and install flashing tape to prevent leaks.
- Double-check all seals and insulation to ensure energy efficiency. This helps avoid air or moisture intrusion.
Measure Your Window Opening for Replacement Accuracy
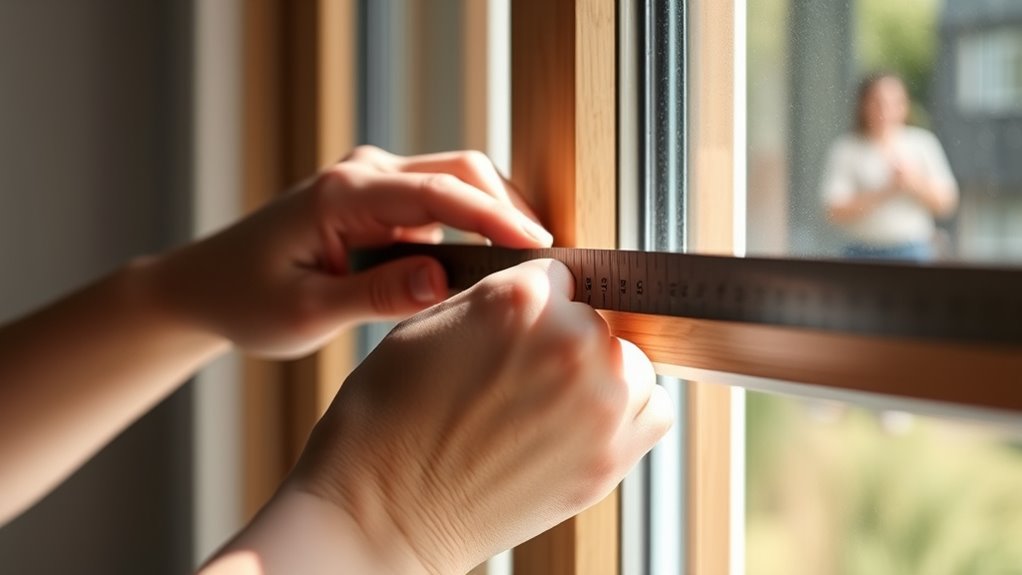
Before ordering your replacement window, you need to measure the opening accurately to guarantee a perfect fit. Start by gathering your measuring tools, such as a tape measure, level, and pencil.
Measure the width of the window opening at three points: top, middle, and bottom. Use the smallest measurement to avoid ordering a window that won’t fit.
Measure window width at top, middle, and bottom, then use the smallest measurement for the best fit.
Next, measure the height in the same way—left, center, and right—again taking the smallest number. Don’t forget to record the frame dimensions, including the depth, to ascertain your new window will sit properly within the existing frame.
Double-check your measurements for accuracy before placing an order. Taking these steps ensures your replacement window will fit snugly, preventing air leaks and improving energy efficiency.
Accurate measuring also saves you time and money by avoiding costly returns or modifications later. Use the right measuring tools and focus on precise frame dimensions to get the best results.
Remove Old Windows Safely Without Damage
Although removing old windows can seem intimidating, taking careful steps will help you avoid damage to your home and the new window frame. Start by wearing gloves and safety goggles to prioritize window removal safety.
Carefully remove any interior trim or stops with a pry bar, working slowly to prevent cracking the surrounding walls. Next, score around the window frame with a utility knife to break any paint or sealant bonds. This reduces the risk of drywall damage.
Use a reciprocating saw to cut through nails or screws holding the window in place, applying steady pressure to avoid splintering the frame. Once loose, gently pry the window out, supporting it fully so it doesn’t fall or break.
Finally, clean the opening thoroughly, inspecting for any damage that needs repair before installation. Following these damage prevention techniques ensures a smooth removal process and preserves your home’s integrity for the replacement window.
Install and Seal Replacement Windows to Prevent Leaks
When you install replacement windows, you’ll want to create a tight seal that keeps out drafts and moisture. Proper weatherproofing techniques and insulation methods are essential to prevent leaks and maintain energy efficiency. Start by positioning the window squarely in the opening. Use a high-quality exterior caulk to seal gaps between the window frame and wall.
Next, apply expanding foam insulation carefully around the frame to fill any voids without overfilling. Finally, install flashing tape around the perimeter to divert water away from the window.
To ensure a leak-proof installation, remember to:
- Check for level and plumb alignment before securing the window.
- Use backer rod with caulk in larger gaps for better insulation.
- Choose weather-resistant caulks designed for exterior use.
- Apply flashing tape overlapping the house wrap.
- Inspect the seal after installation for any missed spots.
Following these steps ensures your replacement windows stay dry and energy-efficient.
Frequently Asked Questions
What Types of Windows Are Best for Energy Efficiency?
For the best energy efficiency, you’ll want to choose windows with energy efficient frames like vinyl or fiberglass. These materials help reduce heat transfer. Double glazed options are ideal because they have two layers of glass with a gas-filled gap, improving insulation.
These features keep your home warmer in winter and cooler in summer, cutting energy bills. Make sure to also look for windows with low-E coatings to boost performance even more.
How Long Does the Window Replacement Process Typically Take?
Window installation usually takes about 3 to 7 hours per window. The entire project timeline typically spans one to three days, depending on how many windows you’re replacing.
Did you know efficient window installation can reduce energy bills by up to 15%? You’ll want to plan accordingly, making sure the crew has easy access and the area is prepared.
Staying organized helps the project timeline run smoothly and finish faster.
Are There Any Permits Required for Window Replacement?
Yes, you usually need to check local permit requirements before replacing windows. Building codes often dictate when permits are necessary, especially if the replacement affects structural elements or energy efficiency.
You should contact your local building department to confirm specific rules in your area. Skipping permits might lead to fines or complications during future home inspections, so it’s best to follow the proper steps and verify your window replacement meets all legal standards.
What Tools Do I Need to Replace a Window?
Think of window installation like baking a cake. You need the right ingredients to get it just right. Your tool checklist should include a tape measure, utility knife, pry bar, hammer, level, caulk gun, and screwdriver.
Just like missing sugar ruins a cake, missing tools can stall your project. Having these on hand guarantees your window installation goes smoothly and fits perfectly, saving you time and frustration.
How Do I Dispose of Old Window Materials Responsibly?
You can dispose of old window materials responsibly by taking advantage of window recycling programs in your area. First, separate the glass, frame, and hardware to make recycling easier.
Many local recycling centers accept glass and metal parts, so check their guidelines. For eco-friendly disposal, avoid sending materials to the landfill and consider donating usable parts. This way, you reduce waste and support sustainable practices while upgrading your windows.
Conclusion
You might feel overwhelmed measuring, removing, and installing windows, but with careful steps, it becomes straightforward. Don’t rush and risk damage; take your time to guarantee precision.
You’ll start with uncertainty, yet finish with confidence. What seems tricky at first turns into a rewarding project. By measuring accurately, removing gently, and sealing tightly, you protect your home and improve its look.
Simple steps lead to big improvements. With these 3 simple steps to replace windows, you’ve got this!