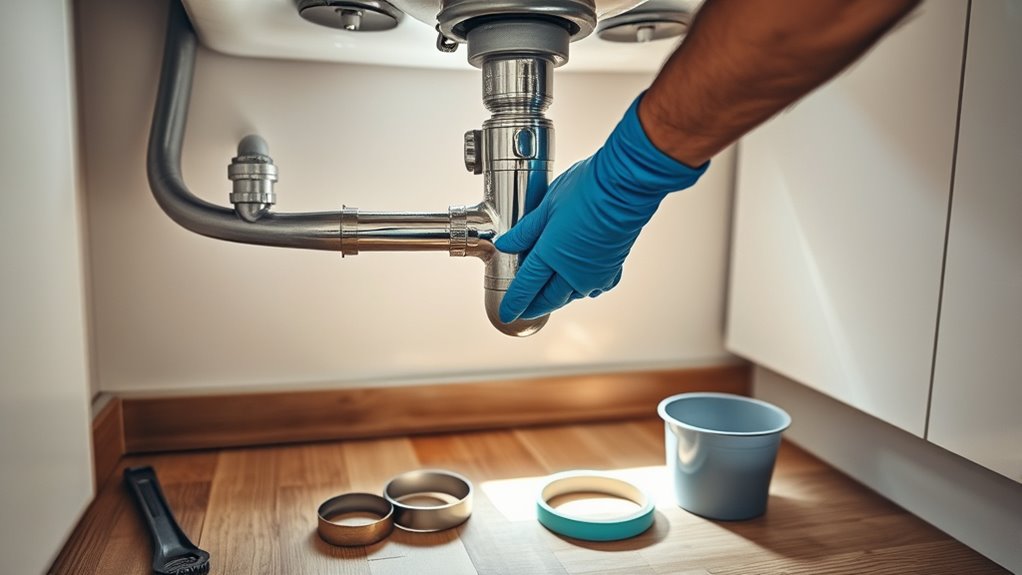
DIY Guide to Fixing Common Plumbing Problems
Dealing with plumbing problems can be frustrating and stressful, especially when leaks or clogs disrupt your daily routine. You’re not alone—many people struggle with these common issues and wish they had a simple way to fix them without calling a professional every time.
That’s why we’ve put together this DIY guide to fixing common plumbing problems to help you tackle these headaches with confidence.
You can fix common plumbing problems by spotting leaks early, using tools like wrenches and plungers, and clearing clogs naturally with baking soda and vinegar.
Always shut off your water before repairs, replace worn washers in faucets, and use plumber’s tape for tight seals when installing fixtures.
Regular checks help prevent bigger issues, but if problems persist, knowing when to call a pro is key.
Keep going to uncover more easy plumbing tips and tricks.
Key Takeaways
- Shut off the water supply before repairing leaky faucets. Replace worn washers or O-rings to stop drips effectively.
- Clear slow or clogged drains using natural remedies like baking soda, vinegar, and boiling water. This helps you avoid harsh chemicals.
- Use a plunger or toilet auger to fix toilet clogs. Make sure there’s enough water for a proper seal.
- Apply plumber’s tape on pipe threads and tighten fittings carefully. This fixes leaks or helps replace damaged fixtures securely.
- Regularly inspect pipes, faucets, and water heaters to catch early issues. Doing this can prevent costly plumbing repairs.
Identify Plumbing Problems Quickly
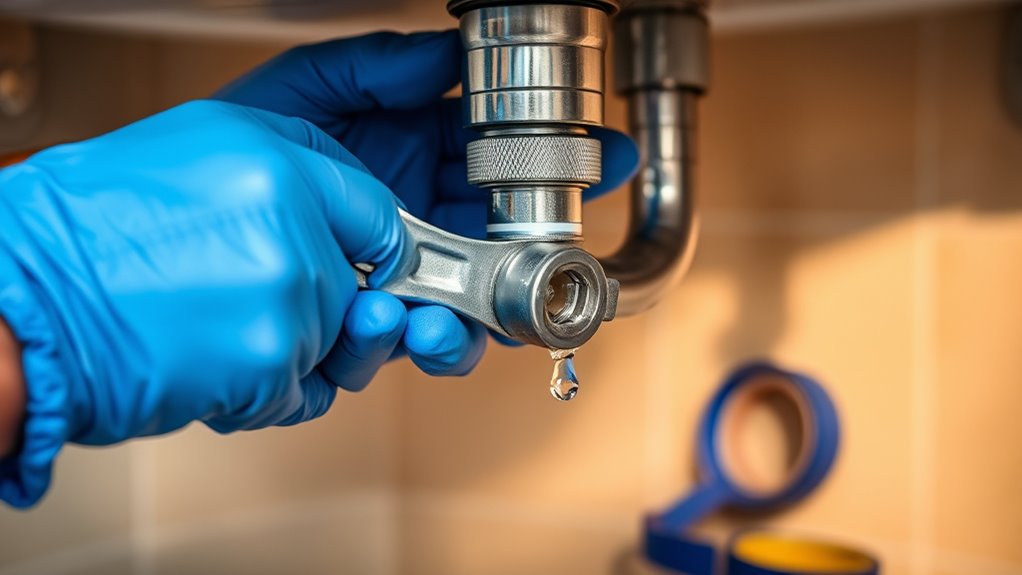
How can you spot plumbing issues before they worsen? Start by performing regular plumbing inspections to catch small problems early. Look for signs like damp spots, reduced water pressure, or unusual noises in your pipes. These can indicate leaks or blockages that might escalate if ignored.
Detecting leaks quickly helps you conserve water, saving both the environment and your utility bills. Keep an eye on your water meter too. If it runs when all fixtures are off, you likely have a hidden leak. Also, inspect visible pipes for corrosion or cracks.
Early detection lets you address issues promptly, preventing costly repairs and water waste. By staying proactive with plumbing inspections, you maintain efficient water flow and support water conservation efforts. Don’t wait for big problems—spot them early to keep your plumbing system in top shape.
Fix Leaky Faucets Without a Plumber
If you notice a faucet dripping, you don’t have to call a plumber right away. Understanding a basic plumbing system overview helps you tackle this issue efficiently. Most leaks come from worn-out washers or seals, which you can replace yourself using eco friendly solutions that save water and reduce waste.
Start by shutting off the water supply, then disassemble the faucet carefully. Check the parts for damage and replace faulty washers or O-rings. Reassemble the faucet and test for leaks. This simple fix conserves water and cuts your bill.
| Step | Tool Needed | Eco Friendly Tip |
|---|---|---|
| Turn off water | Wrench | Use a bucket to catch drips |
| Remove faucet parts | Screwdriver | Reuse old washers as spares |
| Replace washers | Replacement washers | Choose biodegradable parts |
| Reassemble faucet | Wrench/Screwdriver | Avoid chemical sealants |
You’ll save money and contribute to a greener plumbing system.
Clear Slow or Clogged Plumbing Drains Yourself
If your drains are slow or clogged, the first thing to do is figure out what’s causing the blockage. You’d be surprised how many clogs you can clear with natural cleaning methods that are both safe and effective. And the best part? Taking a few simple steps now can help prevent future blockages and keep your plumbing flowing smoothly.
Identify Drain Clog Causes
Why does your drain slow down or stop working altogether? Usually, it’s because something’s blocking the flow. Hair, soap scum, grease, and food particles often cause clogs.
You might also notice a foul drain odor, which signals trapped debris or bacterial buildup. Sometimes, pipe corrosion can narrow the pipe’s interior, restricting water flow and causing slow drainage.
Corroded pipes may also leach rust, contributing to clogs and unpleasant smells. To identify the cause, inspect accessible pipes for visible damage or buildup.
Pay attention to where the clog happens. Kitchen drains often get grease clogs, while bathroom drains collect hair and soap residue. Recognizing these causes helps you tackle the problem effectively before it worsens or leads to costly repairs.
Use Natural Cleaning Methods
Once you’ve identified what’s causing your slow or clogged drain, you can take action using natural cleaning methods. These natural remedies offer an eco friendly solution that avoids harsh chemicals.
Start by pouring a mixture of baking soda and vinegar down the drain. Let it fizz for 15-30 minutes to break down buildup. Then, follow with boiling water to flush loosened debris.
If needed, repeat the process for stubborn clogs. You can also use a salt and hot water combination to clear greasy residue.
These eco friendly solutions not only clear blockages but also protect your pipes and the environment. By choosing natural remedies, you maintain a safer home and reduce your ecological footprint while effectively restoring your drain’s flow.
Prevent Future Blockages
Preventing future blockages starts with simple habits you can easily adopt. Maintaining consistent water pressure helps flush debris through your pipes, reducing buildup. You should also insulate exposed pipes to avoid freezing, which can cause cracks and blockages.
Here are some tips to keep your drains clear:
- Avoid pouring grease or food scraps down the sink.
- Use a drain strainer to catch hair and debris.
- Run hot water regularly to dissolve minor clogs.
- Check and maintain pipe insulation to prevent damage.
Unclog Toilets With Simple Tools
When your toilet clogs, you don’t need to call a plumber right away; you can often clear the blockage using simple tools found around your home. Start by using a plunger to create suction in the toilet bowl. Make sure there’s enough water covering the rubber part of the plunger to get a good seal.
You can often clear toilet clogs yourself using a plunger and simple tools before calling a plumber.
Push and pull firmly, maintaining the seal, to dislodge the clog. If that doesn’t work, try a toilet auger. Insert it into the toilet bowl and twist gently to break up or retrieve the blockage.
Sometimes, clogs can be caused by a blocked plumbing vent, which affects airflow and drainage. If you suspect this, check the vent on your roof for debris or obstructions.
Clearing the vent can restore proper flow and prevent frequent clogs. By using these simple tools and checking the plumbing vent, you can often fix toilet blockages yourself without extra costs or hassle.
Stop Running Toilets to Save Water and Money
If your toilet keeps running after a flush, it wastes a surprising amount of water and drives up your utility bills. Tackling this common issue is a smart step in toilet maintenance that benefits both your wallet and the environment. You can stop the constant flow by checking a few simple parts inside the tank.
Here’s what to focus on for effective water conservation:
- Inspect the flapper valve for wear or misalignment.
- Adjust the float arm or replace the fill valve if water levels are too high.
- Ensure the chain connecting the handle to the flapper isn’t too tight or tangled.
- Clean or replace corroded or mineral-encrusted parts.
Repair Minor Pipe Leaks and Drips at Home
Although minor pipe leaks may seem harmless, they can quickly cause water damage and increase your bills if left unchecked. To repair these leaks, first turn off your home’s main water supply.
Next, dry the pipe thoroughly and inspect the area to identify the source of the drip. For small leaks, applying plumber’s tape or a pipe clamp can provide a quick fix. If you notice the leak near a joint, tightening the fittings might help.
Keep an eye on your water pressure, as excessive pressure can worsen leaks and strain your pipes. Installing pipe insulation not only protects pipes from temperature changes but also helps reduce condensation, which might contribute to leaks.
After repairs, turn the water back on and check for any remaining drips. Regularly monitoring and maintaining your pipes can prevent minor issues from turning into costly repairs, saving you time and money in the long run.
Replace Showerheads and Faucet Parts Easily
Replacing showerheads and faucet parts is easier than you probably think once you know how to choose the right pieces. You’ll want to make sure the parts match up well so you don’t end up with leaks or a bad fit.
Just follow a simple, step-by-step guide, and you can swap out those old fixtures quickly and with confidence. It’s really not as tricky as it seems!
Choosing The Right Parts
When you select parts for your showerhead or faucet, knowing the exact size and type is essential to guarantee a proper fit. This assures your new parts work efficiently without leaks or damage. Also, consider your water pressure; some heads need higher pressure to perform well. Don’t forget pipe insulation, which protects your plumbing and helps maintain consistent water temperature.
Keep these tips in mind when choosing parts:
- Measure existing connections carefully to match sizes.
- Choose materials compatible with your plumbing system.
- Opt for water-efficient models to save resources.
- Verify parts support your home’s water pressure range.
Step-by-Step Replacement Guide
Since proper preparation is key, you’ll want to gather all necessary tools and parts before starting your showerhead or faucet replacement. First, turn off the water supply to avoid any mess.
Next, use a wrench to unscrew the old showerhead or faucet parts carefully. Don’t fall for plumbing myths like needing excessive force. Gentle, steady pressure works best.
Clean the threads and remove old plumber’s tape. Wrap new plumber’s tape around the threads to guarantee a tight seal.
Screw on the new fixture by hand, then tighten slightly with a wrench. Finally, turn the water back on and check for leaks.
Choosing eco-friendly solutions, like low-flow showerheads, helps save water without sacrificing performance. This straightforward method gets your fixtures replaced efficiently and effectively.
Prevent Plumbing Issues With Simple Home Maintenance
Taking just a few simple steps each month can help you prevent costly plumbing problems before they start. Regular home maintenance not only saves you money but also promotes water conservation by identifying leaks early. Use basic plumbing tools to inspect and maintain your system, making sure everything runs smoothly.
Monthly plumbing checks can prevent costly repairs and conserve water by catching leaks early.
Here are some easy maintenance tasks to keep your plumbing in top shape:
- Check faucets and pipes for leaks and fix them promptly to avoid water waste.
- Clean faucet aerators and showerheads to prevent mineral buildup that reduces water flow.
- Inspect your water heater for rust and sediment and flush it annually.
- Clear debris from outdoor drains and gutters to prevent clogs and water damage.
Use a Plunger, Drain Snake, or Chemical Cleaner
You’ll want to pick the right tool for your clog. Plungers work well for minor blockages, while drain snakes can tackle tougher ones. If you decide to go with chemical cleaners, just be sure to follow the safety guidelines to protect yourself and your pipes.
Let’s take a look at how to use each method effectively and safely.
Choosing The Right Tool
How do you decide which tool to use when tackling a clogged drain? Start by evaluating the clog’s severity and location. Use a plunger for minor blockages near the drain opening. It’s water-efficient and promotes water conservation.
A drain snake works best for deeper, stubborn clogs. It gently clears pipes without damaging pipe insulation. Chemical cleaners can dissolve tough clogs but use them sparingly to protect your plumbing and the environment.
Consider these factors:
- Type and severity of the clog
- Location of the blockage
- Impact on pipe insulation
- Environmental concerns like water conservation
Choosing the right tool ensures a quicker fix while preserving your plumbing system and conserving resources.
Safety Tips For Cleaners
Selecting the right tool is just the first step; using it safely protects both you and your plumbing. When using a plunger or drain snake, wear gloves to avoid contact with dirty water or sharp objects. Always follow the manufacturer’s instructions to prevent damage or injury.
If you choose chemical cleaners, prioritize chemical safety by reading labels carefully and never mixing different products, as this can create toxic fumes. Guarantee proper ventilation by opening windows or running fans to avoid inhaling harmful vapors.
Keep chemicals out of reach of children and pets. After use, wash your hands thoroughly. By following these safety tips, you’ll handle common plumbing clogs effectively while minimizing risks to your health and home.
Know When to Call a Professional Plumber
Although many plumbing issues can be fixed with a bit of DIY know-how, knowing when to call a professional plumber is essential to avoid making problems worse. If you’re dealing with complex issues like inconsistent water pressure or damaged pipe insulation, it’s best to get expert help. Trying to fix these yourself without the right tools or knowledge can lead to costly damage.
Knowing when to call a professional plumber can prevent costly damage from complex plumbing issues.
Here are clear signs you should call a professional plumber:
- Persistent low or high water pressure that DIY methods don’t fix
- Frozen or damaged pipe insulation causing leaks or bursts
- Recurring clogs or backups despite regular cleaning
- Water leaks near electrical components or gas lines
Frequently Asked Questions
How Do I Install a New Water Heater Myself?
To install a new water heater yourself, start by turning off the power and water supply to avoid hazards. Drain the old heater and disconnect its pipes carefully.
Follow water heater troubleshooting steps if problems arise during installation. Connect the new heater’s pipes and wiring, then refill and check for leaks.
Remember installation safety tips like wearing gloves and ensuring proper ventilation. Finally, restore power and test the heater to confirm it’s working correctly.
What’s the Best Way to Insulate Pipes for Winter?
Did you know that frozen pipes cause over $1 billion in damages annually? To protect yours, start by using foam insulation sleeves. They’re easy to slip on and prevent freezing.
Then, reinforce vulnerable spots with pipe wrapping, especially around bends and joints. This combo keeps heat in and cold out, reducing freeze risks.
Don’t forget to seal gaps where pipes enter walls. You’ll save money and avoid a costly winter headache.
How Can I Detect Hidden Plumbing Leaks Behind Walls?
You can detect hidden leaks behind walls by starting with hidden leak detection methods like listening for dripping sounds or looking for water stains and mold. Use a moisture meter to check wall cavity inspection spots for dampness.
Infrared cameras also help spot temperature differences caused by leaks. If you suspect a problem but can’t find it, consider cutting a small inspection hole in the drywall to visually check behind the wall cavity.
What Are Common Causes of Low Water Pressure?
You might feel frustrated when your water barely trickles out. Common causes of low water pressure include pipe buildup, which restricts flow inside your pipes, and clogged faucet aerators that block water output.
Sometimes, leaks or faulty pressure regulators also play a role. Don’t ignore these signs. Cleaning aerators or checking pipes can quickly restore your water flow and save you from bigger headaches down the road.
How Do I Maintain a Sump Pump Effectively?
You can maintain your sump pump effectively by performing regular pump maintenance. Check the pump monthly, clean the inlet screen, and remove any debris around the pit.
Test the pump by pouring water into the sump pit to guarantee it activates and drains properly. If it doesn’t work, use sump pump troubleshooting steps like inspecting the power source, float switch, and discharge line for clogs or damage. This keeps your pump reliable.
Conclusion
Did you know that fixing a leaky faucet can save you over 3,000 gallons of water a year? By tackling common plumbing problems yourself, you not only save money but also conserve water and prevent bigger issues.
With simple tools and maintenance, you can keep your plumbing running smoothly. However, don’t hesitate to call a professional if a problem feels too complex. Taking action early makes all the difference when fixing common plumbing problems!