5 Easy Steps to Fix Your Dripping Kitchen Faucet
Dealing with a dripping kitchen faucet can be incredibly frustrating. You’re not alone—many people struggle with that constant drip that wastes water and drives up bills. Fixing it might seem intimidating, but with the right guidance, it’s easier than you think.
To fix your dripping kitchen faucet, first identify the cause by checking for worn washers, O-rings, or mineral buildup. Then, gather basic tools like wrenches, replacement parts, and plumber’s grease. Turn off the water supply under the sink and prepare your workspace to avoid mess.
Next, replace or repair faulty parts carefully. Finally, test the faucet to ensure the drip’s gone and take steps to prevent future leaks. Keep going to find helpful tips for a lasting fix.
Key Takeaways
- Identify the cause by checking water pressure, worn parts, mineral buildup, and valve seat condition.
- Gather necessary tools like wrenches, screwdrivers, replacement washers, O-rings, and plumber’s grease.
- Turn off water supply valves, clear workspace, and place a bucket to catch residual water.
- Remove and replace damaged washers, O-rings, or cartridge parts with exact matches using proper tools.
- Test faucet by turning water on and off, check for leaks, and monitor for 24 hours to ensure repair success.
Find Out What’s Causing Your Kitchen Faucet to Drip
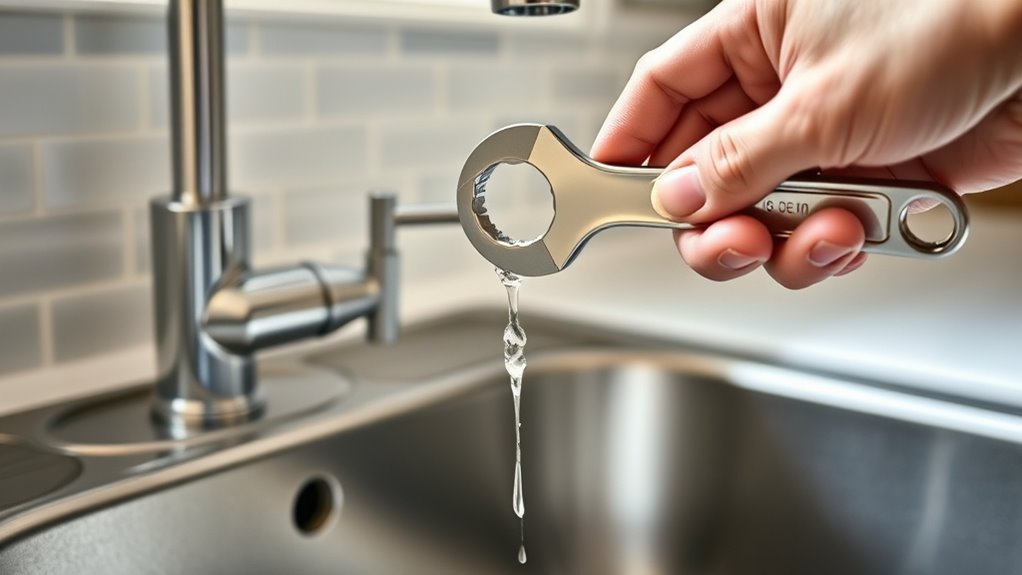
Before you can fix your dripping kitchen faucet, you need to pinpoint the exact cause. Start by checking the water pressure. High water pressure can stress your faucet’s components, leading to leaks.
To fix a dripping faucet, first identify the cause by checking water pressure and component wear.
If the pressure is too high, it can worsen the drip and make leak prevention difficult. Next, examine the faucet for worn-out parts like washers, O-rings, or seals, which are common culprits behind drips.
Mineral buildup or corrosion can also cause the faucet to leak, so look for any visible deposits. Sometimes, the problem lies in the valve seat, which connects the faucet to the spout. If it’s damaged, water can seep through.
Identifying the root cause helps you address the problem effectively and prevents further damage. By understanding these factors, you’ll be better equipped to stop the drip and save water, making your leak prevention efforts much more successful.
Gather Tools and Materials for Kitchen Faucet Repair
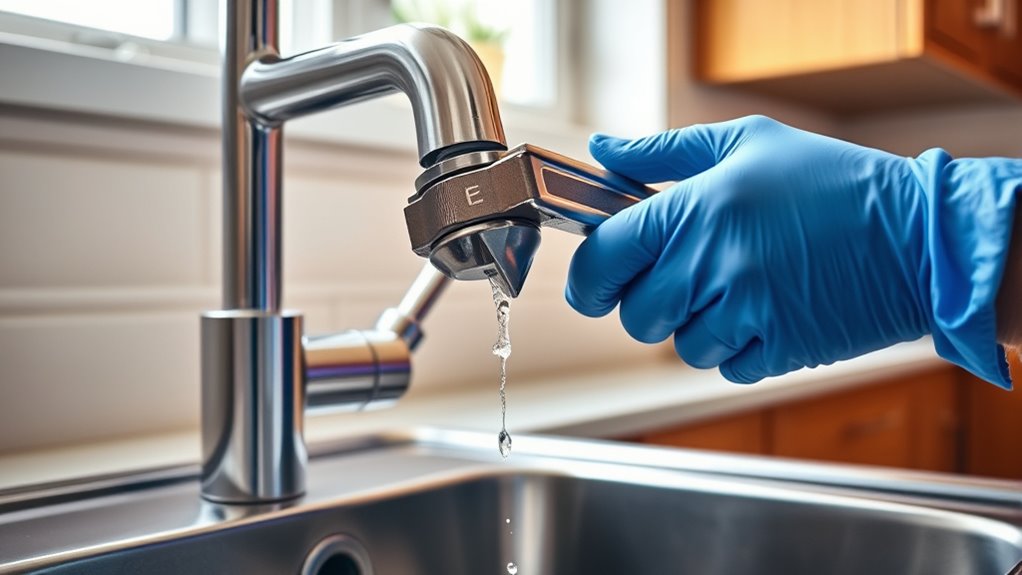
Once you know what’s causing your faucet to drip, gather the right tools and materials to make the repair smooth and efficient. Start with a basic wrench set and a screwdriver, as you’ll likely need these to remove parts like the faucet aerator or cartridge. Don’t forget to have replacement washers or O-rings on hand, since worn-out seals often cause leaks.
A pair of pliers will help grip stubborn components, and some plumber’s grease will ensure smooth reassembly. Additionally, grab some pipe insulation to wrap around exposed pipes after the repair, which helps prevent future damage from temperature changes.
If your faucet has a removable aerator, bring a small brush or cloth to clean it thoroughly; buildup here can sometimes mimic a drip. Having these tools and materials ready before you start will save time and frustration, making your kitchen faucet repair straightforward and effective.
Turn Off Water and Prepare Your Workspace
With your tools and materials ready, the next step is to turn off the water supply to prevent any mess while you work. This step is vital for water conservation and avoiding common mistakes like flooding or damaging your sink cabinet.
Locate the shutoff valves under the sink and turn them clockwise until fully closed. If you can’t find individual valves, turn off the main water supply for your home.
Next, prepare your workspace to keep everything organized and clean:
- Clear the area under the sink for easy access.
- Place a bucket or towel below the faucet to catch residual water.
- Lay out your tools on a nearby surface for convenience.
- Guarantee good lighting to see small parts clearly.
Fix or Replace the Faulty Kitchen Faucet Parts
Since a dripping faucet usually means worn-out or damaged components, you’ll need to identify and either fix or replace the faulty parts. Start by examining common culprits like washers, O-rings, and cartridge seals. These small parts often wear down over time, causing leaks.
If you spot cracks or buildup, replace them with exact matches to maintain proper function and faucet aesthetics. Fixing or replacing these parts promptly supports water conservation, preventing unnecessary waste and lowering your utility bills.
Use the correct tools to remove and install parts carefully, avoiding damage to the faucet body. If corrosion or extensive damage is visible, consider replacing the entire cartridge or valve assembly for a reliable fix.
Test Your Fix and Keep Drips From Coming Back
After you replace or repair the faulty parts, you need to test your faucet to make sure the drip is truly fixed. Start by turning the water supply back on and observing the faucet closely. Use these steps for effective leak detection and to verify the water pressure is stable:
- Turn the faucet on and off several times to check for any residual drips.
- Inspect all connections and joints for signs of leaks under normal water pressure.
- Use a dry cloth around the base and spout to detect any moisture that could indicate a slow leak.
- Monitor the faucet over the next 24 hours to confirm the drip hasn’t returned.
Frequently Asked Questions
How Much Does Professional Faucet Repair Typically Cost?
You can expect a professional faucet repair cost estimate to range between $100 and $300, depending on the issue’s complexity and your location. The repair process usually involves diagnosing the leak, replacing worn-out parts like washers or cartridges, and testing the faucet afterward.
If you want an accurate cost estimate, get a quote from a plumber before they start. This way, you won’t face surprises during the repair process.
Can a Dripping Faucet Increase My Water Bill Significantly?
Yes, a dripping faucet can increase your water bill considerably over time. Even small leaks waste gallons of water daily, making leak prevention essential for saving money.
By fixing drips promptly, you practice effective water conservation and avoid unnecessary expenses. You’ll not only reduce your bill but also help conserve a valuable resource.
Don’t underestimate the impact of a steady drip. It adds up faster than you think!
What Types of Faucets Are Most Prone to Dripping?
You’ll find that older faucet styles, especially compression faucets, are most prone to dripping because their washers wear out faster. Cartridge and ball faucets can also drip if not installed properly.
To avoid leaks, follow installation tips closely. Tighten connections without overtightening and use quality parts. Regular maintenance helps too.
If you notice a drip, addressing it early prevents water waste and higher bills.
Are There Eco-Friendly Options to Reduce Faucet Drips?
Don’t let your faucet drip like a leaky faucet symphony draining your wallet. You can choose eco friendly fixtures designed to stop those annoying leaks and save gallons of water. These fixtures use smart valves and durable materials to keep your flow steady.
Pair them with water saving tips like fixing leaks promptly and installing aerators, and you’ll not only protect the planet but cut your water bills too. Every drop counts!
When Should I Consider Replacing My Entire Faucet?
You should consider replacing your entire faucet when frequent repairs don’t stop the drips or when worn parts affect performance. If the faucet aesthetics no longer match your kitchen style or you want a more reliable model, upgrading makes sense.
Also, trust brands with a strong reputation for durability and customer support. A new, reputable faucet can improve both function and look, saving you hassle in the long run.
Conclusion
Now that you’ve tamed the stubborn drip, your kitchen faucet will sing a silent song of efficiency. Like a conductor silencing a discordant note, your hands have restored harmony to your sink.
Remember, a little care goes a long way. Don’t let tiny leaks become a flood of frustration. Keep an eye on your faucet, and you’ll keep your kitchen flowing smoothly, one steady drop at a time.
By following these 5 easy steps to fix your dripping kitchen faucet, you’re not just saving water—you’re protecting your home and peace of mind.