Repair a Leaky Single Handle Faucet in 5 Easy Steps
If you’ve ever dealt with a leaky Single Handle Faucet, you know how frustrating that constant drip can be. You’re not alone—many people struggle with this annoying problem that wastes water and drives up bills. Whether it’s an old faucet or just worn-out parts, fixing that leak can seem intimidating at first.
To repair a leaky Single Handle Faucet, start by gathering tools like an adjustable wrench, replacement O-rings, and a new cartridge, then clear your workspace and shut off the water under the sink.
Remove the faucet handle carefully and pull out the old cartridge. Insert the new one, clean parts like the aerator, and replace any worn seals before reassembling.
Turn the water back on, check for leaks, and adjust as needed. Follow these steps to restore your faucet’s smooth, drip-free operation and learn tips to make certain a lasting fix.
Key Takeaways
- Turn off the water supply and drain the faucet by opening the handle before starting the repair.
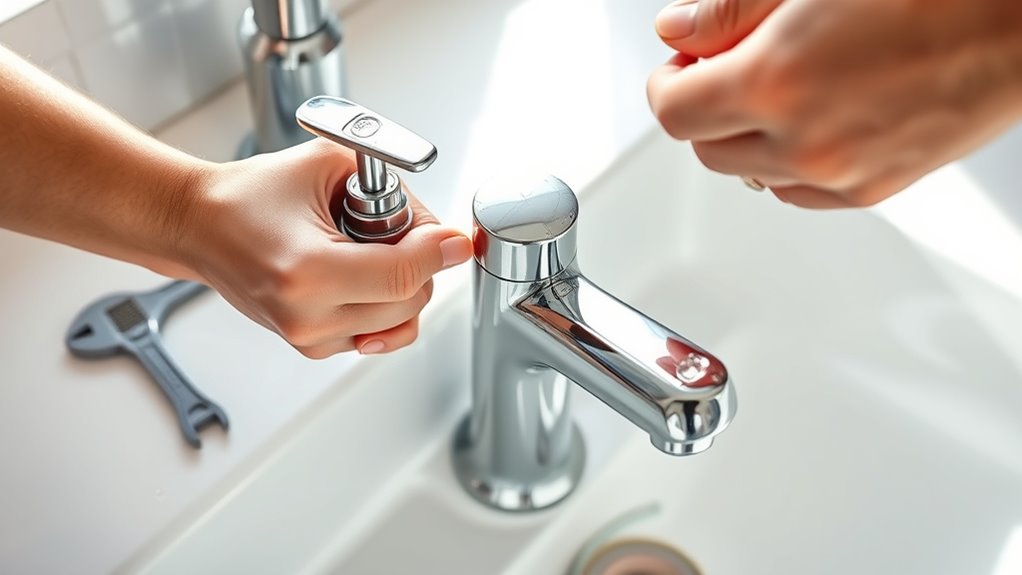
- Remove the faucet handle carefully by prying off the decorative cap and unscrewing the handle.
- Extract the old cartridge and replace it with a compatible new cartridge, making sure it’s properly aligned.
- Inspect and replace worn O-rings. Also, clean the aerator to prevent leaks and keep the water flowing smoothly.
- Reassemble the faucet, turn the water back on gradually, and check for leaks and smooth operation.
Gather Essential Tools and Set Up Your Work Area
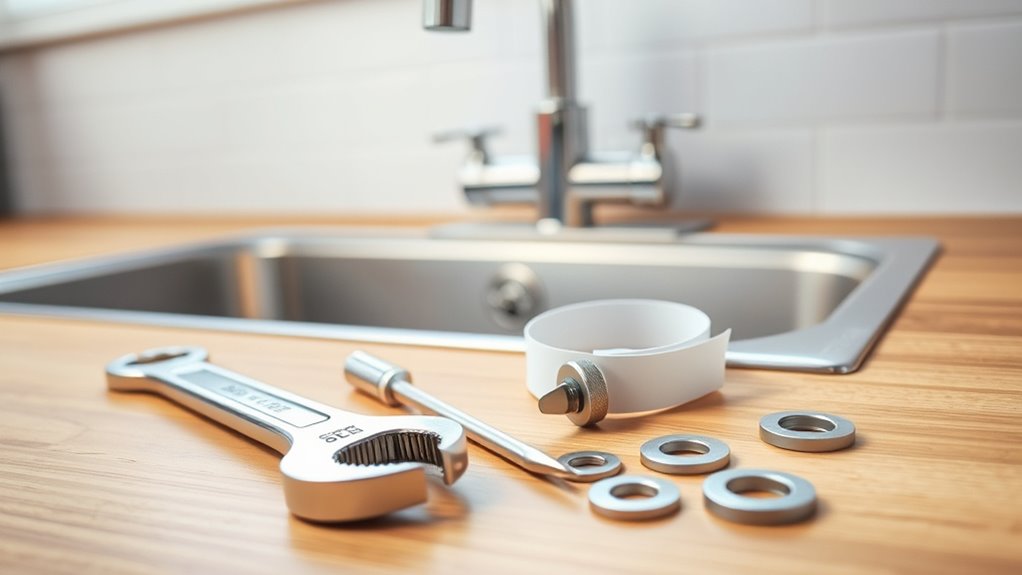
Before you begin repairing your leaky single-handle faucet, gather all the essential tools to avoid interruptions. You’ll need an adjustable wrench, a screwdriver, replacement O-rings, plumber’s grease, and a new cartridge if necessary. Having a small container handy helps keep screws and small parts organized. Don’t forget a cloth to wipe up any water spills.
Next, clear the area under the sink to give yourself ample space to work. Place a towel or bucket beneath the faucet to catch any drips when you remove parts. If you notice inconsistent water pressure during use, consider checking the faucet aerator first. It often collects debris that affects flow. Cleaning or replacing the aerator can sometimes solve minor leaks and improve water pressure, saving you unnecessary repairs.
Setting up your work area properly guarantees a smoother process and helps you focus on fixing your leaky faucet efficiently.
Shut Off Water and Remove the Faucet Handle from Single Handle Faucet
Since water can cause a mess and complicate repairs, you’ll want to shut off the water supply before you start working on your faucet. Locate the shutoff valves under the sink and turn them clockwise to stop water flow. This reduces water pressure, preventing unexpected sprays.
Turn off the water supply under the sink to prevent leaks and reduce pressure before faucet repairs.
Next, drain any remaining water by opening the faucet handle. Now, to remove the faucet handle, follow these steps:
- Identify the faucet material, metal or plastic, as this affects how you handle screws and avoid damage.
- Look for a decorative cap or cover on the handle and gently pry it off with a flathead screwdriver.
- Use an appropriate screwdriver or Allen wrench to remove the screw securing the handle.
- Carefully pull the handle straight up to remove it, avoiding force that could harm the faucet material.
With the handle removed and water off, you’re ready for the next repair steps.
Replace the Cartridge to Fix Your Leaky Faucet
When you’ve removed the handle from Single Handle Faucet, you can access the cartridge, which controls water flow and temperature in your single handle faucet. To replace it, first identify your faucet model to verify cartridge compatibility. Each model may require a different cartridge type, so check the manufacturer’s guide or packaging.
Remove the old cartridge by loosening the retaining nut and pulling it straight out. Insert the new cartridge, making sure it fits snugly and aligns properly with the faucet body. Then tighten the retaining nut to secure it in place.
Here’s a quick reference to match common faucet models with cartridge types:
| Faucet Model | Cartridge Type | Notes |
|---|---|---|
| Delta Single Handle | RP19804 | Most common replacement |
| Moen 90 Degree | 1225 | Compatible with many Moen models |
| Kohler K-97 | 1042254 | Check for exact fit |
| American Standard | 738120-0070A | Verify model number first |
This assures you pick the right cartridge and stop leaks efficiently.
Clean and Reassemble Faucet Parts Carefully
Although replacing the cartridge stops most leaks, you’ll want to clean all faucet parts thoroughly to guarantee smooth operation and prevent future problems. Mineral deposits and debris can reduce water pressure and clog the faucet aerator, so don’t skip this step.
Replacing the cartridge stops leaks, but cleaning all faucet parts ensures smooth operation and prevents future issues.
- Soak the faucet aerator in vinegar for 15 minutes to dissolve buildup, then rinse it well.
- Wipe down the cartridge and surrounding parts with a soft cloth to remove grime.
- Check all O-rings and seals for damage; replace any that look worn to avoid future leaks.
- Reassemble the faucet carefully, making sure each part fits snugly and the handle moves freely.
Taking the time to clean and reassemble your faucet parts correctly helps maintain steady water pressure and extends the life of your faucet. This careful step ensures your repair holds up over time.
Test the Single Handle Faucet and Stop Remaining Leaks
Before you fully reassemble the faucet, you’ll want to test it to identify any remaining leaks or issues. Turn the water supply back on slowly and observe the faucet closely while adjusting the handle. Pay attention to any drips or moisture forming around seals or joints.
Check the water pressure as well. Too high pressure can cause leaks even if everything else is in place correctly.
If you spot leaks, tighten connections carefully, but avoid over-tightening since faucet materials like brass or plastic can crack or warp. Sometimes, a worn-out cartridge or seal might still be the culprit. Replacing these parts is essential for a lasting fix.
After confirming there are no leaks and the water pressure is stable and appropriate, proceed to reassemble the faucet fully. Testing at this stage saves you time and prevents water damage. It ensures your single handle faucet works smoothly without wasting water.
Frequently Asked Questions
How Do I Know if My Faucet Cartridge Is Compatible?
You can know if your faucet cartridge is compatible by first checking the cartridge identification number or model, usually found on the old cartridge or in your faucet’s manual. Compare this info with the replacement cartridge’s specifications to verify faucet compatibility.
You’ll also want to match the size, shape, and handle type. If you’re unsure, take the old cartridge to a hardware store to find an exact match.
Can a Leaky Faucet Cause Water Damage to My Home?
Yes, plumbing leaks from a leaky faucet can definitely cause water damage to your home. Even small drips can lead to moisture buildup, which might damage walls, cabinets, and floors over time.
If you don’t fix the leak promptly, you risk mold growth and structural issues. So, you should address plumbing leaks quickly to protect your home and avoid costly repairs down the line.
How Often Should Faucet Cartridges Be Replaced?
You should replace faucet cartridges every 5 to 10 years, depending on water quality and usage. Studies show that about 10% of household water leaks come from worn-out cartridges.
During faucet installation, improper fitting can affect water pressure and cause leaks, so it’s vital to guarantee a tight seal. If you notice reduced water pressure or dripping, it’s a good sign to check and possibly replace the cartridge to maintain efficient flow.
What Is the Average Cost to Repair a Single Handle Faucet?
You’ll typically spend between $100 and $200 to repair a single handle faucet, depending on the issue and whether you hire a pro. Regular faucet maintenance can prevent costly repairs and support water conservation by stopping leaks early.
Are There Eco-Friendly Cartridges That Reduce Water Waste?
Absolutely, you can find eco-friendly cartridges that act like a gentle rain, carefully controlling every drop. These eco-friendly solutions are designed to reduce water waste by improving flow efficiency and preventing leaks.
They help you make water conservation a breeze. By swapping your old cartridge for one of these smart options, you’re not just fixing a faucet, you’re giving the planet a little extra care, one drip at a time.
Conclusion
Now that you’ve fixed your leaky single-handle faucet, you’re saving more than just water. You’re cutting down on waste. Did you know a dripping faucet can waste over 3,000 gallons annually?
By repairing it yourself, you’re not only preventing that waste but also avoiding costly plumber fees. With these simple steps, you’ve taken control of a common household issue and made your home more efficient.
Great job fixing your leaky single-handle faucet!