10 Easy Steps to Repair Your Water Heater
Struggling with a malfunctioning water heater can be frustrating, especially when you rely on it daily for comfort. You’re not alone—many people face this issue and feel overwhelmed by repair costs or complicated fixes. The good news is that with the right guidance, repairing your water heater yourself can be straightforward and cost-effective.
To repair your water heater safely, first turn off power and water supply. Check and adjust the thermostat to around 120°F, then inspect the pilot light or heating element.
Flush out sediment using a garden hose, and test or reset the reset button if needed. Replace any faulty parts like heating elements or anode rods to prevent corrosion.
Spot common issues early for smoother fixes. Follow these steps closely, and you’ll gain helpful tips for tackling most repairs confidently.
Key Takeaways
- Turn off power and water supply before starting any repair or inspection on the water heater to ensure safety.
- Adjust the thermostat to around 120°F and verify water temperature with a thermometer for optimal performance.
- Inspect and relight the pilot light or test electric heating elements using a multimeter for continuity.
- Flush sediment by attaching a hose to the drain valve and draining the tank to prevent corrosion.
- Check for leaks at valves and joints, tighten or replace faulty parts, and reset the thermostat if needed.
Turn Off Your Water Heater Safely
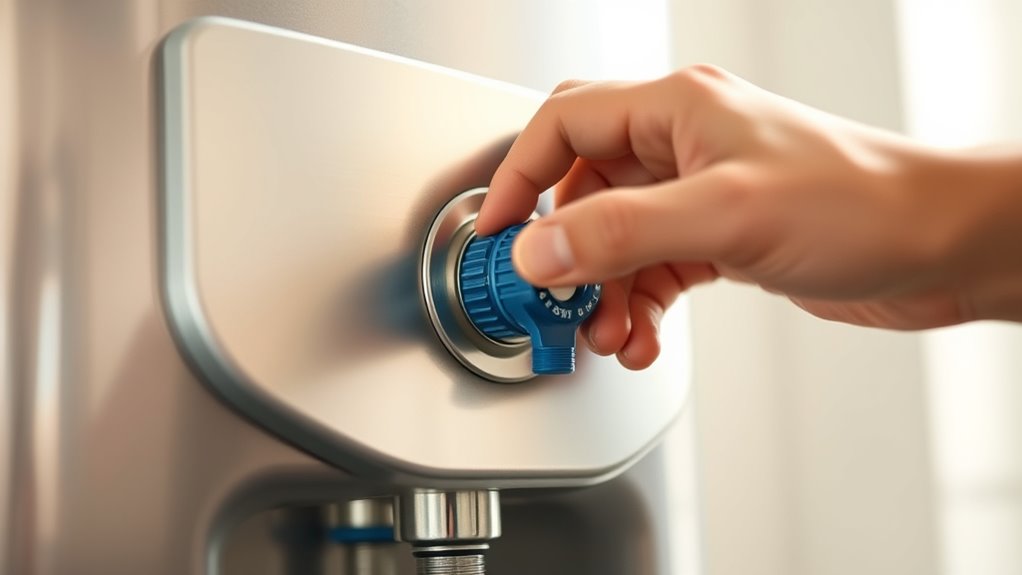
Before you begin any repairs, make sure you turn off your water heater safely to prevent accidents or damage. First, locate the power source, either the circuit breaker for electric heaters or the gas valve for gas models, and switch it off. This step is essential for safety precautions, protecting you from electric shocks or gas leaks.
Next, shut off the water supply to avoid flooding or leaks while you work. Taking these measures also helps maintain energy efficiency by preventing unnecessary heating during repairs. If your unit has a pilot light, turn it off as well to avoid hazards.
Following these safety steps ensures you can work with confidence and peace of mind. Remember, skipping this step could lead to serious injuries or costly damage, so don’t rush. By prioritizing safety and energy efficiency, you’re setting yourself up for a successful and smooth water heater repair.
Check and Adjust Your Water Heater Thermostat
Now that your water heater is off, it’s a good time to check the thermostat settings. You’ll want to make sure the temperature is set safely—usually around 120°F—to prevent burns and save energy. If you need to adjust it, just carefully turn the thermostat dial using a flathead screwdriver or the built-in control. Easy enough, right?
Thermostat Temperature Settings
Although your water heater may seem fine, incorrect thermostat settings can cause inefficiency or even safety risks. You should regularly check the temperature calibration to guarantee your water heater operates at the ideal level.
Most manufacturers recommend setting the thermostat around 120°F to balance comfort and energy savings. Setting it too high not only wastes energy but also increases the risk of scalding.
When you inspect the thermostat, follow safety precautions. Turn off power to avoid electric shock or burns. Use a reliable thermometer to verify the water temperature at a faucet and adjust the thermostat accordingly.
Proper temperature calibration helps extend your water heater’s lifespan and prevents unnecessary repairs while keeping you safe.
Safe Adjustment Practices
When you adjust your water heater thermostat, you’ll want to cut power to the unit first to prevent any risk of electric shock or burns. Always wear appropriate safety gear, such as insulated gloves and safety glasses, to protect yourself during the process.
Electrical safety is vital, so double-check that the circuit breaker is off before you begin. Use a non-contact voltage tester to confirm no electricity is flowing. Once it’s safe, remove the thermostat cover carefully.
Adjust the temperature dial slowly to the desired setting, typically around 120°F for safety and efficiency. After adjusting, securely replace the cover and restore power. Following these safe adjustment practices helps prevent accidents and guarantees your water heater runs smoothly.
Check Your Pilot Light or Heating Element
One of the simplest ways to diagnose your water heater’s problem is by checking the pilot light or heating element. If your water isn’t heating properly, these components are often the culprits. Here’s how to inspect them:
- Pilot Light: Look through the viewing window to see if the pilot light is lit. If it’s out, follow your manufacturer’s instructions to safely relight it. A weak or flickering pilot light may need cleaning or adjustment.
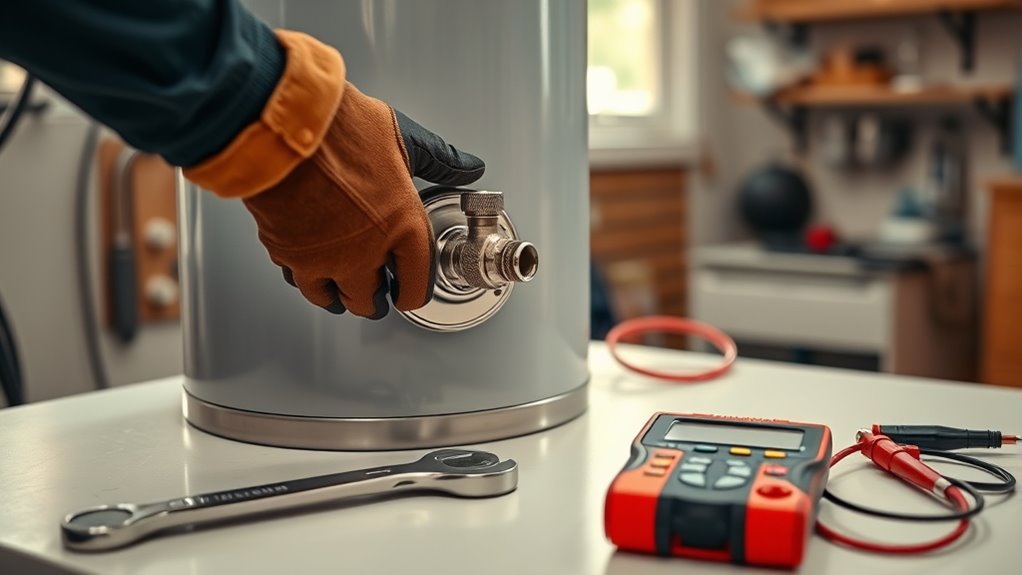
- Heating Element: For electric water heaters, turn off the power and remove the access panel. Use a multimeter to test the heating element’s continuity. If it shows no continuity, it’s faulty and needs replacement.
- Safety Checks: Always ensure the gas supply is off when working on the pilot light, and power is disconnected when handling the heating element to avoid accidents.
Flush Sediment From Your Water Heater Tank
Since sediment buildup can reduce your water heater’s efficiency and lifespan, you should flush the tank regularly to keep it running smoothly. Sediment collects at the bottom of the tank, causing tank corrosion and lowering heating efficiency. Flushing removes this debris, preventing damage and maintaining performance.
Here’s a simple process to flush your water heater tank:
| Step | Action | Tip |
|---|---|---|
| 1. Turn Off Power | Switch off the heater or gas | Guarantee safety before starting |
| 2. Attach Hose | Connect garden hose to drain valve | Direct water to a safe area |
| 3. Drain & Flush | Open valve, drain water until clear | Flush out sediment completely |
Test and Reset the Water Heater Reset Button
How do you know if your water heater’s reset button needs testing? If your water heater isn’t heating properly or has shut off unexpectedly, it’s time to focus on reset button troubleshooting. This button acts as a safety feature, preventing overheating and ensuring water heater safety.
Here’s how to test and reset it:
Here’s a simple guide to testing and resetting your water heater’s reset button safely.
- Turn off the power supply to your water heater to avoid electric shock.
- Locate the reset button, usually a red button on the thermostat panel.
- Press the button firmly. If it clicks, the reset has worked; if it doesn’t, the button or thermostat might be faulty.
Testing and resetting the reset button can often restore your water heater’s function quickly. Remember, always prioritize water heater safety by disconnecting power before working on it and consulting a professional if issues persist.
Check for Leaks and Tighten Pipe Connections
You’ll want to start by checking the usual spots where leaks happen, like pipe joints and valves around your water heater. If you notice any moisture, go ahead and tighten those connections carefully to stop the drip. Doing this right can help you avoid bigger problems later on.
Identifying Common Leak Sources
Where exactly is your water heater leaking from? Pinpointing the source is key for effective repair and corrosion prevention. Start by performing a thorough leak detection around these common spots:
- Temperature and Pressure Relief Valve: Check for moisture or drips. A faulty valve often causes leaks.
- Drain Valve: Inspect for signs of water around the valve. This may indicate it’s loose or damaged.
- Tank Base: Look for rust or pooling water, which suggests the tank itself is compromised.
Properly Tightening Pipe Joints
Once you’ve identified where the leak is coming from, the next step is to check the pipe joints for any loose connections. Carefully inspect each joint, looking for signs of pipe joint corrosion, which can weaken fittings and cause leaks.
If you spot corrosion, it’s best to replace the affected section rather than just tightening. When tightening, make sure the fittings have proper compatibility. Mismatched materials can worsen leaks or cause damage.
Use a wrench to snugly tighten the connections, but don’t overtighten, as this can strip threads or crack pipes. After tightening, turn the water back on and observe the joints closely for any drips.
Properly tightening and ensuring fitting compatibility will help you stop leaks and maintain your water heater’s efficiency.
Replace a Faulty Heating Element or Thermocouple
Two main components often cause heating issues in a water heater: the heating element and the thermocouple. If your water isn’t heating properly, you’ll want to start with thermostat calibration and heating element testing. Here’s how to replace a faulty heating element or thermocouple:
- Turn off power and water supply. Safety first. Disconnect electricity and shut off the water to avoid accidents.
- Remove and test the heating element or thermocouple. Use a multimeter to check for continuity. A faulty part shows no continuity, meaning it needs replacing.
- Install the new part and restore power. Carefully replace the faulty component, secure it, then turn the water and power back on. Check for leaks and proper heating.
Replacing these components yourself saves time and money, and guarantees your water heater runs efficiently.
Clean or Replace the Anode Rod to Prevent Corrosion
Although your water heater may seem fine on the surface, neglecting the anode rod can lead to costly corrosion inside the tank. The anode rod plays a vital role in corrosion prevention by attracting corrosive elements, protecting the tank’s metal lining from rusting.
You should check the anode rod every one to two years, especially if you notice rusty water or decreased water heater efficiency.
To clean the anode rod, simply remove it with a wrench and scrub off any buildup using a wire brush. If the rod is heavily corroded or less than half an inch thick, it’s best to replace it entirely.
Installing a new anode rod ensures ongoing corrosion prevention and extends your water heater’s lifespan. Remember, maintaining the anode rod is a simple yet effective step to avoid expensive repairs or premature water heater failure. Don’t skip this essential maintenance task.
Diagnose Common Water Heater Problems Before Repair
Before you start fixing your water heater, you need to pinpoint the exact problem to avoid wasting time and money. Diagnosing issues early helps extend your water heater lifespan and guarantees you apply the right energy efficiency tips.
Here’s how to identify common problems:
1. No Hot Water or Insufficient Heat
Check the thermostat setting and power source. A faulty heating element or pilot light could be the cause.
2. Water Leaks
Inspect the tank and connections for visible signs of leaks. Small leaks can lead to bigger issues if ignored.
3. Strange Noises
Rumbling or popping sounds usually indicate sediment buildup, which reduces efficiency and shortens your heater’s life.
When to Call a Professional for Water Heater Repairs
If you notice persistent issues like severe leaks, electrical problems, or your water heater won’t heat at all despite troubleshooting, it’s time to call a professional. These problems can pose serious risks, and prioritizing water heater safety is essential. Attempting complex repairs without proper knowledge can lead to further damage or even hazardous situations like electrical shocks or gas leaks.
You should also seek professional repair if you detect strange noises, foul odors, or if your water heater is over 10 years old and showing signs of wear. A certified technician has the right tools and expertise to diagnose and fix issues safely and effectively.
Frequently Asked Questions
How Long Does a Typical Water Heater Last?
A typical water heater lasts about 8 to 12 years, but you can extend its life with proper maintenance tips like flushing the tank annually and checking the anode rod.
If you notice issues like inconsistent water temperature or strange noises, troubleshooting issues early can prevent bigger problems.
What Size Water Heater Do I Need for My Home?
You need a water heater size based on your household’s hot water demand. For a small family, a 30-40 gallon tank usually works well.
If you have more people or use multiple appliances simultaneously, consider 50 gallons or more. Keep your temperature settings around 120°F to balance comfort and energy savings.
Setting it too high wastes energy, while too low might not meet your needs efficiently.
Can I Use a Water Heater With Hard Water?
Yes, you can use a water heater with hard water, but you’ll need to take precautions. Hard water causes scaling buildup and mineral deposits inside the tank and heating elements, which can reduce efficiency and lifespan.
To prevent this, consider installing a water softener or regularly flushing your water heater to remove deposits. Staying on top of maintenance will help your water heater perform better and last longer despite hard water challenges.
How Much Does It Cost to Replace a Water Heater?
You know what they say, “You get what you pay for.” Replacing a water heater typically costs between $800 and $1,500, including installation costs.
While it might seem pricey, investing in a newer model can lead to significant energy savings over time. If you choose an energy-efficient water heater, your monthly bills could drop, making the upfront cost worth it in the long run. Don’t rush—compare options carefully!
Are Tankless Water Heaters More Energy-Efficient?
Yes, tankless water heaters are more energy-efficient because they heat water only when you need it, which leads to significant energy savings. You won’t waste energy keeping a large tank of water hot all day.
This efficiency reduces your utility bills and lessens your environmental impact by lowering energy consumption. So, if you want to save money and help the planet, switching to a tankless system is a smart choice.
Conclusion
Fixing your water heater might seem like steering through a maze, but with these 10 easy steps, you’re well on your way to restoring comfort in your home. By taking these simple actions, you’ll keep your water heater running smoothly and avoid unexpected cold showers.
Remember, if the problem feels too complex, don’t hesitate to call a professional. You’ve got this. Your warm water oasis is just a few repairs away from a fully functional water heater!