Step-by-Step Guide to Winterize Your Home
Facing the chill of winter can be tough, especially when your home isn’t ready to keep the cold out. You’re not alone—many people struggle with drafty rooms, high heating bills, and unexpected cold snaps that make staying cozy a challenge. That’s why winterizing your home is so important, and we’re here to help guide you through it.
To winterize your home, start by sealing drafts around doors, windows, and outlets with weatherstripping and caulk. Upgrade attic and wall insulation to keep warmth in. Service your heating system and insulate plumbing to prevent freezing.
Clean gutters and check your roof for damage. Don’t forget to maintain your fireplace and protect outdoor equipment and plants. Adjust your thermostat for energy savings.
Following these steps will strengthen your home’s winter defenses and comfort. Keep going to uncover more easy tips for a cozy season.
Key Takeaways
- Find and seal drafts around windows, doors, outlets, and attic hatches using caulk, weatherstripping, or spray foam. This helps prevent cold air leaks and keeps your home cozy.
- Upgrade attic and wall insulation with the right materials. Doing this improves energy efficiency and helps maintain indoor warmth throughout winter.
- Service your heating systems by replacing filters, sealing duct leaks, and lubricating parts. Don’t forget to schedule professional tune-ups to ensure reliable performance when it gets cold.
- Protect your plumbing by insulating pipes, disconnecting outdoor hoses, and sealing pipe entry points. These steps prevent freezing and potential damage.
- Clean gutters, inspect roofs, and schedule chimney maintenance. This helps avoid ice dams, leaks, and ensures your fireplace operates safely during winter.
Find and Seal Drafts in Your Home
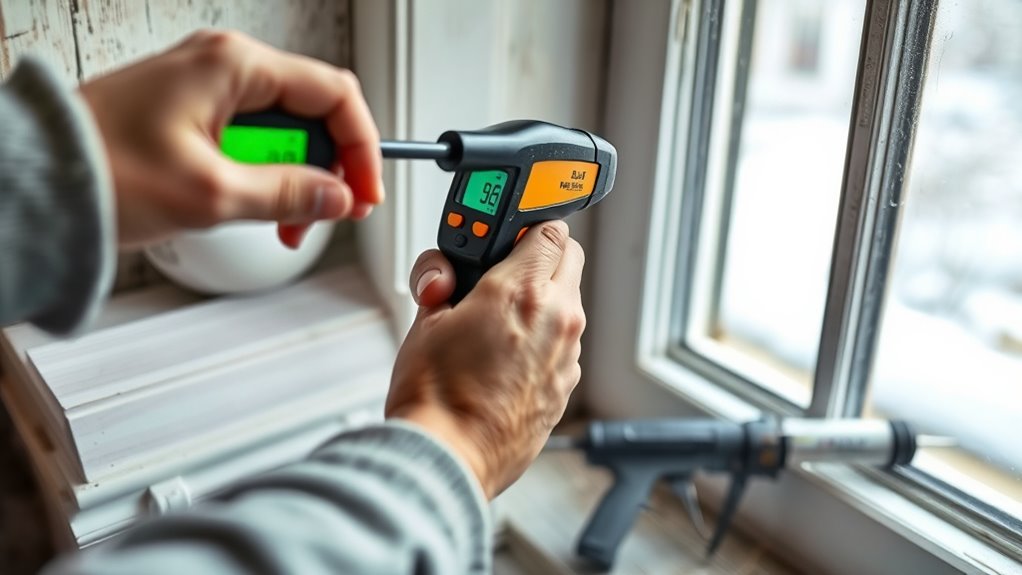
Before the cold sets in, you should check your home for drafts that let chilly air slip inside. Start by inspecting common drafty spots like baseboards, electrical outlets, and attic hatches. Use your hand or a candle flame to detect air movement.
Once you identify leaks, seal them with weatherstripping, caulk, or spray foam. This draft reduction not only keeps your home warmer but also boosts your insulation effectiveness by preventing cold air from bypassing insulated areas.
Don’t forget to check less obvious places such as around plumbing vents and recessed lighting fixtures. Sealing these gaps helps maintain a consistent indoor temperature and reduces your heating costs.
Winterize Windows and Doors
To keep cold air out, you’ll want to seal any air leaks around your windows and doors. Installing weatherstripping is a simple way to create a tight seal and improve energy efficiency. So, let’s take a look at how you can do this effectively.
Seal Air Leaks
How much warmth is escaping through your windows and doors? Sealing air leaks is essential to keep your home cozy and energy-efficient. When you stop drafts, you also improve your indoor air quality and maintain balanced indoor humidity, which helps prevent mold and mildew growth.
Here’s how to effectively seal those leaks:
- Inspect all window and door frames for gaps or cracks
- Use caulk to seal small openings around frames and trim
- Fill larger gaps with expanding foam sealant
- Check for leaks around electrical outlets near windows and doors
- Close chimney dampers tightly when not in use
Install Weatherstripping
After sealing air leaks, you’ll want to add weatherstripping to your windows and doors to block out cold drafts even more effectively. Start by choosing the right type of weatherstripping for each entry point. Foam tape works well for doors, while V-strip fits snugly in window frames.
Proper door insulation reduces heat loss and keeps your home cozy. Before applying weatherstripping, clean the surfaces thoroughly to guarantee strong adhesion.
Don’t forget to check and replace old or damaged window caulking around frames to prevent moisture and cold air from sneaking in. Installing weatherstripping is a simple, cost-effective step that complements your previous sealing efforts, enhancing your home’s energy efficiency and comfort throughout winter.
Upgrade Attic and Wall Insulation
Now’s the perfect time to upgrade your attic and wall insulation to keep your home cozy. You’ll want to pick the right materials that suit your climate and make sure they’re installed properly. That way, you’ll get the most energy efficiency out of your investment. Let’s explore some options and tips to help you get the job done right.
Choosing Insulation Materials
Where should you start when upgrading your home’s insulation? Begin by choosing the right insulation materials that fit your needs and budget. Different insulation types offer varying levels of efficiency and ease of installation.
Consider how each material performs in your climate and where you plan to use it, whether in the attic or walls.
Keep these factors in mind when selecting insulation:
- R-value, indicating thermal resistance
- Moisture resistance for damp areas
- Compatibility with your home’s structure
- Cost-effectiveness and lifespan
- Ease of installation techniques suited for DIY or professional help
Installing Proper Insulation
Although selecting the right insulation materials is essential, installing them properly makes all the difference in boosting your home’s energy efficiency. When upgrading your attic and wall insulation, you need to focus on correct insulation installation to avoid gaps or compression that reduce effectiveness.
Different insulation types, such as fiberglass batts, spray foam, or cellulose, require specific techniques to maximize their performance. For example, fiberglass batts should fit snugly between studs without being compressed, while spray foam expands to fill cracks and crevices.
Make sure to seal any air leaks before installing insulation to prevent heat loss. Taking the time to install insulation properly ensures you get the full benefits of your investment, keeping your home warmer in winter and lowering your energy bills.
Winterize Your Heating System
Before the cold sets in, you should inspect and service your heating system to guarantee it runs efficiently all winter. Proper heating system maintenance reduces energy costs and prevents unexpected breakdowns.
Start by cleaning or replacing filters to improve airflow and indoor air quality. Next, check for leaks in ductwork to assure warm air reaches every room. Don’t forget to lubricate moving parts to reduce friction and wear. Finally, optimize your thermostat settings to balance comfort and energy savings.
Here’s a quick checklist for winterizing your heating system:
- Replace or clean air filters regularly
- Inspect and seal duct leaks
- Lubricate blower motor and other moving parts
- Test and calibrate your thermostat
- Schedule a professional heating system tune-up
Following these steps helps your system run smoothly, saves money, and keeps your home cozy all winter long.
Winterize Your Plumbing to Prevent Freezing
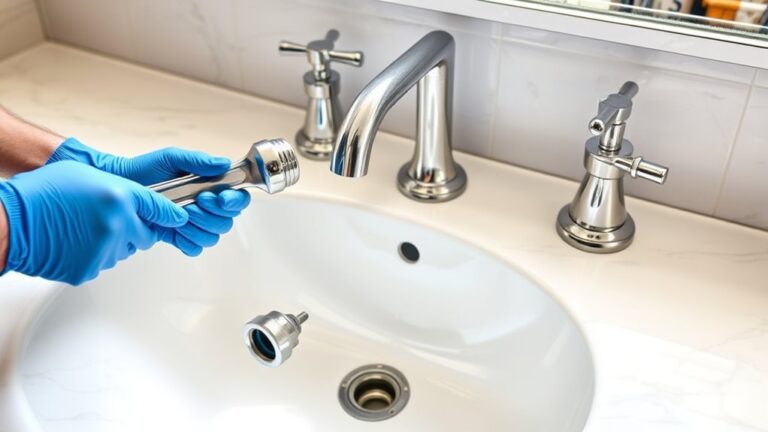
Since freezing temperatures can cause serious damage to your plumbing, you’ll want to take steps to protect your pipes before winter arrives. Start by insulating exposed pipes, especially those in unheated areas like basements, attics, and crawl spaces. Use pipe insulation sleeves or wrap foam tape around the pipes to provide effective frost protection. This simple step considerably reduces the risk of pipe bursts caused by freezing water.
Next, seal any gaps or cracks in walls and floors where pipes enter your home to prevent cold air from reaching them. If you have outdoor faucets, disconnect hoses and drain water to avoid freezing damage. Consider installing insulated covers on these faucets for added frost protection.
Lastly, keep cabinet doors under sinks open during extreme cold to allow warm air to circulate around the pipes. By following these tips, you’ll minimize costly plumbing repairs and keep your home safe and comfortable throughout winter.
Clean and Maintain Your Roof and Gutters
Before winter hits, it’s a good idea to check your roof for any damage that might cause leaks or ice dams. You’ll want to make sure your gutters are clear too, so water doesn’t build up and freeze. Doing these things now can really help you avoid expensive repairs down the road.
Inspect Roof for Damage
How often do you check your roof for damage? Inspecting your roof regularly helps prevent costly repairs during winter. Look for signs of roof damage that could worsen with snow and ice. Focus on areas where shingle replacement might be needed to maintain your home’s protection.
When inspecting your roof, pay attention to:
- Missing, cracked, or curling shingles
- Loose or damaged flashing around chimneys and vents
- Signs of water stains or mold in the attic
- Sagging or uneven roof sections
- Debris buildup that can trap moisture
Addressing these issues early ensures your roof stays strong against winter weather. Don’t wait until small problems turn into big ones. Schedule your inspection before the cold sets in.
Clear Gutters Thoroughly
While inspecting your roof, you should also clear your gutters thoroughly to prevent water damage. Proper gutter maintenance is essential to guarantee rainwater flows freely away from your home’s foundation. Start by removing leaves, twigs, and other debris lodged inside the gutters.
Use a scoop or gloved hands to perform debris removal efficiently. Don’t forget to check downspouts for clogs and flush them with a hose to verify water runs smoothly. Regular gutter maintenance helps avoid ice dams and structural damage during winter.
After cleaning, inspect your gutters for cracks or loose brackets and fix any issues immediately. Taking these steps now saves you from costly repairs later and protects your home throughout the harsh winter months.
Service Your Fireplace and Chimney
Since your fireplace and chimney play a crucial role in keeping your home warm, you should have them inspected and cleaned regularly. Proper chimney cleaning prevents soot buildup, reducing fire risks and guaranteeing fireplace safety.
Regular fireplace and chimney cleaning is essential for safety and efficient home heating.
Neglecting this maintenance can lead to dangerous blockages and carbon monoxide hazards.
To service your fireplace and chimney effectively, focus on these key steps:
- Schedule an annual professional chimney inspection and cleaning.
- Check the chimney cap for damage or debris that could block airflow.
- Inspect the fireplace for cracks or wear that might affect safety.
- Remove ashes regularly, but leave a small layer to help insulate embers.
- Confirm the damper opens and closes properly to control ventilation.
Install Weatherstripping and Door Sweeps
To keep cold drafts from sneaking into your home, you’ll want to install weatherstripping around doors and windows and add door sweeps to the bottoms of exterior doors. These simple sealing techniques are essential for effective draft prevention, helping you maintain warmth and reduce energy bills.
Start by cleaning the surfaces where you’ll apply weatherstripping to ensure it sticks properly. Measure the door or window frames carefully, then cut the weatherstripping to size. Peel and press it firmly along the edges where air leaks most often occur.
For door sweeps, attach them to the bottom of exterior doors, creating a tight seal against the floor. This stops chilly air from slipping underneath. By using these draft prevention methods, you’ll improve your home’s insulation and comfort throughout winter.
Plus, they’re cost-effective and easy to install, making them a smart part of your winterizing routine.
Adjust Your Thermostat for Energy Savings
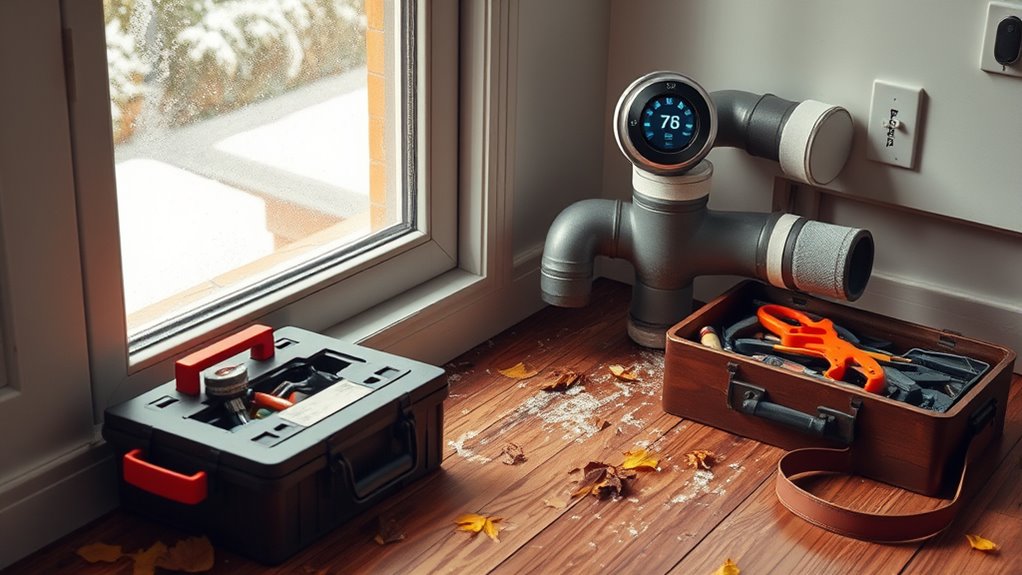
If you want to lower your energy bills this winter, adjusting your thermostat is a simple yet effective step. Smart thermostats make it easier than ever to save energy without sacrificing comfort. By using programmable settings, you can set your heating to match your schedule, reducing waste when you’re away or asleep.
Here’s how to optimize your thermostat for energy savings:
- Set your thermostat to 68°F when you’re home and lower it by 7-10°F when you’re asleep or away.
- Use programmable settings to automate temperature changes based on your daily routine.
- Take advantage of smart thermostats’ learning features to adapt to your habits.
- Avoid drastic temperature changes, which can waste energy and strain your system.
- Regularly update your thermostat’s software for improved efficiency.
Adjusting your thermostat thoughtfully helps you stay warm while cutting costs this winter.
Store Outdoor Equipment and Prepare Your Yard for Winter
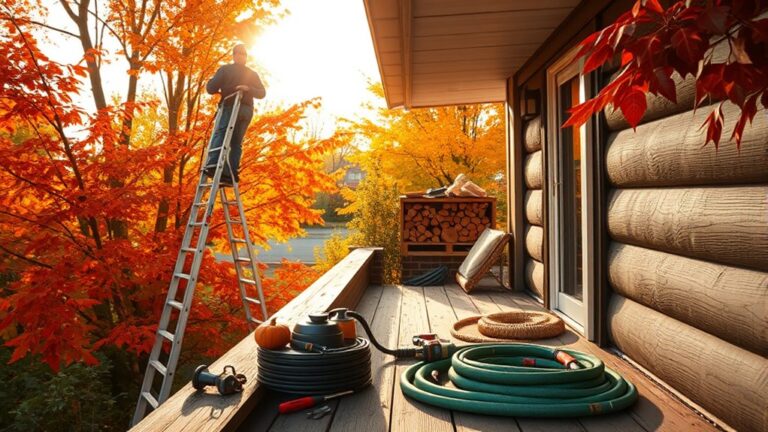
Before the cold sets in, make sure you store your outdoor equipment properly and prepare your yard for winter. Start by cleaning and performing basic equipment maintenance on items like lawnmowers, trimmers, and garden tools. Empty fuel tanks and oil to prevent damage during storage.
Next, organize your outdoor storage area to keep everything protected from harsh weather. Use waterproof covers or a shed to shield equipment from moisture and freezing temperatures.
For your yard, rake leaves and remove debris to prevent mold and pests. Trim back perennials and protect delicate plants with mulch or burlap wraps. Drain garden hoses and store them indoors to avoid cracking.
Frequently Asked Questions
How Can I Protect My Pets From Cold Weather Indoors?
To protect your pets from cold weather indoors, focus on pet safety by keeping them warm and comfortable. Use cozy blankets, heated pet beds, or place their sleeping area away from drafts.
Maintain indoor warmth with proper insulation and consistent heating. Make sure they have access to fresh water, and consider extra layers like pet sweaters for short-haired animals.
What Are the Best Energy-Efficient Light Bulbs for Winter?
Picture soft, warm light glowing through your cozy winter nights. For the best energy-efficient bulbs, you’ll want LED bulbs. They last long and save energy while shining bright.
CFL options are another good choice, using less power than traditional bulbs but with a slightly slower start-up. Both help cut your heating costs by reducing excess heat output.
How Do I Safely Use Space Heaters During Winter?
To safely use space heaters during winter, follow key safety precautions. Place your heater on a flat, stable surface away from flammable materials like curtains or furniture.
Maintain proper heater placement by keeping at least three feet of clearance on all sides. Never leave the heater unattended or run it overnight.
Also, plug it directly into an outlet instead of using extension cords to prevent electrical hazards. These steps keep you safe and warm.
What Emergency Supplies Should I Keep for Winter Storms?
You should keep an emergency kit stocked with essentials like water, non-perishable food, flashlights, batteries, a first aid kit, and blankets. Don’t forget a battery-powered radio to stay updated on weather alerts.
Having extra warm clothing, a portable phone charger, and any necessary medications will also help you stay safe and comfortable during winter storms. Regularly check and update your supplies to be prepared for any situation.
How Can I Prevent Ice Dams on My Roof?
You can prevent ice dams on your roof by improving roof insulation to keep your attic cold and stop heat from melting snow unevenly.
Also, keep up with gutter maintenance; clear out leaves and debris so melting snow drains properly. This prevents water from backing up and freezing at the roof’s edge.
Combining good insulation with clean gutters helps you avoid costly damage and keeps your roof safe during winter storms.
Conclusion
Winterizing your home isn’t just a chore; it’s your shield against winter’s bite. By sealing drafts, upgrading insulation, and prepping your heating, you’re wrapping your home in a cozy hug.
Imagine the warmth and peace you’ll feel, knowing you’ve protected your family and saved on energy bills. So take these steps now—your future self will thank you when the cold winds howl outside, and your home stays snug and welcoming inside.
Remember, winterizing your home is the key to staying comfortable and energy-efficient all season long.