How to Paint a Room in 3 Steps
Painting a room can feel overwhelming, especially if you’re not sure where to start or how to get a smooth, professional finish. You’re not alone—many people struggle with the prep work, choosing the right products, and applying paint evenly without streaks or drips. But with the right guidance, transforming your space can be simpler than you think.
To paint a room in three simple steps, start by gathering supplies and prepping your space. Choose the right paint, clear furniture, and wash walls for better adhesion.
Next, apply a primer and your paint evenly, working in small sections with smooth strokes for a flawless finish.
Finally, touch up any missed spots, remove painter’s tape carefully, and clean your tools properly.
Keep going to uncover tips for a professional-looking result and easy cleanup.
Key Takeaways
- Prepare the room by clearing furniture, covering surfaces, and washing walls for better paint adhesion.
- Apply a quality primer and let it dry completely before painting.
- Use brushes for edges and rollers for large areas, applying paint in smooth, even strokes.
- Allow 2-4 hours drying time between coats. Work in sections to avoid streaks.
- Finish with touch-ups, remove painter’s tape carefully, and clean tools promptly.
Gather Supplies And Prep Your Room For Painting
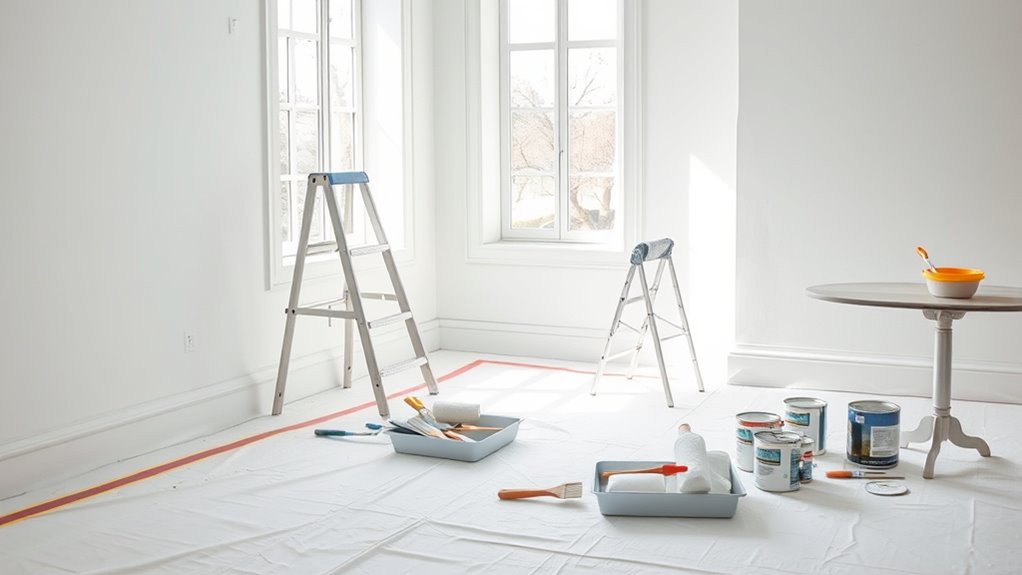
Before you begin painting, gather all the necessary supplies and prepare your room thoroughly. Start by choosing your color selection carefully. Consider how different shades will affect the room’s mood and lighting.
Pick paint with a texture that suits your walls. Smoother textures work well for flat surfaces, while thicker, textured paints can hide imperfections. Make certain you have brushes, rollers, painter’s tape, drop cloths, and a sturdy ladder ready.
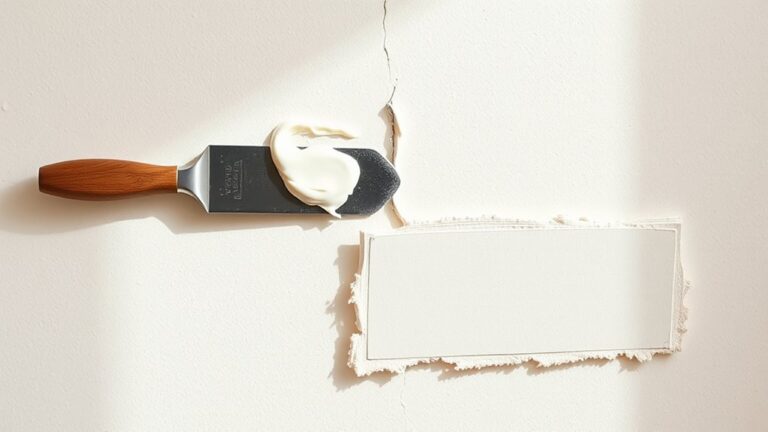
Clear the room by moving furniture out or to the center and covering it with plastic sheets. Remove outlet covers and switch plates to ensure a clean finish. Wash the walls to remove dust and grime, which helps paint adhere better.
Tape off trim, windows, and door frames to protect them from paint splatters. By prepping the space and choosing your color and paint texture wisely, you set yourself up for a smooth, successful painting process.
Apply Primer And Paint For A Smooth, Even Finish
Once your room is prepped and your supplies are ready, you can move on to applying primer and paint. Start with a quality primer to ensure paint adheres well and provides a smooth base. This step is essential, especially if you’re changing colors drastically or painting over stains.
After the primer dries, choose your paint based on your color selection and the type of paint best suited for the room. Latex is great for easy cleanup, while oil-based paint offers more durability.
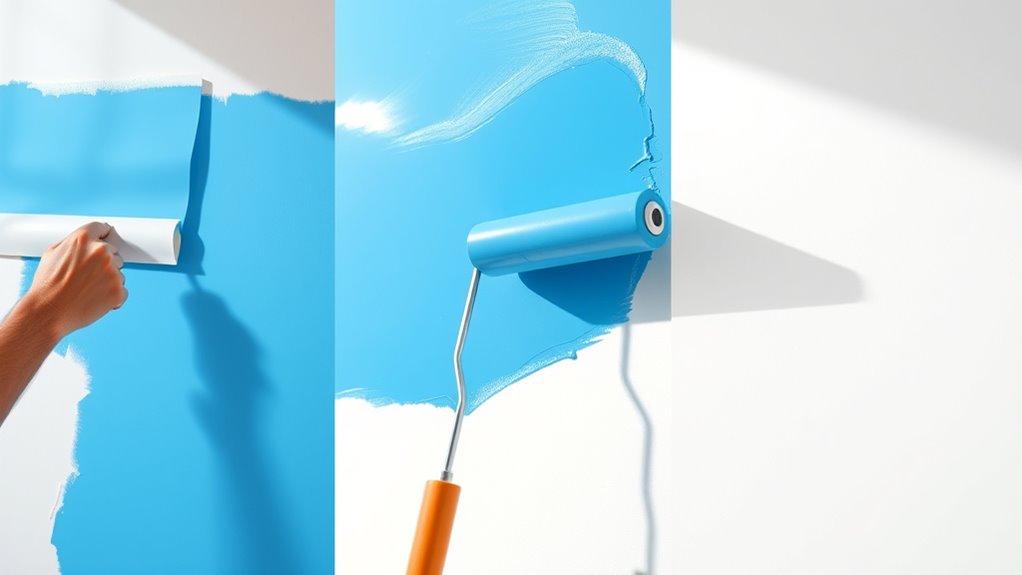
Apply paint using smooth, even strokes to avoid streaks and drips. Work in small sections, blending edges as you go for a seamless finish.
| Step | Tip |
|---|---|
| Primer Choice | Use a stain-blocking primer |
| Paint Types | Latex: quick-dry, Oil-based: durable |
| Color Selection | Test samples before full paint |
| Application | Use a brush for edges, roller for walls |
| Drying Time | Allow 2-4 hours between coats |
Finish Up: Touch Ups And Easy Cleanup Tips
Although the main painting is done, you’ll want to carefully inspect the walls for any missed spots or uneven areas and touch them up right away. Use a small brush or roller with the exact color choice you applied earlier to blend corrections seamlessly. Working promptly prevents noticeable patches and guarantees a flawless finish.
Next, focus on cleanup. Clean your paint tools immediately after finishing to keep them in good condition for future projects. For water-based paints, rinse brushes and rollers with warm, soapy water until the water runs clear. For oil-based paints, use the appropriate solvent. Remove painter’s tape slowly to avoid peeling paint, pulling it off at a 45-degree angle.
Finally, store leftover paint properly by sealing the can tightly and labeling it with the color choice and date. This way, you’ll have the perfect match handy for future touch-ups or redecorating. Following these steps helps you wrap up your paint job efficiently and keeps your tools ready.
Frequently Asked Questions
What Type of Paint Is Best for Humid Rooms?
You should choose a paint finish that’s moisture-resistant, like satin or semi-gloss, for humid rooms. These finishes repel water and prevent mold growth better than flat or matte paints.
When considering color selection, lighter shades can help brighten the space and make it feel airy despite humidity. So, pick a durable paint finish and a color that suits your style, ensuring your room stays fresh and protected in damp conditions.
How Long Should I Wait Between Paint Coats?
You should wait about 4 hours between paint coats to guarantee proper drying. This helps with color coordination and a flawless finish. Studies show 75% of paint failures come from insufficient drying time.
Using the right painting tools, like a quality brush or roller, also speeds up drying and improves application. Remember, patience during this wait guarantees your room’s colors pop and stay vibrant longer.
Can I Paint Over Wallpaper Without Removing It?
You can paint over wallpaper without removing it, but you’ll need proper surface preparation first. Make sure the wallpaper is firmly attached and in good condition, with no peeling or bubbles.
Clean the surface thoroughly, then apply a primer designed for glossy or non-porous surfaces. Keep in mind, wallpaper removal is usually the best option for a smoother, longer-lasting finish, but painting directly can work if done carefully.
What Safety Precautions Should I Take While Painting?
Wear gloves, open windows, and cover floors to protect yourself and your space. Choose non-toxic paint color selection to reduce fumes. Keep a wet cloth nearby to wipe spills immediately.
Maintain paintbrush maintenance by cleaning brushes promptly to avoid buildup. Avoid eating or drinking while painting to prevent ingestion of chemicals. By following these steps, you’ll stay safe and keep your project smooth from start to finish.
How Do I Fix Peeling or Bubbling Paint?
To fix peeling or bubbling paint, start by scraping off all loose paint and sanding the area smooth. Make certain you do thorough paint preparation to remove dirt and moisture.
After cleaning, apply a quality primer to the surface to guarantee better adhesion. Once the primer’s dry, repaint the area with your chosen paint.
Proper surface priming prevents future peeling and bubbling, giving you a long-lasting, flawless finish.
Conclusion
Now that you’ve mastered the art of transforming your space, your room’s new look will quietly impress without shouting for attention. With your careful prep, smooth strokes, and gentle touch-ups, you’ve given your walls a fresh beginning, like a well-kept secret waiting to be found.
Remember, the best paint jobs aren’t just about color; they’re about the subtle charm that makes a house truly feel like home. When you know how to paint a room in 3 steps, you create a space that reflects your style and warmth effortlessly.