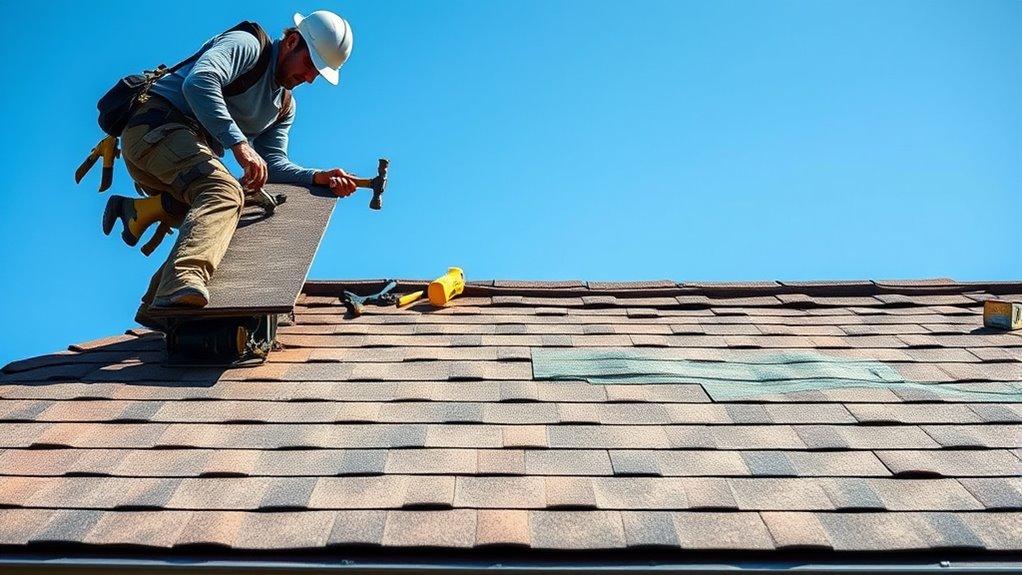
5 Simple Steps to Replace Your Roof
Replacing your roof can feel overwhelming, and you’re definitely not alone if you’ve been putting it off. Many people struggle with knowing where to start or how to choose the right materials.
If you’re ready to take control and give your home a fresh, protective upgrade, understanding the process can make all the difference.
You can replace your roof in five simple steps. First, inspect your roof for damage and gather all necessary materials, focusing on ventilation and gutters.
Next, choose durable roofing materials suited for your climate.
Then, remove old shingles carefully and repair any damaged decking.
After that, install underlayment followed by new shingles, ensuring proper flashing for leak protection.
Finally, seal your roof and clean up debris to extend its life.
Keep following along to investigate each step in detail.
Key Takeaways
- Inspect the roof for damage, gather necessary materials, and make sure safety equipment is ready.
- Select durable roofing materials that suit your climate. Also, check the manufacturer warranties to be sure.
- Remove old shingles carefully. Repair or replace any damaged roof decking, and clean the gutters while you’re at it.
- Install underlayment, flashing, and new shingles starting from the bottom edge. Use a staggered pattern for better coverage.
- Seal the roof with a protective coating. Then, maintain gutters regularly and clear debris to keep your roof lasting longer.
Inspect Your Roof for Damage and Gather Materials
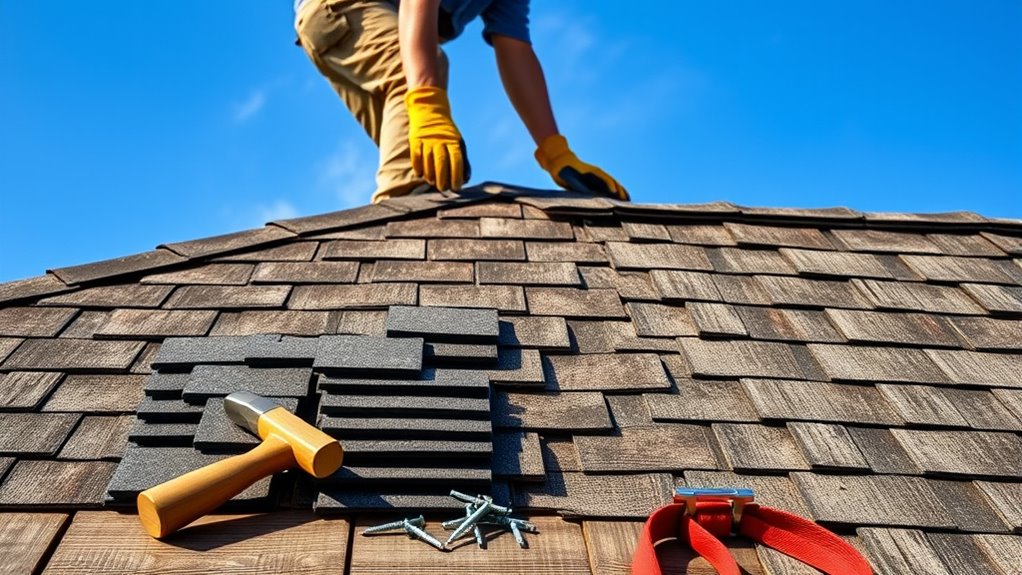
Before you begin replacing your roof, carefully inspect it for any damage like missing shingles, leaks, or rot. Climb up safely or use binoculars to get a close look at your roof’s surface.
Pay special attention to roof ventilation areas; blocked vents can cause moisture buildup and damage. Also, check your gutters for debris or damage, since proper gutter maintenance helps prevent water from pooling near your roof edge.
Clearing out gutters ensures water flows freely and won’t compromise your new roofing. As you inspect, make a list of needed materials like shingles, underlayment, nails, and tools. Don’t forget safety gear like gloves and harnesses.
Gathering everything beforehand saves time and frustration later. By thoroughly inspecting your roof and understanding its current condition, including ventilation and gutter status, you’ll be ready to move forward confidently with the replacement process.
Choose the Best Roofing Materials for Replacement
Now that you’ve inspected your roof and gathered all the necessary materials, it’s time to select the best roofing materials for your replacement. Focus on material durability to assure your new roof withstands the elements and lasts for years.
Asphalt shingles are popular due to their affordability and decent lifespan. But if you want something more durable, metal or tile roofing could be a better choice. Don’t forget to check the roofing warranty offered by manufacturers. It’s a good indicator of the product’s quality and how long you’re covered for potential issues.
A longer warranty often means greater confidence in the material’s durability. Also, consider your local climate when choosing materials. Some perform better in wet or windy conditions.
Remove Old Shingles and Repair the Roof Deck
Once you’ve chosen your materials, it’s time to remove the old shingles carefully to avoid damaging the roof deck beneath. Use a roofing shovel or pry bar to lift the shingles and pull out nails while working systematically from the top down. Take care around roof ventilation areas to prevent unnecessary damage.
After removing the shingles, inspect the roof deck for any soft spots, rot, or damage. Replace any compromised decking to guarantee a solid base for your new roof. Proper roof ventilation is critical here; make sure vents aren’t blocked and function correctly to avoid moisture buildup under your new shingles.
While working, take the opportunity to clean and inspect your gutters as well. Good gutter maintenance prevents water backup that can harm the roof edges and soffits. By thoroughly removing old materials and making repairs, you’ll set a strong foundation for the next steps in your roof replacement project.
Install Underlayment and New Roofing Shingles
After guaranteeing the roof deck is solid and clean, you’ll lay down the underlayment to create a protective barrier against moisture. This step prevents water from seeping through and causing damage.
Next, focus on flashing installation around chimneys, vents, and valleys to avoid future leaks. Proper flashing helps prevent common ventilation issues by directing water away from these vulnerable areas.
Finally, install the new roofing shingles, starting from the bottom edge and working upward.
Here’s how to proceed:
- Roll out and secure the underlayment, overlapping each row to ensure full coverage.
- Install flashing carefully around roof penetrations to protect against water intrusion and ventilation problems.
- Nail down shingles in a staggered pattern, ensuring each shingle overlaps the one below it to shed water effectively.
Seal and Clean Up Your Roof to Extend Its Life
Although your new shingles provide solid protection, sealing your roof properly will prevent water damage and prolong its lifespan. Applying a high-quality roof coating creates an extra barrier against moisture, UV rays, and temperature fluctuations.
This simple step helps reduce wear and tear, keeping your roof in good condition longer. After sealing, focus on gutter maintenance to guarantee water flows away from your home efficiently.
Clean out leaves, debris, and dirt from gutters and downspouts to avoid blockages that could cause water to pool on your roof or around your foundation. Regularly inspecting and maintaining gutters prevents damage and supports the roof’s drainage system.
Finally, clear your work area of leftover materials and debris to avoid any hazards or damage. By sealing your roof and maintaining gutters, you’re taking essential steps to protect your investment and extend your roof’s service life.
Frequently Asked Questions
How Long Does a Typical Roof Replacement Take?
A typical roof replacement usually takes about one to three days, but it depends on your roof material and installation techniques. Asphalt shingles go up faster, while metal or tile roofs might take longer due to complexity.
If your roof has multiple layers or requires repairs, expect extra time. Your contractor’s experience also impacts speed. Planning ahead helps you stay on schedule and avoid surprises during the process.
What Is the Average Cost of Replacing a Roof?
Wondering about the price tag on your new crown? The average cost of replacing a roof ranges from $5,000 to $15,000, depending on roof materials you choose. Asphalt shingles are budget-friendly, while metal or slate can push costs higher.
Doing a cost comparison helps you balance durability and expense. You’ll want to pick materials that fit your budget but also stand the test of time, so your investment truly pays off.
Do I Need a Permit for Roof Replacement?
Yes, you usually need a roof permit before starting your replacement. This roof permit guarantees you’re meeting local legal requirements and building codes. Skipping it can lead to fines or having to redo work.
Check with your city or county’s building department to confirm the exact process and fees. Getting the permit protects you legally and guarantees your new roof is safe and up to standard.
Can I Replace My Roof Myself or Hire a Professional?
You can replace your roof yourself, but DIY safety is essential since roofing involves heights and heavy materials. If you’re confident with tools and safety gear, you might manage smaller projects.
However, hiring a professional guarantees the job meets standards, especially if you lack experience. Professionals have the right qualifications and can spot issues you might miss.
Ultimately, weigh your skills against the risks before deciding to DIY or hire an expert.
How Do Weather Conditions Affect Roof Replacement Timing?
Weather conditions can really make or break your roof replacement timing. Think of it as nature’s mood swings. You’ll need to pay close attention to seasonal considerations, since heavy rain, snow, or extreme heat can cause weather-related delays.
These conditions affect how quickly materials set and how safe the work environment is. So, plan your project during dry, mild seasons to avoid unexpected hold-ups and keep everything on track.
Conclusion
Now that you’ve given your roof a fresh start, it’s like you’ve wrapped your home in a sturdy, weatherproof blanket. By following these simple steps, you’re not just fixing shingles; you’re building peace of mind, one nail at a time.
Remember, a well-cared-for roof is your home’s first line of defense against nature’s storms. So keep it tight, sealed, and shining, and enjoy the shelter your new roof provides for many years ahead.