5 Simple Steps to Repair Your Driveway
If you’ve ever looked at your driveway and felt overwhelmed by cracks, potholes, or stains, you’re not alone. Many people struggle with keeping their driveways in good shape, especially when damage starts to pile up. The good news? Repairing your driveway doesn’t have to be a huge headache, and with the right approach, you can restore it to looking great again.
Start by thoroughly evaluating and cleaning your driveway, removing dirt, debris, and stains to prepare for repairs. Next, patch larger potholes with cold asphalt or concrete and fill cracks to prevent water damage.
Smooth and level the repair material for a seamless finish. Then, apply a compatible sealant to protect your driveway from future wear. If damage is extensive, consider calling a professional.
Keep going to uncover expert tips for lasting results.
Key Takeaways
- Inspect and clean damaged areas by removing dirt, debris, oil stains, and moss. This creates a solid foundation for your repair.
- Fill larger potholes with cold patch material and seal cracks. This helps prevent water damage and improves the driveway’s appearance.
- Smooth and level repair patches using a trowel and straightedge. This ensures durability and a uniform surface.
- Apply a compatible sealant evenly after repairs. Doing this extends your driveway’s lifespan and keeps it looking great.
- Call a professional for major cracks, deep potholes, or uneven surfaces. They can ensure safe and lasting repairs.
Assess and Clean Damaged Driveway Areas
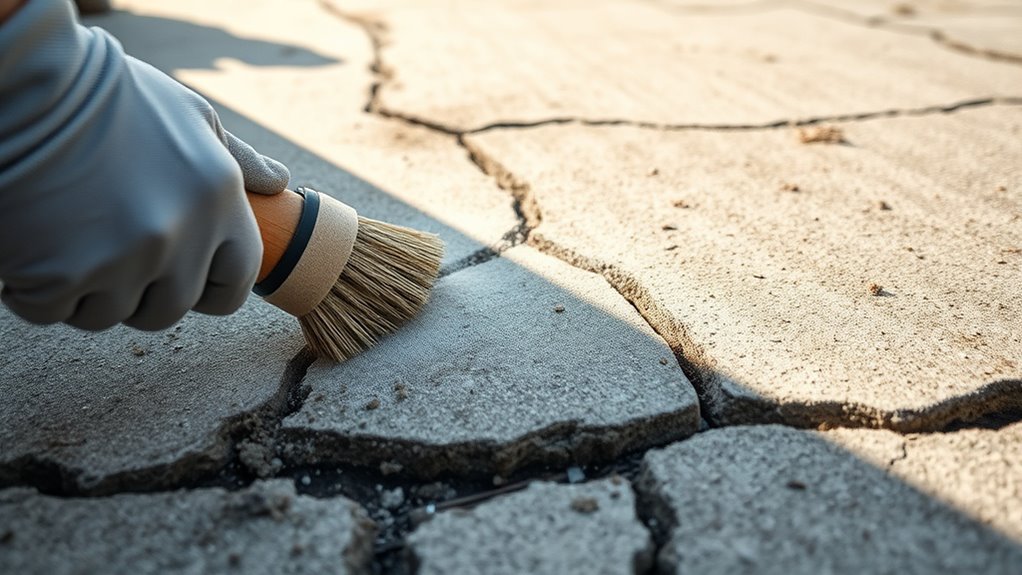
The first step in repairing your driveway is to carefully assess and clean the damaged areas. Start by examining the driveway material, whether it’s asphalt, concrete, or gravel, to identify any cracks, chips, or surface deterioration.
Pay close attention to how weather impact has contributed to the damage, such as freeze-thaw cycles causing cracks or rain weakening the surface. Once you’ve identified the trouble spots, clear away dirt, debris, and loose fragments using a broom, stiff brush, or pressure washer.
This cleaning guarantees that repair materials will adhere properly and last longer. Removing oil stains or moss is also vital, as they can interfere with the patching process.
Taking the time to thoroughly inspect and clean your driveway sets a solid foundation for effective repairs. It helps you avoid further damage down the line and extends the life of your driveway.
Patch Larger Driveway Potholes and Fill Cracks
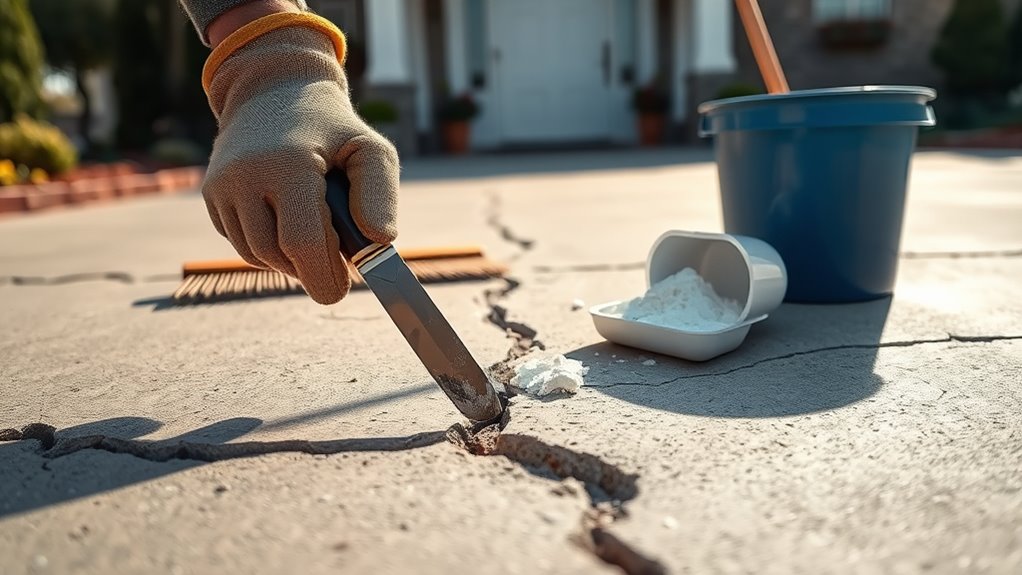
Once you’ve cleaned the damaged areas, you can start patching larger potholes and filling cracks to prevent further deterioration. Begin by applying a cold patch asphalt or concrete mix directly into the pothole, pressing it firmly to eliminate air pockets.
After cleaning, fill potholes with cold patch mix, pressing firmly to avoid air pockets and prevent damage.
For cracks, use a crack filler or sealant designed for your driveway material. Make certain to fill each crack completely to block water infiltration, which can cause more damage.
Pay attention to driveway aesthetics by smoothing the patch slightly below the surrounding surface. This helps the repair blend naturally and maintains a neat appearance.
Also, consider landscaping integration. Trim nearby plants and clean edges to create a seamless shift between your driveway and garden beds. Proper repairs not only extend your driveway’s life but also improve curb appeal by keeping it tidy and well-maintained.
Taking these steps guarantees your driveway remains both functional and visually appealing.
Smooth and Level Your Repairs to Blend Seamlessly
After filling potholes and cracks, you’ll want to smooth and level the repairs to guarantee they blend seamlessly with the surrounding driveway. Start by using a trowel or putty knife to spread your repair materials evenly, pressing firmly to remove air pockets and ensure proper adhesion.
Work the edges carefully to feather them into the existing surface, avoiding any abrupt bumps or ridges. Next, use a straightedge or a flat board to level the patch, moving it back and forth to create a uniform surface. This step is vital for maintaining driveway aesthetics, as uneven repairs stand out and may worsen over time.
If needed, lightly dampen the area to help the repair materials settle and cure properly. Taking your time here guarantees your driveway looks smooth and cohesive, extending the life of your repair and keeping your driveway visually appealing.
Seal Your Driveway to Protect Against Future Damage
Why leave your driveway vulnerable to cracks and stains when you can easily seal it for lasting protection? Sealant application is a vital step in driveway maintenance that shields your driveway from water, oil, and UV damage. Here’s how to seal your driveway effectively:
- Clean the surface thoroughly. Remove dirt, debris, and any previous sealant residues to ensure proper adhesion.
- Repair any cracks or holes. Fill and smooth out imperfections before sealing to prevent further damage.
- Choose the right sealant. Pick a sealant compatible with your driveway material for maximum durability.
- Apply the sealant evenly. Use a brush, roller, or sprayer to cover the entire surface, avoiding puddles or missed spots.
Regular sealant application extends your driveway’s lifespan and keeps it looking fresh. By including sealing in your driveway maintenance routine, you protect your investment and reduce costly repairs down the road.
When to Call a Professional for Major Driveway Repairs
How do you know when your driveway needs more than just a simple patch-up? If you’re facing large cracks, deep potholes, or uneven surfaces, it’s time to think about calling a professional. These issues often indicate underlying problems that require specialized equipment and expertise beyond DIY safety limits.
Attempting major repairs yourself can lead to injury or poor results, increasing long-term costs. Cost considerations also play a vital role. While hiring a pro might seem expensive upfront, it often saves you money by preventing further damage and ensuring the repair lasts longer.
Professionals can assess the full extent of the damage and recommend the best solution, which might be resurfacing or even replacing sections of your driveway. Trusting their experience helps you avoid costly mistakes and protects your investment. When safety and durability are on the line, don’t hesitate to call in the experts.
Frequently Asked Questions
What Materials Are Best for Driveway Repairs in Cold Climates?
For driveway repairs in cold climates, you’ll want materials like cold-patch asphalt or concrete mixed with additives that resist freeze-thaw cycles. Using insulation techniques beneath the driveway helps prevent frost heave, keeping repairs intact.
Proper snow removal is essential too; it prevents ice buildup that can damage surfaces. Combining durable materials with good insulation and regular snow clearing ensures your driveway stays strong and safe through harsh winters.
How Long Does Driveway Sealant Typically Last?
Sealant’s staying strength shapes sealant longevity, so driveway sealing typically lasts about two to three years. If you regularly reseal, you’ll safeguard surfaces from sun, snow, and salt damage, considerably stretching sealant longevity.
Keep your driveway clean and crack-free to maximize this. Remember, timely touch-ups prevent pricey repairs later, so don’t delay driveway sealing.
Your proactive protection preserves both appearance and asphalt’s lifespan, saving you time and money.
Can I Repair My Driveway During Rainy Weather?
You shouldn’t repair your driveway during rainy weather because moisture prevents proper adhesion. However, if you face a rain delay, you can use rain delay remedies like covering the area with waterproof tarps.
Also, employing weatherproofing techniques such as applying quick-dry sealants after the surface dries helps. Waiting for a dry day guarantees the best results, but these steps can minimize damage if you must work around unpredictable weather.
What Tools Do I Need for Basic Driveway Repairs?
You don’t need a magic wand, just some asphalt patching, crack filler, a trowel, and a sturdy broom. Don’t forget a chisel or wire brush to clean out those cracks. Your driveway’s not going to fix itself by wishing really hard.
Gloves and a bucket of water help too. With these tools, you’ll patch up your driveway like a pro, minus the wizard hat, unfortunately.
How Often Should I Inspect My Driveway for Damage?
You should inspect your driveway for damage at least twice a year, ideally in spring and fall. Regular driveway maintenance helps you catch small issues early, preventing costly repairs later.
Checking frequently allows you to spot cracks and address them quickly, improving crack prevention. After heavy storms or extreme weather, give your driveway a quick look too.
Staying proactive keeps your driveway safe and extends its lifespan.
Conclusion
By following these five simple steps, you can keep your driveway looking great and extend its lifespan. Did you know that sealing your driveway can reduce damage by up to 50%? That’s a huge difference in protecting your investment.
While small repairs are manageable on your own, don’t hesitate to call a professional if you spot serious issues. Taking action early saves you time and money down the road.
Remember, regular maintenance is key to a long-lasting driveway. Keep these steps in mind to ensure your driveway stays in top shape.