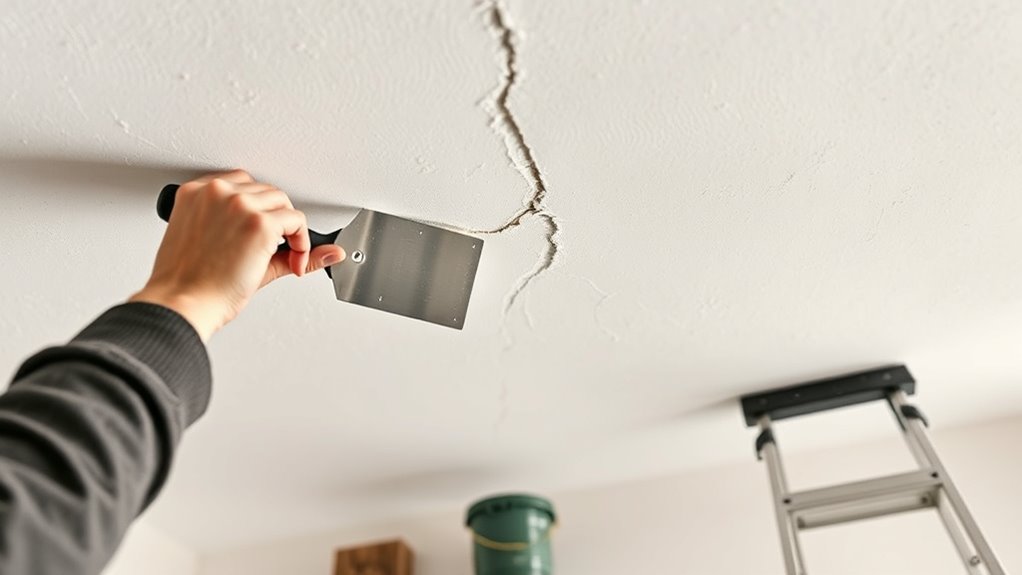
Repairing a Cracked Ceiling: Step-by-Step Guide
Dealing with a cracked ceiling can be frustrating, and if you’ve ever faced this issue, you’re not alone. Many people struggle with finding the right approach to fix those unsightly cracks without making a bigger mess.
The good news is that with the right tools and know-how, repairing a cracked ceiling doesn’t have to be a headache.
To repair your cracked ceiling, first inspect the crack to identify its type and cause. Then gather tools like a putty knife, joint compound, and primer.
Clean and prep the surface by removing loose material and dust.
Apply joint compound smoothly, let it dry, sand gently, and repeat if needed. Finish by priming and painting with a matching ceiling paint for a seamless look.
Keep following to uncover expert tips for a flawless repair.
Key Takeaways
- Inspect the crack type and ceiling condition to identify structural or cosmetic issues before starting repairs.
- Remove loose material and clean the area thoroughly to ensure proper adhesion of filler and paint.
- Apply joint compound to fill the crack, feather edges, and sand smoothly after drying for a seamless finish.
- Prime the repaired area with a suitable primer to create a uniform base before painting.
- Paint with matching ceiling paint and texture, using thin, even coats to blend repairs flawlessly.
How to Inspect Your Cracked Ceiling and Spot the Cause
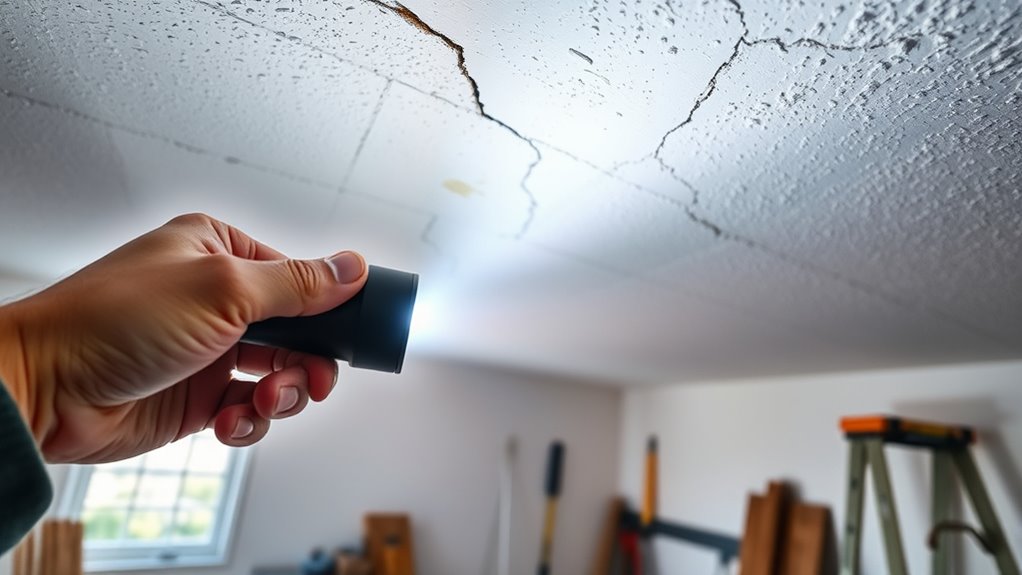
Before you begin repairing your cracked ceiling, you need to carefully inspect the damage to understand its cause. Start by examining the ceiling material closely, whether it’s drywall, plaster, or another surface. Look for patterns in the cracks; hairline cracks often indicate settling, while wider, jagged cracks might signal structural issues. Check if the cracks run along joints or seams, which could mean the ceiling material is shifting.
Next, assess the surrounding area for signs of moisture, sagging, or discoloration. These clues can point to water damage, which weakens the ceiling material and contributes to cracking. Don’t ignore potential structural issues like roof damage, foundation settling, or faulty framing. These problems can cause the ceiling to shift or sag, resulting in cracks. By thoroughly inspecting the ceiling and understanding the underlying cause, you’ll be better prepared to address the repair effectively and prevent future damage.
Tools and Materials Needed for Cracked Ceiling Repair
To fix your cracked ceiling, you’ll want to have a few essential tools on hand. Things like a putty knife, a sanding block, and a paintbrush will do the trick.
You’ll also need some materials, such as joint compound, primer, and ceiling paint. Having everything ready before you start will make the whole repair process a lot smoother and easier.
Essential Repair Tools
Although repairing a cracked ceiling may seem straightforward, having the right tools and materials makes the job much easier and guarantees a professional finish. Before you start, make certain you have everything on hand, especially if your ceiling has delicate decoration or intricate lighting fixtures nearby.
Here are three essential tools you’ll need:
- Putty Knife for applying and smoothing filler over cracks without damaging the surrounding area.
- Sandpaper or Sanding Block to create a smooth surface after filler dries, ensuring seamless blending with ceiling decoration.
- Utility Knife to carefully cut away loose or damaged material, especially around lighting fixtures, preventing further damage.
With these tools ready, you’ll work efficiently and protect your ceiling’s aesthetic features throughout the repair.
Required Repair Materials
Once you have your tools ready, gathering the right materials will help you complete the ceiling repair effectively. Start with joint compound or spackle to fill and smooth the cracked area.
You’ll also need a primer to prepare the patch for painting and guarantee proper adhesion. For a seamless finish, match your ceiling texture, whether it’s smooth, popcorn, or knockdown, using a texture spray or brush.
Don’t forget sandpaper to smooth the dried compound before painting. Finally, select paint that matches your existing ceiling’s paint sheen, such as flat or eggshell, to blend the repair with the surrounding surface. Having these materials on hand assures your repair looks professional and lasts longer without noticeable imperfections.
Preparing Your Ceiling Surface for a Smooth Repair
Before you apply any patching material, you’ll need to thoroughly clean and assess the cracked area. This preparation sets the foundation for a smooth, lasting repair. Start by checking your ceiling height to make sure you have the right tools to reach and work comfortably.
Next, examine the surrounding paint sheen, whether it’s matte, satin, or gloss, so you can match the finish later for a seamless look.
Follow these steps to prepare your ceiling surface:
- Clear the Work Area: Remove any dust, cobwebs, and loose debris without disturbing the crack itself.
- Inspect for Additional Damage: Look for hidden cracks or sagging that might need extra attention.
- Mark the Repair Zone: Lightly outline the area around the crack to keep your repair focused and neat.
Removing Loose Material and Cleaning the Crack
How do you make sure the patch adheres properly? Start by removing any loose material around the crack. Use a putty knife or a scraper to gently chip away peeling paint, plaster, or drywall. This step is essential because loose debris can prevent the patch from bonding securely, compromising both the repair and your ceiling aesthetics.
Next, clean the crack thoroughly. Wipe away dust and dirt with a damp cloth or use a vacuum with a brush attachment to ensure no particles remain. A clean surface allows the repair compound to stick well, helping you maintain smooth, seamless decorative finishes.
Taking time to remove all unstable material and clean the area sets a solid foundation for the next steps. It guarantees your repair blends flawlessly with the rest of the ceiling, preserving the room’s overall look and preventing future cracking. Don’t rush this step; it’s key to a professional-looking result.
How to Apply Joint Compound to a Cracked Ceiling
Although the surface is clean and prepped, you’ll need to apply the joint compound carefully to fill the crack and create a smooth finish. This step guarantees your repaired ceiling blends seamlessly with the surrounding ceiling texture and paint color.
Follow these steps to apply joint compound effectively:
- Use a putty knife to scoop a generous amount of joint compound, pressing it firmly into the crack. Smooth it evenly, feathering the edges outward to blend with the ceiling surface.
- Allow the compound to dry completely, usually 24 hours, before lightly sanding the area. This helps achieve a uniform texture without visible ridges.
- If needed, apply a second thin layer, repeating the smoothing and sanding process for a flawless finish. Once dry and smooth, you can match the ceiling texture and paint color for a professional look.
When and How to Use Drywall Tape on Larger Cracks
Applying joint compound works well for small cracks, but larger or more significant cracks often need extra reinforcement to prevent future damage. This is where drywall tape comes in. You’ll want to use drywall tape to bridge the crack, providing crack reinforcement that helps hold the joint compound in place and stops the crack from reopening.
Here’s when and how to use drywall tape on larger cracks:
| When to Use Drywall Tape | How to Apply Drywall Tape | Benefits |
|---|---|---|
| Cracks wider than 1/8 inch | Apply a thin layer of joint compound | Prevents crack from widening |
| Cracks longer than a few inches | Press drywall tape firmly over crack | Adds structural support |
| Cracks with visible movement | Cover tape with additional compound | Creates a smooth, durable finish |
Sanding and Smoothing the Repair for a Flawless Finish
To get a flawless finish, you’ll want to use the right sandpaper—usually a fine-grit is best for smoothing drywall. Just take your time and use gentle, even strokes so you don’t accidentally gouge the surface. Keeping your repair flush with the ceiling is key. Trust me, being patient here really makes all the difference in getting that seamless look.
Choosing The Right Sandpaper
When preparing to sand your ceiling repair, selecting the right sandpaper grit is essential for achieving a smooth, professional finish. You want to ensure the texture matching is precise and the surface is dry after moisture testing, so your repair blends seamlessly.
Follow these steps to choose the right sandpaper:
- Start with medium grit (120-150) to smooth out rough patches without damaging the drywall.
- Use fine grit (180-220) for feathering edges and blending the repair with the surrounding ceiling texture.
- Avoid very coarse or ultra-fine grits, which can cause uneven sanding or fail to smooth imperfections properly.
Choosing the correct sandpaper helps you avoid over-sanding and ensures the repair holds up well when painted.
Techniques For Smooth Surfaces
Although sanding can seem tedious, mastering the right techniques guarantees your ceiling repair looks seamless and professional. Start by lightly sanding the patched area with fine-grit sandpaper, blending edges into the surrounding surface to match the ceiling texture.
Avoid aggressive sanding, which risks damaging the repair and causing crack expansion. Use a sanding block or sponge for better control and even pressure.
After smoothing, wipe away dust with a damp cloth to assure proper adhesion of paint or texture. If your ceiling has a specific texture, replicate it carefully to maintain consistency and hide the repair.
Taking your time with these steps prevents uneven spots and visible cracks, giving your ceiling a flawless finish that blends perfectly with the rest of the room.
Choosing the Right Paint for Cracked Ceiling Repairs
Selecting the right paint plays a vital role in ensuring your cracked ceiling repair blends seamlessly with the rest of the surface. To achieve a flawless finish, you need to consider both the ceiling texture and paint sheen carefully. Here’s what to focus on:
- Match the Ceiling Texture: Use paint formulated for ceilings or flat finishes that minimize glare and mask imperfections. If your ceiling has a textured surface, choose a paint that complements it without highlighting uneven areas.
- Choose the Appropriate Paint Sheen: Flat or matte sheens work best for ceilings because they hide cracks and repairs better than glossy paints, which reflect light and reveal flaws.
- Opt for Quality Paint: High-quality ceiling paint provides better coverage, durability, and color retention, ensuring your repair won’t stand out over time.
How to Prime and Paint to Blend Your Repair Seamlessly
To blend your repair seamlessly, start by picking the right primer that works well with your ceiling material. Make sure to apply the primer evenly—that way, you’ll create a smooth base for your paint. After that, take your time to carefully blend the paint so it matches the surrounding area perfectly, giving you a uniform finish.
Choosing The Right Primer
How do you guarantee your repaired ceiling blends perfectly with the rest of the surface? Choosing the right primer is essential. It ensures the ceiling texture matches and prevents moisture issues from ruining your hard work. Follow these steps:
- Identify the surface type: If your ceiling has a texture, pick a primer designed for textured surfaces to maintain consistency.
- Check for moisture resistance: Use a moisture-resistant primer in areas prone to dampness, like bathrooms, to prevent peeling and stains.
- Select stain-blocking properties: If the crack left any discoloration, a stain-blocking primer will help hide it and avoid bleed-through.
Applying Primer Evenly
Even if you’ve chosen the perfect primer, applying it evenly is essential to achieving a seamless repair. Start by using a high-quality brush or roller designed for ceiling texture to guarantee full coverage without disturbing the existing surface.
Work in small sections, applying thin coats to avoid drips or buildup, which can create an uneven finish. Pay close attention to the repaired seam, feathering the primer outward to blend it with the surrounding area.
This careful application not only preps the surface for paint but also aids in moisture prevention, protecting your ceiling from future damage. Allow each coat to dry completely before adding another.
Taking your time here sets the foundation for a flawless, long-lasting repair that blends seamlessly with the rest of your ceiling.
Blending Paint For Uniformity
Why does blending paint so carefully matter when repairing a ceiling? Because a perfect repair depends on seamless integration. If your color matching is off or the paint texture differs, the patch will stand out, ruining your hard work.
To blend your repair flawlessly:
- Match the Color Exactly: Use leftover ceiling paint or take a sample to a paint store for precise matching.
- Replicate the Paint Texture: Use the same type of paint and application technique to mimic the original ceiling’s finish.
- Feather the Edges: Lightly brush outward from the patch, blending into the surrounding area to avoid harsh lines.
Troubleshooting Common Problems After Cracked Ceiling Repairs
Although repairing a cracked ceiling can restore its appearance, you might still encounter some issues afterward. Common problems include mismatched ceiling texture and uneven paint color selection, which can make the repair obvious.
To fix texture problems, try applying a thin layer of joint compound and use a sponge or brush to mimic the original pattern. For paint, test swatches on a hidden spot to guarantee the color matches perfectly.
| Problem | Solution |
|---|---|
| Visible texture lines | Blend with joint compound gently |
| Paint color mismatch | Test and adjust with swatches |
| New cracks appearing | Check for underlying structural issues |
If new cracks form, it often signals deeper problems, so inspect the ceiling thoroughly. Address these common issues promptly to keep your ceiling looking flawless and prevent future damage.
Frequently Asked Questions
How Can I Prevent Future Ceiling Cracks From Forming?
To prevent future ceiling cracks, you should focus on proper painting preparation and effective crack sealing techniques. Start by thoroughly cleaning and sanding the surface to guarantee good adhesion.
Use a high-quality filler to seal any existing cracks, then sand smooth once dry. Apply a primer before painting to create a strong base.
These steps help minimize stress on the ceiling and reduce the chances of new cracks forming over time.
Are Ceiling Cracks a Sign of Structural Damage?
Ceiling cracks aren’t always a sign of structural damage, but you shouldn’t ignore them. If the crack is small and only affects the surface, it often relates to settling or minor issues. Proper surface preparation and crack sealing can prevent problems from worsening.
However, if cracks are large, growing, or accompanied by sagging, you should get a professional to assess possible structural concerns before repairing.
Can Humidity or Temperature Changes Cause Ceiling Cracks?
Imagine your ceiling like a canvas that expands and contracts like a breathing organism. Yes, humidity fluctuations and temperature variations can cause ceiling cracks.
When moisture levels rise or fall, materials swell or shrink, creating stress that leads to cracks. Likewise, temperature changes make materials expand or contract, causing tiny fractures over time.
Is It Safe to Repair Ceiling Cracks Myself?
You can safely tackle small ceiling cracks yourself if you follow proper DIY safety precautions, like wearing protective gear and ensuring good ventilation. However, if cracks are large, spreading, or accompanied by water damage, it’s best to get a professional assessment first.
They can identify underlying issues that might compromise your ceiling’s integrity. Always prioritize safety and know when to call in experts to avoid bigger problems down the line.
How Long Does a Typical Ceiling Crack Repair Last?
A typical ceiling crack repair lasts about 5 to 10 years, depending on how well you handle paint touch ups and crack sealing. Did you know over 60% of DIY repairs fail prematurely due to poor sealing?
You can extend your repair’s life by carefully sealing the crack and matching paint touch ups to prevent moisture damage. Keep an eye out for new cracks and maintain the area to enjoy a longer-lasting ceiling fix.
Conclusion
Remember when you fixed that leaky faucet and felt proud afterward? Repairing a cracked ceiling is just like that. Each careful step brings you closer to a flawless finish.
Studies show that properly repaired ceilings can boost home value by up to 5%. So, take your time, follow the steps, and soon your ceiling will look as smooth as new.
A little effort can turn damage into beauty. You’ve got this when repairing a cracked ceiling!