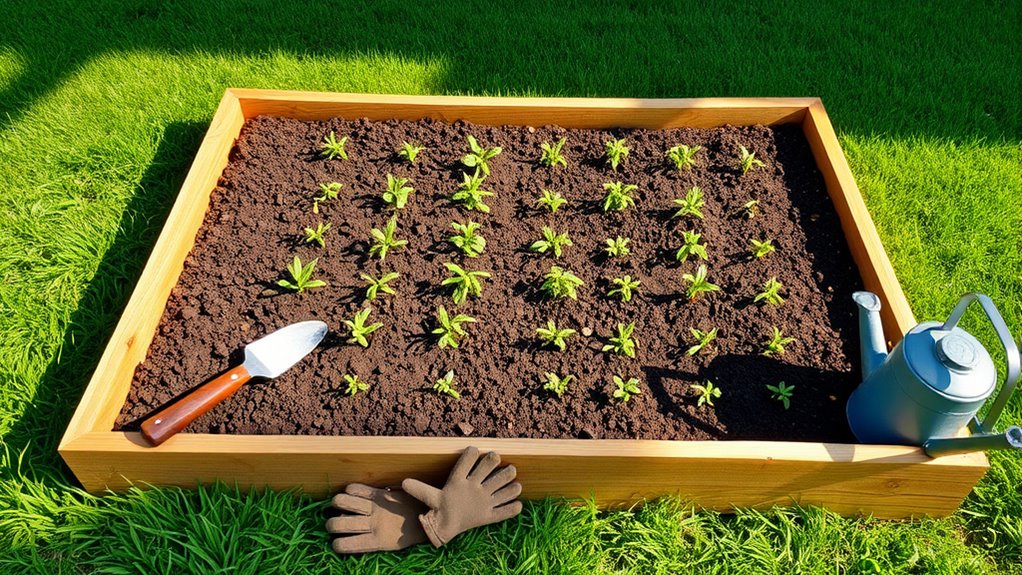
7 Simple Easy Steps for DIY Garden Bed Creation
If you’ve ever wanted to start your own garden but felt overwhelmed by where to begin, you’re not alone. Many people struggle with creating a garden bed that’s both functional and beautiful without spending a fortune or needing expert help.
Luckily, building a DIY garden bed can be simple and rewarding with the right guidance.
To create a DIY garden bed, start by choosing a sunny spot with good airflow and pest protection. Pick a manageable size and shape that fits your space.
Prepare your soil by testing and amending it with organic matter. Gather sturdy materials like cedar for the frame, then build and securely assemble your bed.
Plant crops suited to your climate, and regularly mulch and monitor for pests. Keep up with pruning and weeding to guarantee healthy growth.
As you build, you’ll uncover even more tips to make your garden thrive.
Key Takeaways
- Choose a sunny, well-ventilated location with good air circulation and keep pest prevention in mind.
- Prepare soil by testing its pH and adding organic matter. Avoid over-tilling to promote healthy plant growth.
- Build a durable frame using weather-resistant wood. Secure the corners and make sure the dimensions and drainage are right.
- Fill the bed with quality soil or compost. Then, select plants that suit your climate and sunlight conditions.
- Apply mulch regularly to retain moisture and suppress weeds. Keep an eye on your plants for any pests or diseases.
Choose the Best Location for Your DIY Garden Bed
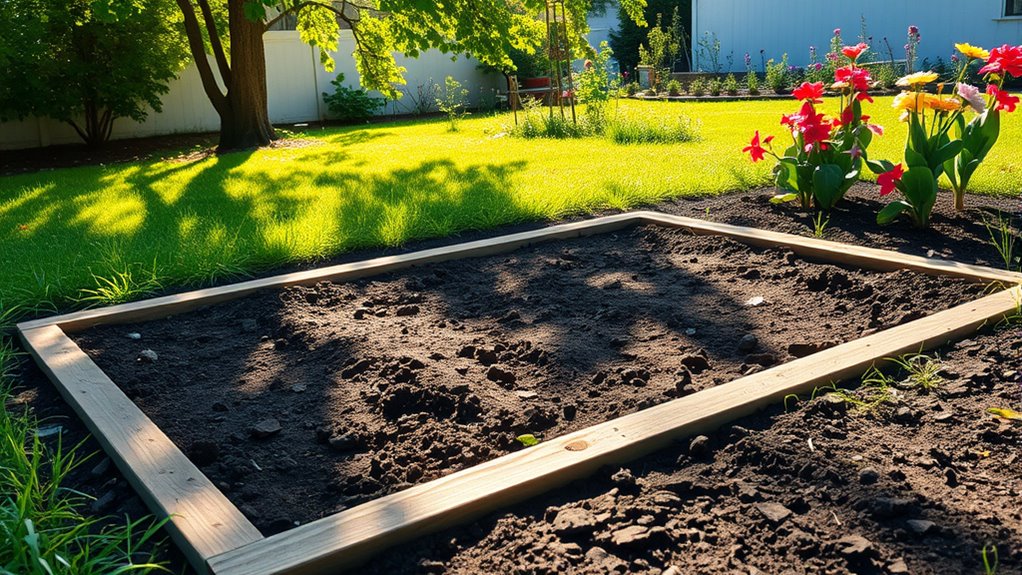
Before you start building, consider where your garden bed will thrive best. Sunlight exposure is essential. Choose a spot that gets at least six hours of direct sunlight daily to guarantee healthy plant growth. Avoid shady areas under large trees or buildings that block light.
Also, think about pest prevention when picking your location. Steer clear of spots near dense shrubbery or compost piles, which can harbor insects and rodents. Raise your garden bed slightly or use barriers to keep pests at bay.
Make sure the area has good air circulation to reduce fungal issues and discourage pests from settling in. In the end, check the soil drainage; you don’t want water pooling around your plants.
Decide on the Right Size and Shape for Your Garden Bed
Once you’ve picked the perfect spot for your garden bed, it’s time to figure out its size and shape. Start by considering garden bed dimensions that make it easy for you to reach all plants without stepping inside. A width of 3 to 4 feet usually works best, allowing you to tend your plants comfortably. The length can vary depending on your available space and what you want to grow.
Shape considerations depend on your garden’s style and layout. Rectangular beds are common and efficient, but don’t hesitate to choose curved or irregular shapes if they better fit your space or aesthetic. Keep in mind that simpler shapes often make planting and maintenance easier.
Ultimately, decide on dimensions and shapes that suit your gardening routine and space constraints. Taking these steps now guarantees your garden bed will be functional and enjoyable throughout the growing season.
Prepare Soil for Your Garden Bed
Before planting, you’ll want to test your soil to get a good idea of its current condition. This step is super helpful because it lets you know what nutrients might be missing. Once you have that info, you can add compost or other amendments to improve the soil quality and give your plants the best possible start.
Soil Testing Basics
Although it might seem simple, testing your soil is a crucial step to guarantee your garden bed thrives. Start by checking the pH level, which affects nutrient availability and plant health.
You can use an easy-to-find soil test kit or send a sample to a local extension service for a more detailed nutrient analysis. This analysis reveals the levels of essential nutrients like nitrogen, phosphorus, and potassium in your soil.
Knowing these details helps you understand what your soil lacks or has in excess. By testing early, you avoid guesswork and set a solid foundation for healthy plant growth.
Soil testing saves time and money by guiding your next steps to prepare the soil properly before planting your garden bed.
Enhancing Soil Quality
Knowing your soil’s pH and nutrient levels gives you a clear picture of what it needs to thrive. To improve soil quality, start by adding organic amendments like compost, aged manure, or leaf mold. These improve soil structure, provide nutrients, and boost microbial activity.
Use simple composting techniques to create your own rich compost at home, turning kitchen scraps and garden waste into valuable organic matter. Incorporate this compost thoroughly into your garden bed soil to increase fertility and water retention.
Avoid over-tilling, which can disrupt soil life. Regularly amending your soil with organic matter ensures your plants get the nutrients they need and promotes a healthy, sustainable garden bed. This approach sets a strong foundation for growth and long-term soil health.
Gather Materials for Your Garden Bed Frame
When you start gathering materials for your garden bed frame, focus on durability and suitability for outdoor use. Choose garden bed materials that resist rot, insects, and weather damage. Cedar and redwood are popular for their natural durability. Treated lumber works well too, but make sure it’s safe for growing edibles.
You’ll also need screws or nails designed for outdoor use to guarantee your frame holds up over time. Consider frame construction techniques that simplify assembly while maintaining strength. For example, using corner brackets or pocket holes can reinforce joints without complicated tools.
Decide if you want a rectangular, square, or custom shape and gather enough wood accordingly. Don’t forget landscape fabric or a weed barrier if you plan to line the bed.
Build and Assemble Your Garden Bed
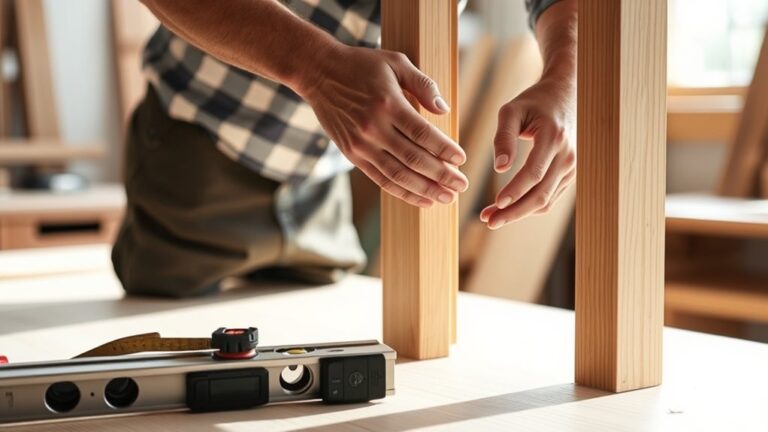
Once you have all your materials ready, it’s time to start building your garden bed. Begin by laying out the pieces according to your garden bed design, confirming each side matches the dimensions you planned. Use a level to keep everything straight and even.
Secure the corners with screws or brackets, focusing on material durability to guarantee your bed withstands weather and time. If you’re using wood, consider pre-drilling holes to prevent splitting.
Next, reinforce the frame by adding support beams inside, especially for larger beds. This maintains shape and stability. Attach any additional features like corner caps or liners now.
Double-check all connections for tightness and alignment. Your garden bed frame should feel solid and durable before moving on. Taking these careful assembly steps assures a strong foundation that complements your garden bed design and lasts season after season.
Plant Your Favorite Flowers and Vegetables
Now that your garden bed is all set, it’s time to choose the best flowers and vegetables for your space. You’ll want to get the soil ready first — it makes a big difference. Also, be sure to learn about each plant’s watering and sunlight needs. Doing this will help your garden thrive and grow vibrant, healthy plants.
Choosing Ideal Plant Varieties
How do you choose the best plants for your garden bed? Start by selecting varieties that thrive in your climate and soil. Use companion planting to boost growth and improve pest management naturally. Pair plants that support each other to reduce pests and increase yields.
Here’s a quick guide to ideal plant combinations:
| Plant 1 | Companion Plant | Benefit |
|---|---|---|
| Tomatoes | Basil | Pest management |
| Carrots | Onions | Pest deterrent |
| Beans | Marigolds | Pest control |
Choose plants you love to eat or admire, but always remember to mix companions wisely. This strategy helps keep your garden healthy and productive without extra chemicals.
Preparing Soil Properly
Before planting your favorite flowers and vegetables, you’ll need to prepare the soil to guarantee strong root growth and healthy plants. Start by evaluating your soil composition. Loamy soil rich in nutrients works best.
If your soil is heavy clay or sandy, amend it with organic amendments like compost, aged manure, or leaf mold. These not only improve texture but also boost nutrient content and water retention.
Mix the organic amendments thoroughly into the top 8 to 12 inches of soil using a garden fork or tiller. This creates a loose, fertile environment where roots can easily expand and access nutrients.
Proper soil preparation sets the foundation for a thriving garden, so take the time to optimize your soil before planting.
Watering And Sunlight Needs
Once your soil is well-prepared, the next step is to guarantee your plants get the right amount of water and sunlight. Establish a consistent watering schedule, usually once a day or every other day, depending on your plants’ needs and weather conditions. Avoid overwatering by checking soil moisture before watering.
Most flowers and vegetables thrive with at least 6 hours of sunlight exposure daily, so place your garden bed where it gets plenty of direct sun. Pay attention to specific plant requirements, as some may prefer partial shade.
Maintain Your Garden Bed for Long-Lasting Growth
Although building your garden bed is an important first step, maintaining it guarantees your plants thrive season after season. You’ll want to focus on mulch maintenance and pest control to keep your garden healthy and productive.
Here are four key steps to maintain your garden bed for long-lasting growth:
- Regular Mulch Maintenance: Refresh mulch every few months to retain moisture, suppress weeds, and regulate soil temperature.
- Consistent Pest Control: Inspect plants frequently for pests and treat infestations early using organic or chemical methods based on your preference.
- Soil Health Monitoring: Test soil periodically and amend with compost or fertilizers to replenish nutrients and improve structure.
- Pruning and Weeding: Remove dead leaves and unwanted weeds to prevent disease and competition for resources.
Frequently Asked Questions
How Do I Prevent Pests Without Chemicals in My Garden Bed?
You can prevent pests without chemicals by using companion planting and natural repellents. Plant herbs like basil or marigolds near your vegetables to deter harmful insects naturally.
You’ll also want to introduce beneficial insects that prey on pests. Spraying diluted garlic or neem oil works as a natural repellent.
Keep your garden clean and remove any diseased plants promptly. These steps help maintain a healthy, pest-free garden without harsh chemicals.
Can I Use Recycled Materials for My Garden Bed Frame?
You can absolutely use recycled wood and upcycled pallets for your garden bed frame! In fact, over 60% of gardeners report saving money and adding charm by repurposing materials.
Recycled wood is eco-friendly and sturdy, while upcycled pallets offer a rustic look that’s perfect for garden beds. Just make sure the wood isn’t treated with harmful chemicals so your plants stay safe and healthy.
What Is the Best Watering Schedule for New Plants?
You should water new plants daily to guarantee consistent plant hydration, especially during the first few weeks. Keep the soil moist but not soggy, adjusting watering frequency based on weather and soil type.
In hot or dry conditions, you might need to water twice a day, while cooler, wetter days may require less. Watch your plants closely, and once established, gradually reduce watering frequency to encourage strong root growth.
How Do I Attract Pollinators to My Garden Bed?
Imagine your garden as a buzzing party. Pollinators show up when the guest list excites them. You’ll attract them by planting native plants, which act like VIP invites, perfectly suited to local pollinators.
Mix in flower diversity to keep the party lively and appealing throughout seasons. Just like a varied playlist keeps dancers on the floor, diverse flowers ensure bees and butterflies keep returning to your garden bed.
What Are Eco-Friendly Ways to Control Weeds Naturally?
You can control weeds naturally by using compost mulching. It smothers weed seeds and enriches your soil. Mulch also retains moisture, making your garden healthier.
Planting native species helps too since they outcompete invasive weeds and thrive without extra care. Hand-pulling weeds regularly stops them from spreading.
These eco-friendly methods keep your garden chemical-free and support local wildlife, creating a sustainable, vibrant space you’ll enjoy.
Conclusion
Creating your garden bed is like planting the seed of a new story. With each step, from choosing the perfect spot to nurturing your plants, you’re crafting a space where life grows and flourishes.
Just as a well-tended garden blooms with color and significance, your effort will cultivate not only flowers and veggies but also patience, joy, and growth within yourself.
Keep tending your garden, and watch both your plants and spirit thrive together. Remember, your dedication to DIY garden bed creation brings beauty and fulfillment to your life.