5 Easy Steps to Install Tile Flooring Like a Pro
If you’ve ever tried installing tile flooring, you know it can quickly become overwhelming. Many people struggle with choosing the right materials, getting the layout just right, or dealing with uneven surfaces. You’re not alone—finding a straightforward guide that breaks down the process into simple steps can make all the difference.
To install tile flooring like a pro, start by choosing the right tile for your space, considering durability and style. Gather tools like a tile cutter and notched trowel to work efficiently. Prepare the floor by cleaning and leveling it, ensuring a smooth surface.
Plan your layout by marking center lines and dry-laying tiles to prevent alignment issues. Finally, apply adhesive, set tiles with spacers, grout the gaps, and seal for a lasting finish. Keep going for detailed tips on each step.
Key Takeaways
- Choose durable tiles suitable for the area, considering traffic, moisture, and design for a professional look.
- Prepare the floor by cleaning, leveling, and installing a moisture barrier to ensure proper tile adhesion.
- Measure and mark the center, then dry-lay tiles to plan an even, balanced layout with minimal cuts.
- Apply adhesive evenly with a notched trowel, press tiles firmly, and maintain consistent spacing using spacers.
- Grout gaps smoothly, clean excess grout promptly, and seal grout after curing to protect and enhance the finish.
Choose the Right Tile Flooring for Your Space
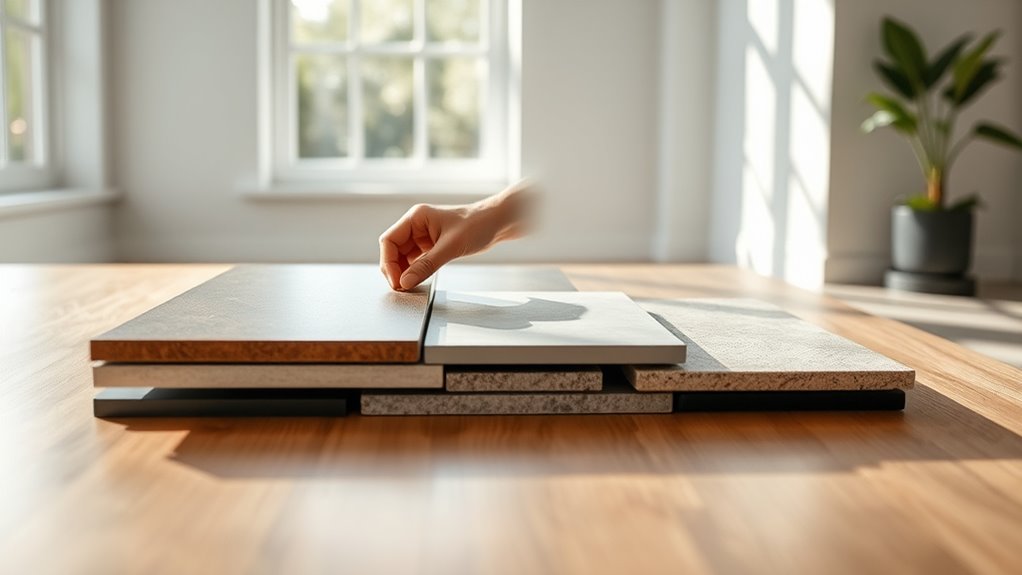
Before you begin installing tile flooring, you need to choose the right type for your space. Think about where the tile will go. High-traffic areas need durable materials like porcelain, while bathrooms benefit from water-resistant ceramic.
Next, consider tile patterns that complement your room’s layout. Classic grids work well in small spaces, while herringbone or diagonal patterns can add visual interest.
Don’t forget color coordination. Pick shades that match your existing décor to create a cohesive look. Light-colored tiles can open up a room, while darker tones add warmth and hide dirt better. Also, balance bold patterns with neutral hues to avoid overwhelming the space.
Gather Essential Tools for Tile Installation
Although selecting the right tile is essential, having the proper tools on hand makes the installation process much smoother. You’ll want to gather everything before starting to avoid interruptions.
Essential tools not only help with precise tile placement but also make tile removal and future tile maintenance easier.
Here’s a handy table of must-have tools:
| Tool | Purpose | Tip |
|---|---|---|
| Tile Cutter | Cuts tiles to size | Use for clean, straight cuts |
| Notched Trowel | Applies adhesive evenly | Choose the right notch size |
| Grout Float | Spreads grout between tiles | Use rubber float for smooth finish |
Having these tools ready saves time and effort, ensuring your tile installation goes smoothly from start to finish. Proper tools also help prevent damage, making tile removal and maintenance less of a hassle later on.
Prepare the Floor Surface for Tiling
Since a smooth and clean floor is key to a successful tile installation, you need to prepare the surface thoroughly. Start by removing any old flooring, debris, and dust. Sweep and vacuum the floor to guarantee it’s spotless.
Next, check for any uneven spots or dips. Use a surface leveling compound to fill these areas, creating a flat base for your tiles. This step is essential because an uneven surface can cause tiles to crack or loosen over time.
If you’re installing tiles in moisture-prone areas like bathrooms or basements, lay down a moisture barrier before tiling. This barrier prevents water from seeping through and damaging the subfloor or tiles. Make sure the moisture barrier is installed smoothly without wrinkles.
Once the surface leveling and moisture barrier are in place, let everything dry completely. Now, your floor is perfectly prepared for the next step in your tile installation project.
Plan and Lay Out Tiles for Proper Alignment
With your floor fully prepared and dry, you can move on to planning how your tiles will be laid out to guarantee proper alignment. Start by measuring the room’s dimensions and marking the center point. Snap chalk lines from the center to the walls, creating a grid that helps you maintain pattern consistency. This grid acts as your guide, making sure tiles line up perfectly as you work outward.
Next, dry-lay a few tiles along these lines to visualize the layout and make adjustments. Pay attention to how partial tiles will fit along edges to avoid awkward cuts. Aim for aesthetic harmony by balancing tile cuts on opposite sides of the room. This step prevents uneven borders and creates a professional finish.
Taking time here prevents misalignment later, saving you from costly mistakes. With a clear, well-planned layout, you’ll ensure your tile flooring looks polished and professionally installed.
Apply Adhesive, Set Tiles, and Finish With Grouting and Sealing
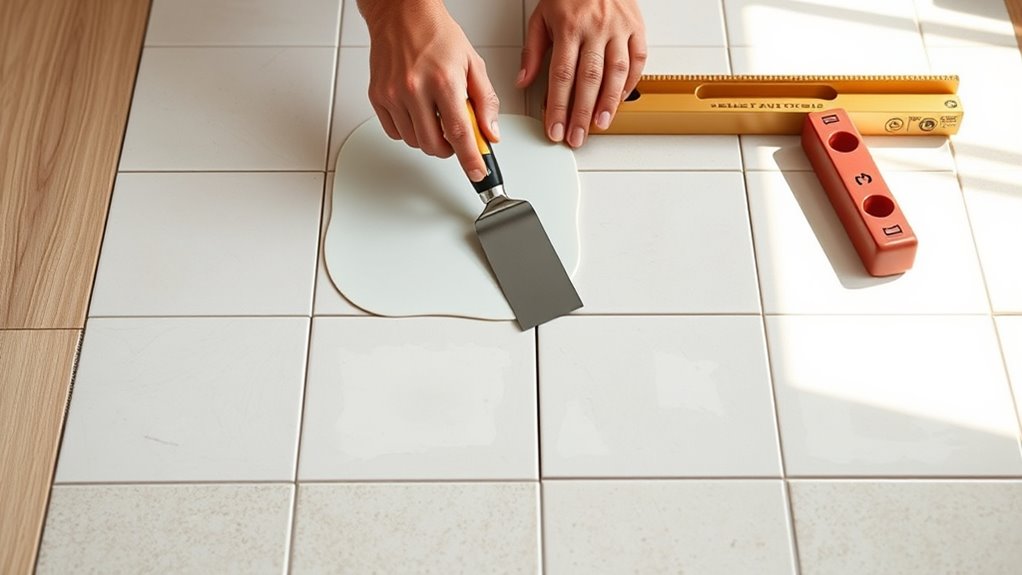
After you’ve finalized your tile layout, you’ll apply adhesive carefully to guarantee each tile sticks firmly. Start by spreading the adhesive evenly with a notched trowel, using proper adhesive techniques to avoid lumps and assure good coverage. Press each tile firmly into place, maintaining consistent spacing with tile spacers for a clean look.
Apply adhesive evenly with a notched trowel and press tiles firmly, ensuring consistent spacing for a flawless finish.
Once your tiles are set and the adhesive dries, it’s time to focus on grout selection. Choose a grout color that complements your tile and suits the room’s moisture conditions. Mix the grout to a smooth consistency, then fill the gaps between tiles using a rubber float at a 45-degree angle.
Finally, wipe away excess grout with a damp sponge before it fully hardens. After curing, apply a sealer to protect your floor from stains and moisture damage. Following these steps will give you a professional, durable finish.
Use consistent adhesive techniques for strong bonding
Select grout based on color and durability
Seal grout to improve longevity and appearance
Frequently Asked Questions
How Do I Remove Old Tile Flooring Without Damaging the Subfloor?
To remove old tile flooring without damaging the subfloor, start by scoring grout lines with a grout saw to loosen tiles. Use a chisel and hammer carefully to lift tiles, working slowly to avoid gouging the subfloor.
Once removed, clean off old adhesive thoroughly; this subfloor preparation guarantees a smooth surface. Choosing the right tile adhesive is essential for your new installation, so pick one compatible with your subfloor material for lasting results.
What Are the Best Tile Patterns for Small Rooms?
You might think small rooms limit your tile pattern options, but they don’t. For small spaces, try diagonal or herringbone patterns. They create an illusion of more space.
Pair these with light color schemes to brighten the room. Also, picking grout choices close to your tile color helps make the floor look seamless and less busy. This combo improves your room’s size and style without overwhelming it.
Can Radiant Floor Heating Be Installed Under Tile?
Yes, you can install radiant heating under tile, and it’s actually a great choice because tile has excellent compatibility with radiant heating systems. The tiles conduct heat efficiently, warming your floor quickly and evenly.
When you install radiant heating beneath tile, you’ll enjoy cozy floors during colder months. Just make certain you follow the manufacturer’s instructions for installation to guarantee your radiant heating works safely and effectively with your tile flooring.
How Do I Repair Cracked or Chipped Tiles After Installation?
To repair cracked or chipped tiles, first remove the damaged tile carefully. Clean the area and apply fresh adhesive before setting a new tile in place.
Match the grout color to your existing grout for a seamless look, and let it dry completely. Afterward, apply tile sealing to protect the repair and prevent future damage. This keeps your floor durable and looking great without needing a full replacement.
What Maintenance Tips Extend the Life of Tile Flooring?
To extend your tile flooring’s life, focus on regular grout cleaning to prevent dirt buildup and staining. You should also apply a sealant every few years to protect both tiles and grout from moisture and wear.
Avoid harsh chemicals that damage surfaces, and clean spills promptly to prevent staining. Using mats at entryways helps reduce dirt and grit, keeping your floor looking fresh and durable for years to come.
Conclusion
Installing tile flooring is like planting a garden. You start with the right seeds, prepare the soil carefully, and place each plant with intention. Just as a garden blooms beautifully with patience and care, your floor will transform into a stunning masterpiece when you follow these steps.
Trust the process, and soon you’ll walk on a space that reflects your dedication and skill. By mastering these 5 easy steps to install tile flooring like a pro, you’ll turn your home into a place of pride and comfort.