
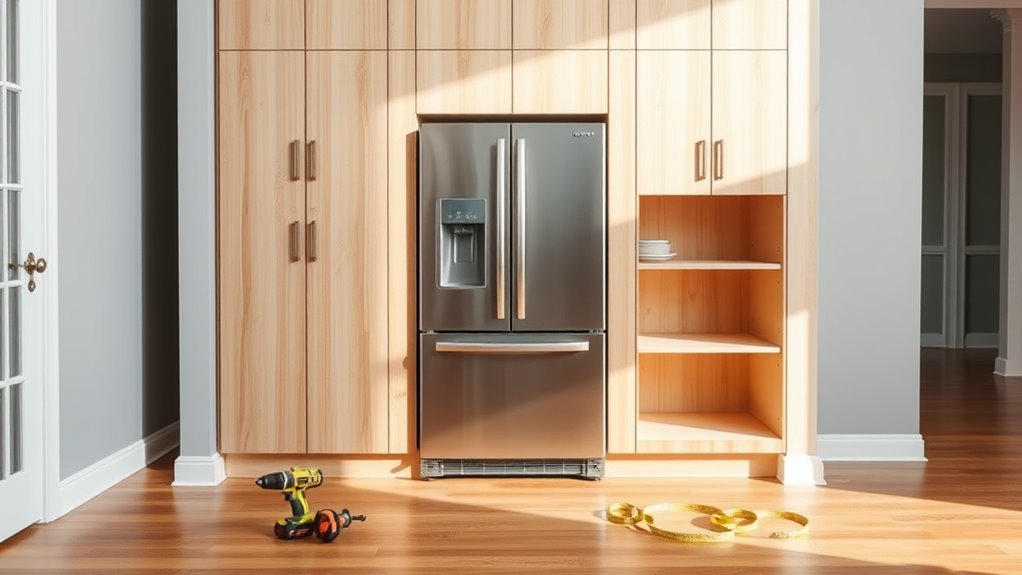
How to Build a Built-In Fridge Cabinet
If you’ve ever tried to fit a fridge perfectly into your kitchen cabinetry, you know it’s not always straightforward. Many people struggle with getting the measurements right, ensuring proper ventilation, and making sure the fridge looks seamless with the rest of the cabinets. You’re not alone in wanting a built-in fridge cabinet that’s both functional and stylish without the hassle.
To build a built-in fridge cabinet, measure the refrigerator, handles, doorway, and installation route first. Plan the opening around manufacturer-required clearances, ventilation, door swing, leveling, and future removal.
Build a rigid frame from ¾-inch cabinet-grade plywood, predrill joints, add supports, and finish exposed edges. Install doors, fillers, trim, and decorative panels, then anchor the cabinet securely to wall studs.
Finally, level the refrigerator and test operation, airflow, and service access. The steps below explain each stage in detail.
Key Takeaways
- Measure the refrigerator, installation route, door swing, and surrounding space. Allow extra room for leveling, ventilation, and future removal.
- Follow the manufacturer’s required clearances, airflow paths, electrical specifications, and water-line requirements before designing the cabinet opening.
- Build the cabinet from 3/4-inch cabinet-grade plywood. Reinforce joints, shelves, support rails, and exposed edges with suitable hardware.
- Assemble the cabinet square and level. Then install doors, trim, filler strips, and decorative panels for a finished appearance.
- Anchor the cabinet securely to wall studs. Verify rigidity and plumb alignment, then complete final refrigerator installation and safety checks.
Measure for a Built-In Fridge Cabinet
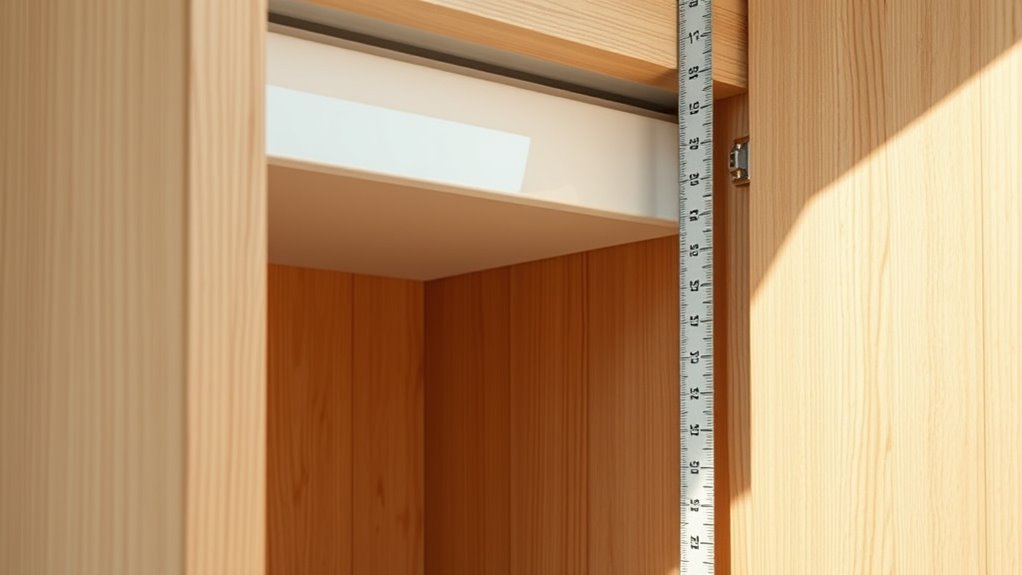
Before you build, measure the refrigerator, the available opening, and the path into the room. Record the appliance’s height, width, and depth, including handles, hinges, doors, and any trim that extends beyond the cabinet box. Measure the opening at several points because walls and floors may vary.
Measure the refrigerator and opening carefully, including doors, handles, hinges, and trim, to ensure a proper fit.
Note nearby countertops, walls, islands, and door swings so you can plan a cabinet that fits the space and looks intentional. Mark the cabinet’s finished dimensions on the floor with painter’s tape. This helps you evaluate sightlines and confirm that the refrigerator won’t crowd walkways.
Measure the route from the delivery entrance to the installation site, including hallways, stairways, and tight turns. Check each doorway’s clear width and height, then account for packaging if the appliance arrives boxed.
Plan for side panels, fillers, toe-kick space, decorative finishes, and aesthetic accents. Keep every measurement together in a sketch, and label finished versus rough dimensions before cutting.
Check Refrigerator Clearances and Ventilation
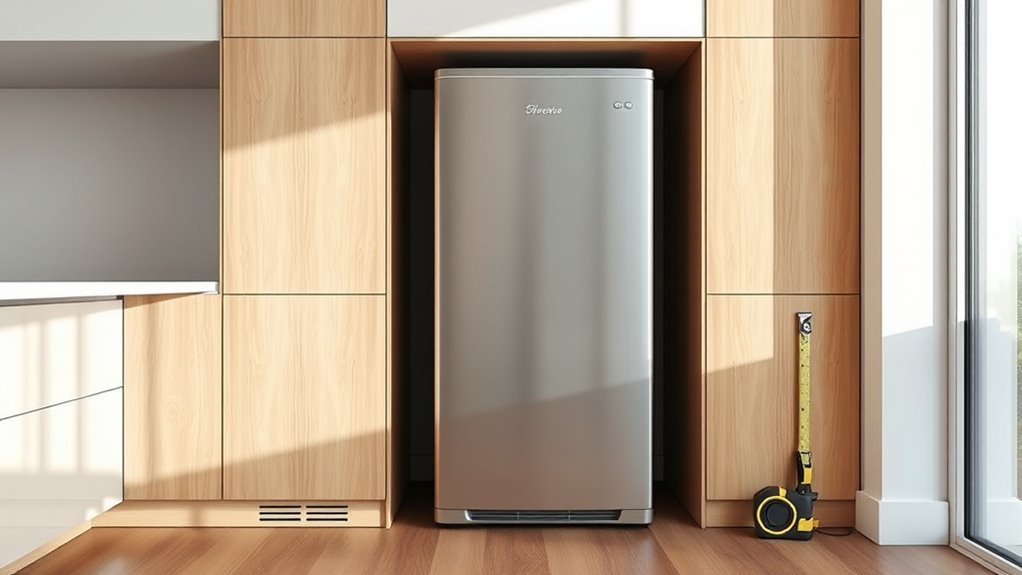
Before you start building, make sure to measure the clearances your refrigerator will need for doors, drawers, and proper airflow. It’s important to plan ventilation around the cabinet carefully.
Also, don’t block any required intake or exhaust openings. Always double-check every dimension against the manufacturer’s specifications to keep your fridge running smoothly and protect your warranty.
Measure Required Clearances
Start by measuring the refrigerator’s required clearances, including the space above, behind, and on both sides, as specified in the manufacturer’s installation guide. Record each dimension before cutting cabinet panels.
Account for doors, handles, drawers, and leveling adjustments so your finished cabinet won’t restrict operation. Accurate spacing supports fridge energy efficiency and protects the cabinet paint finish from excessive heat.
| Area | Measure | Record |
|---|---|---|
| Top | Manufacturer’s minimum | ____ |
| Sides | Left and right gaps | ____ |
| Rear | Required depth gap | ____ |
| Front | Door and handle swing | ____ |
Transfer these measurements to your layout, then add only the allowances the guide requires. Don’t assume a standard refrigerator size; models vary considerably.
Check your notes against the appliance dimensions twice before assembly. Keep the cabinet opening square, and allow enough room to slide the refrigerator into position without scraping finished surfaces.
Plan Proper Ventilation
Plan ventilation around the refrigerator’s required airflow path, keeping the cabinet’s top, rear, and side openings clear as specified in the installation guide. Don’t box the appliance tightly or block its intake and exhaust areas with trim, shelves, or stored items. Good airflow management helps the compressor release heat and supports efficient operation.
As you frame the cabinet, provide a continuous route for warm air to escape and cooler air to enter.
- Leave unobstructed space behind the refrigerator.
- Keep upper vents open to the room.
- Avoid sealing the cabinet with airtight panels.
- Use grilles where an opening needs a finished appearance.
- Keep insulation and woodwork away from vents.
Include moisture control in your plan, especially near walls, flooring, and plumbing connections. Seal vulnerable cabinet edges, but don’t seal ventilation openings. Confirm air can circulate freely after installation, and check that doors, trim, and baseboards won’t interfere with those paths.
Verify Manufacturer Specifications
With the ventilation route established, verify the refrigerator manufacturer’s specifications before finalizing the cabinet. Read the installation manual, not just the appliance’s overall dimensions.
Manufacturer guidelines typically list required top, side, rear, and door-swing clearances, plus minimum airflow paths. Measure your planned opening against those figures, allowing enough room to level the unit and remove it for service.
Check whether the refrigerator vents through its front, back, or bottom, and keep every intake and exhaust area unobstructed. Product specifications may also state electrical requirements, water-line locations, and cabinet-depth limitations.
Don’t assume a standard opening will work; models vary considerably. Mark these requirements on your cabinet plans, then confirm them with the retailer or manufacturer if any measurement seems unclear before you cut panels or install framing.
Plan Cabinet Dimensions, Storage, and Door Swing
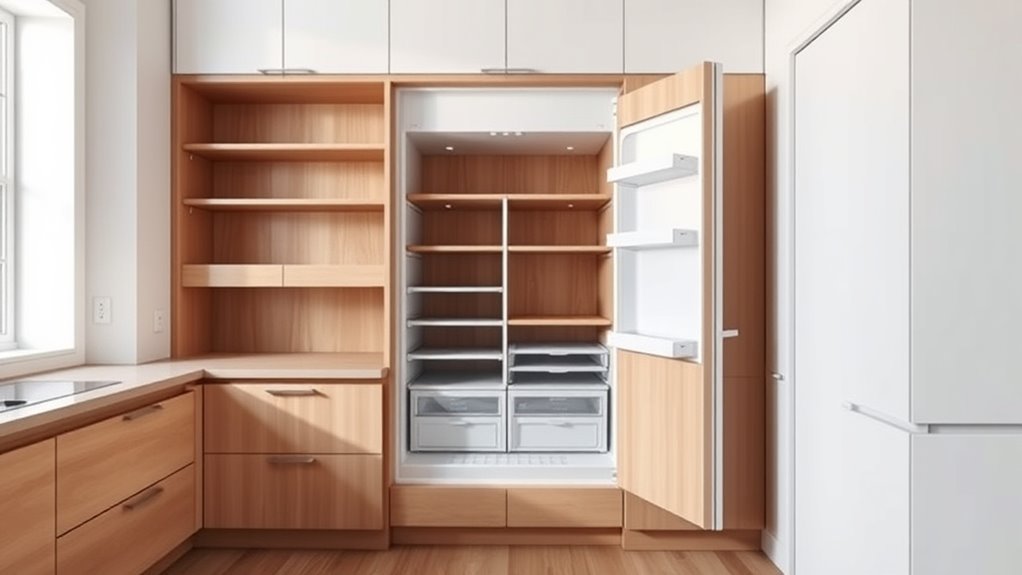
First, measure your fridge’s height, width, and depth, including any handles and trim. This way, you get the full picture of how much space it really takes up.
Next, plan the cabinet opening based on those measurements. Make sure to leave enough room for the doors to swing open fully without bumping into walls or nearby cabinets—nobody wants a stuck door!
Also, think about adding some storage above or beside the fridge. It’s a great way to use the space efficiently, just keep it easy to access so you don’t have to stretch or move things around too much.
Measure Fridge Dimensions
Before cutting a single panel, record the fridge’s height, width, depth, hinge location, and required clearance. Measure at the widest, tallest, and deepest points, including handles, doors, feet, and rear fittings. Check the manufacturer’s installation guide for ventilation gaps. Ignoring them can reduce energy efficiency and shorten appliance life. Add space for leveling, insulation, and cabinet walls without guessing.
Measure height from floor to the highest point. Measure width across the widest side. Measure depth from front to rear fittings. Note hinge and handle locations. Record outlet, water line, and vent positions.
Transfer every measurement to a scaled sketch, labeling finished openings separately from exterior cabinet dimensions. Confirm the floor is level and the installation path accommodates the appliance. Accurate figures support a clean aesthetic design and prevent costly panel revisions. Keep the specification sheet nearby during layout and construction.
Plan Door Clearance
Use the recorded fridge dimensions to plan the cabinet opening, door swing, and surrounding storage. Add the manufacturer’s required clearance on every side, above, and behind the appliance so it can ventilate properly and slide out for service.
Mark the door’s full swing on your floor plan, checking nearby walls, islands, and adjacent cabinets. Door hinges may require extra space, especially if the doors open wider than 90 degrees. Confirm that shelves, drawers, and trim won’t block the refrigerator or freezer doors.
Plan handle placement before building, allowing enough room to grip and pull without striking neighboring surfaces. If your layout feels tight, shift the cabinet, reverse the swing when possible, or choose slimmer storage.
Keep the opening square, and verify clearances again with painter’s tape before installation begins.
Choose Cabinet Panels, Fasteners, and Hardware
Choose 3/4-inch cabinet-grade plywood for the panels, since it stays rigid and provides a reliable surface for fastening. For durable cabinet panel materials, select void-free sheets with a smooth veneer that accepts paint or finish evenly.
Measure each panel carefully, and label its finished face before cutting. Choose fasteners that suit plywood without splitting edges or telegraphing through the surface.
Measure twice, mark finished faces clearly, and choose fasteners that secure plywood without splitting edges or showing through surfaces.
Your hardware fastening options should support the cabinet’s weight and match your installation method. Use 1 1/4-inch cabinet screws for secure panel connections. Add confirmat screws where concealed, strong joints matter.
Keep trim-head screws available for visible attachment points. Select adjustable shelf pins rated for loaded shelves. Choose soft-close hinges compatible with your planned door style.
Pre-drill near edges, and use a countersink when screw heads must sit flush. Keep a matching iron-on edge banding or solid-wood edging on hand to cover exposed plywood layers.
Verify every screw length against panel thickness before fastening, so you won’t puncture finished faces or interfere with nearby components. Lay out hardware consistently for a clean appearance.
Build the Built-In Fridge Cabinet Frame
With the panels cut and hardware ready, assemble the built-in fridge cabinet frame on a level surface, keeping the finished edges facing outward. Position the side panels parallel, then place the bottom panel between them according to your measured layout. Clamp each joint before driving screws through predrilled holes to prevent splitting and keep the frame square.
Check both diagonals; matching measurements confirm accurate alignment. If they differ, adjust the clamps and reposition the panels before tightening every fastener. Use a carpenter’s square at each corner as you work.
Confirm the opening matches the refrigerator’s required dimensions, including the manufacturer’s specified clearances. Don’t force panels into place, since even slight bowing can affect installation and door alignment.
Your materials sourcing choices should support sturdy, compatible components, while consistent panel orientation improves the cabinet’s aesthetic design. Wipe away excess adhesive immediately, and let the assembled frame rest securely before moving it to the installation area.
Add the Top, Back, and Support Rails
Now you’ll install the top panel to complete the cabinet’s upper structure. After that, you can move on to adding the back and support rails. These parts help strengthen the frame and keep everything square. Just make sure to secure each piece carefully so the cabinet will be sturdy enough to support the refrigerator and the materials around it.
Install the Top Panel
Once the cabinet sides are secure, add the top panel, back, and support rails to stiffen the structure and keep the refrigerator enclosure square. Begin with careful material selection: choose a straight, rigid panel that matches the cabinet sides and can support trim or storage above the appliance. Measure the opening, then cut the top panel to fit without forcing it.
Confirm the refrigerator’s required clearance. Mark the panel’s front and side edges. Predrill holes to prevent splitting.
Apply construction adhesive along the side edges. Fasten the panel with countersunk screws.
Set the panel flush with the cabinet fronts, checking both corners with a square. Don’t rely on uneven walls for alignment; shim where necessary. Keep the refrigerator opening unobstructed, and wipe away excess adhesive before it cures.
Next, prepare the remaining structural pieces.
Add Back and Support Rails
Add the back panel and support rails to lock the cabinet square and reinforce the refrigerator opening. Position the back panel flush with the cabinet’s rear edges, then fasten it with screws every 8 to 10 inches. Keep the cabinet level as you work, and confirm the opening remains perfectly plumb.
| Part | Placement | Fastening |
|---|---|---|
| Back panel | Rear edges | Screws |
| Top rail | Upper opening | Screws |
| Bottom rail | Lower opening | Screws |
| Support brackets | Side joints | Screws |
Install the top rail beneath the cabinet top, aligning it with the refrigerator’s front plane. Add the bottom rail above the toe-kick area for stability. Secure support brackets at each side, predrilling to prevent splitting. Check diagonals, tighten every connection, and test-fit the refrigerator before adding trim. Leave ventilation clear according to the manufacturer’s requirements.
Install Doors, Trim, and Decorative Panels
With the cabinet secured and the refrigerator in place, install the doors, trim, and decorative panels to complete the built-in look. Measure each opening before attaching hardware, allowing consistent gaps around every door. Install door hinges according to the manufacturer’s template, then adjust them until the doors sit level and open smoothly.
Use this checklist:
- Confirm door dimensions and swing direction.
- Mark hinge locations evenly.
- Fasten hinges with suitable screws.
- Align doors with neighboring panels.
- Test clearance before adding trim.
Cut decorative trim to cover exposed cabinet edges, using a miter saw for clean corners. Apply adhesive and finish nails where appropriate, driving them into solid cabinet material. Add matching filler strips beside the refrigerator so the installation appears seamless.
Attach decorative panels to the refrigerator doors only if the appliance manufacturer allows them and provides compatible mounting hardware. Check that handles, doors, and drawers clear one another.
Fill nail holes, lightly sand rough edges, and apply paint or stain that matches the surrounding cabinetry for a polished finish.
Anchor the Cabinet to the Wall
Before installing doors or trim, anchor the cabinet securely to the wall so it can support the refrigerator and resist movement. Locate the wall studs with a stud finder, then mark their positions inside the cabinet’s back rail or mounting cleat. Don’t rely on drywall anchors for this load.
> Secure the cabinet to wall studs before installing doors or trim; drywall anchors alone cannot support a refrigerator’s weight.
Position the cabinet squarely, and drive appropriately sized structural screws through the cleat and into at least two studs. If the studs don’t align with the cleat, add a solid blocking board between them, or install a plywood back designed to distribute the load. Keep each screw centered in the stud, and avoid plumbing, wiring, and other concealed utilities.
Wall anchoring also requires careful safety considerations. Wear eye protection while drilling, use a level to confirm the cabinet remains plumb, and get help when handling large sections. Tighten fasteners firmly without crushing the cabinet material.
Check every connection, then verify the cabinet feels rigid before moving on. Don’t attach trim until the structure stays secure under gentle pressure.
Install and Level the Refrigerator
Once the cabinet is secure, slide the refrigerator into the opening, leaving the manufacturer’s required clearance around its sides, top, back, and hinge area. Keep the power cord accessible without pinching it. Before final positioning, confirm your material selection hasn’t created sharp edges that could damage the appliance.
Adjust the refrigerator’s front leveling feet, then check the cabinet opening and appliance with a level from front to back and side to side. Raise or lower each foot until the unit stands square and the doors close smoothly. If your model has rear rollers, follow its installation instructions for adjustment.
Place a level across the top. Check both side panels vertically. Adjust feet in small, even turns. Recheck door alignment after each adjustment. Maintain airflow gaps for energy efficiency.
When the refrigerator sits level, gently push it back until the specified depth matches the cabinet face. Verify the doors swing freely and the handles clear nearby surfaces. Secure the appliance only where the manufacturer directs, then reconnect power and confirm normal operation.
Prevent Common Fridge Cabinet Mistakes
Small mistakes can leave a refrigerator cabinet unsafe, difficult to service, or too tight for proper airflow. Before securing panels, follow ventilation best practices from your refrigerator’s installation guide. Provide the required clearance above, behind, and beside the appliance, and don’t block its toe-kick or front vents. If you’re enclosing a unit that vents forward, never add a decorative grille that restricts intake or exhaust.
Measure the refrigerator, cabinet opening, doors, and handles twice. Allow extra room for leveling, hinges, and future removal; a cabinet that fits perfectly on paper may trap the appliance in place. Use material selection wisely: choose stable, moisture-resistant panels, and avoid unsealed edges near floors or water sources.
Don’t fasten the cabinet to the refrigerator, drill into utility lines, or rely on weak wall anchors. Secure the cabinet to framing, keep fasteners clear of wiring, and test door swing, ventilation, and service access before finishing trim. Finally, follow local electrical and building requirements.
Frequently Asked Questions
How Much Does It Cost to Build a Built-In Fridge Cabinet?
You’ll typically spend $500 to $2,500 to build a built-in fridge cabinet, depending on size, design, and labor. Basic DIY projects using stock cabinets may cost $500 to $1,000, while custom cabinetry and professional installation can exceed $2,500.
Your cost estimation should include lumber, panels, hardware, trim, ventilation, tools, and delivery. Careful material selection helps control expenses: plywood and laminate cost less than hardwood.
Add 10 to 20% for unexpected adjustments, finishing, or electrical work.
Can I Build a Refrigerator Cabinet in a Rental Home?
Yes, you can build a refrigerator cabinet in a rental home, but you’ll need your landlord’s written approval first. Think of your kitchen as a borrowed canvas: you can improve it, but you can’t permanently repaint it without permission.
Review your lease for rental restrictions, especially rules about drilling, cabinetry, ventilation, and electrical changes. Choose temporary modifications, such as freestanding panels or removable trim, and keep the original fixtures.
Confirm measurements, airflow, and removal responsibilities before starting.
Which Refrigerator Brands Offer the Best Built-In Compatibility?
Look for refrigerator brands with purpose-built columns and counter-depth models, including Sub-Zero, Thermador, Monogram, Fisher & Paykel, Bosch, and Miele. You’ll get the best built-in compatibility when the refrigerator offers flush installation, front ventilation, adjustable hinges, and panel-ready options.
Sub-Zero and Thermador excel in premium custom cabinetry, while Fisher & Paykel and Bosch suit flexible appliance integration. Always verify cabinet dimensions, door clearance, electrical requirements, and manufacturer ventilation guidelines before purchasing for your rental.
How Do I Clean and Maintain a Built-In Fridge Cabinet?
Treat your built-in refrigerator like a well-loved kitchen classic: regular care keeps it performing beautifully. Empty shelves, discard expired food, and wipe spills promptly with mild soap and warm water.
Practice shelf organization by grouping similar items and leaving airflow paths clear. Vacuum the condenser coils and clean cabinet vents every few months.
Check door seal maintenance by wiping gaskets and testing their grip. Defrost if needed, and schedule professional service for unusual noises or cooling problems.
When Should I Hire a Professional Cabinetmaker or Installer?
Hire a professional cabinetmaker or installer when your project involves custom cabinetry, complex design considerations, or structural changes. You’ll also benefit from expert help if measurements seem uncertain, the refrigerator needs precise ventilation clearances, or surrounding cabinets must align perfectly.
Contact a professional when you lack specialized tools, experience, or time. If installation involves electrical, plumbing, or wall modifications, hire licensed tradespeople to guarantee safety, compliance, and a polished result.
Conclusion
With careful measuring and proper ventilation, you can build a built-in fridge cabinet that looks custom without sacrificing performance. Don’t assume a tight fit saves space: refrigerators need clearance for airflow, door swing, and future servicing.
Secure the cabinet firmly, level the appliance, and finish the panels and trim for a polished result. Before you load the shelves, test every door, verify ventilation, and confirm the refrigerator operates normally.
Your finished installation will be safer, quieter, and easier to maintain. Following these steps ensures your built-in fridge cabinet not only fits perfectly but also functions efficiently for years to come.