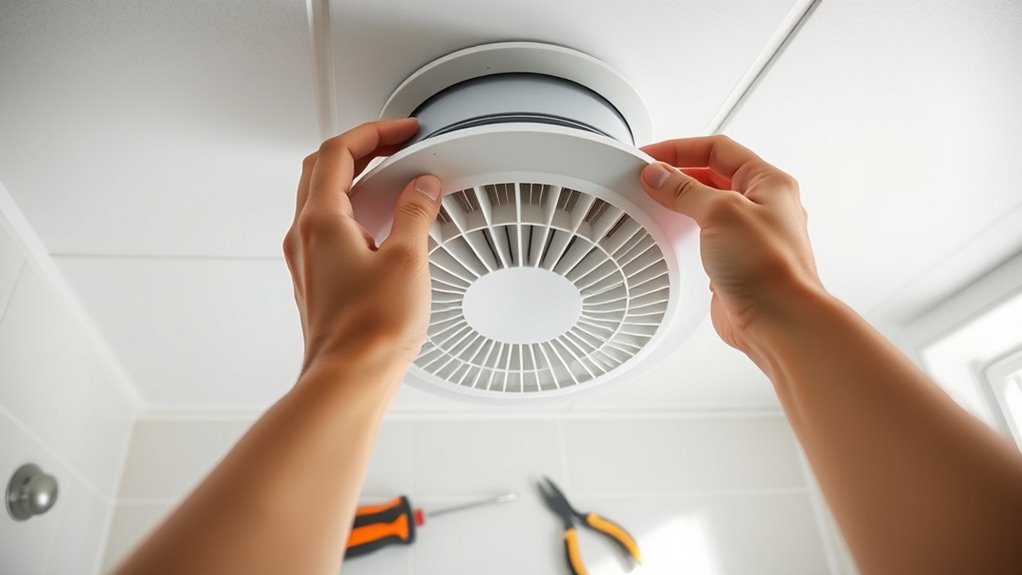
Bathroom Exhaust Fan Replacement In 7 Easy Steps
Bathroom Exhaust Fan Replacement can feel like a daunting task, especially if you’re not sure where to start or worried about making a mistake. You’re not alone—many people struggle with finding the right fan and figuring out how to install it properly.
The good news is that with the right guidance, this project becomes manageable and even satisfying.
To easily replace your bathroom exhaust fan, start by gathering the right tools and safety gear. Turn off the power at the breaker and double-check with a voltage tester. Remove the old fan carefully, noting wiring connections.
Pick a new fan with the right size and low noise rating. Install it securely, reconnect wiring, and seal ductwork tightly.
Finally, test the fan for smooth operation and efficient ventilation. Keep going, and you’ll get helpful tips to guarantee your new fan lasts longer and works better.
Key Takeaways
- Turn off power at the circuit breaker and verify with a voltage tester before starting any work.
- Carefully remove the old fan cover and housing. Be sure to label or photograph wiring connections for reference.
- Select a new fan that has the right size, CFM rating, and a low noise level for your bathroom.
- Securely mount the new fan housing. Connect the ductwork tightly and wire everything according to the instructions.
- Test the fan to make sure it operates smoothly, provides proper airflow, and ventilates effectively before finishing the installation.
Gather Tools and Materials for Bathroom Exhaust Fan Replacement
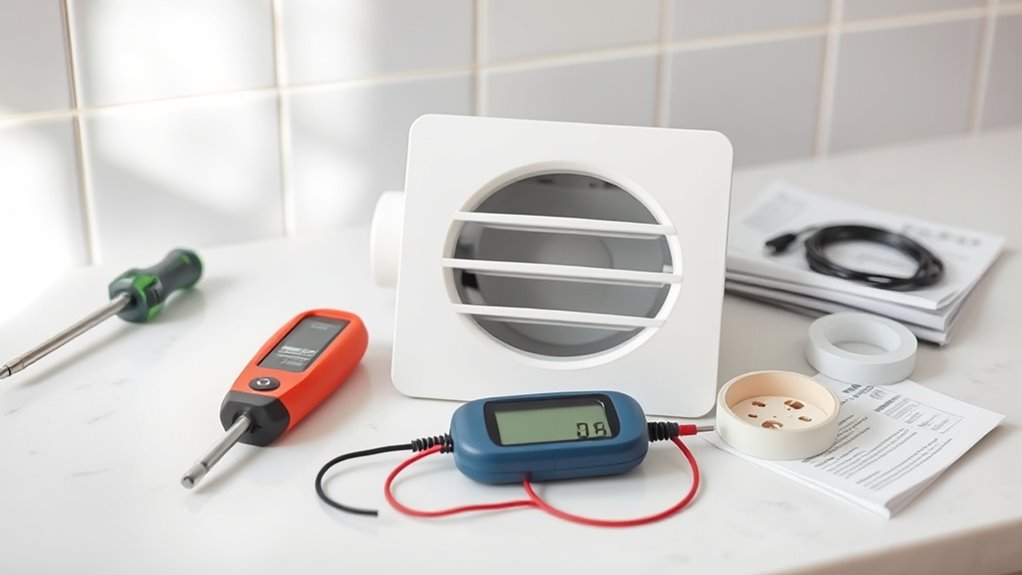
Before you begin replacing your bathroom exhaust fan, gather all the necessary tools and materials to make the job smoother. Start with a new exhaust fan that offers improved ventilation efficiency and noise reduction, ensuring a quieter and more effective bathroom environment.
Gather the right tools and choose a quiet, efficient exhaust fan for a smoother bathroom upgrade.
You’ll also need a screwdriver set, a utility knife, wire strippers, and electrical tape to handle the electrical connections safely. A voltage tester helps confirm the power is off before you start working.
Don’t forget a drill with appropriate bits for mounting the fan securely. Having a ladder, safety glasses, and a dust mask keeps you safe and comfortable during installation.
Make sure to check the fan’s size matches your existing ductwork to maintain maximum airflow. By preparing these tools and materials in advance, you’ll avoid interruptions and make your replacement project efficient, enhancing both ventilation efficiency and noise reduction in your bathroom.
Turn Off Power Safely Before You Begin
With all your tools and materials ready, the next step is to make sure the power to your bathroom exhaust fan is completely turned off. Prioritizing electrical safety is essential before you start any work. Here’s how to safely cut the power and confirm it’s off:
- Locate your home’s circuit breaker panel and identify the breaker labeled for the bathroom or exhaust fan.
- Switch off the corresponding breaker to cut power to the fan.
- Use a circuit tester or non-contact voltage tester to check the fan’s wiring and confirm no electricity is flowing.
- Test the fan’s switch to ensure it doesn’t turn on. This double-checks that the circuit is dead.
Remove the Old Bathroom Exhaust Fan
With the power safely off, go ahead and start by removing the fan cover so you can get to the unit. Be careful when disconnecting the wiring—you don’t want to cause any damage or shorts. Once everything is disconnected, you’re all set to take out the old fan.
Power Off Safety
How do you guarantee safety while removing your old bathroom exhaust fan? Prioritizing electrical safety is essential to avoid accidents. Before touching any wires or screws, make sure the power is completely off. Always wear personal protective equipment like insulated gloves and safety goggles to protect yourself from electrical shocks and debris.
Follow these steps to ensure power off safety:
- Turn off the circuit breaker controlling the bathroom fan.
- Use a voltage tester to confirm no electricity is flowing.
- Wear insulated gloves and safety goggles for added protection.
- Inform others in your home about the power shutdown to avoid accidental reactivation.
Detach Fan Cover
Why start by detaching the fan cover? Removing the fan cover is your first step to access the internal components of your bathroom exhaust fan. Most fan cover designs are simple, featuring clips or screws that keep the cover securely in place.
Carefully inspect your fan cover. Some models have a twist-and-lock mechanism, while others require a gentle pull after loosening screws. Before you fully remove the cover, take note of its orientation for easier reinstallation later.
Detaching the fan cover also gives you a chance to perform fan cover cleaning, removing dust and debris that accumulate over time. This improves airflow and keeps the fan running efficiently. Once the cover’s off, you’re ready to proceed to the next step without any obstructions.
Disconnect Wiring Carefully
After removing the fan cover, you’ll have clear access to the wiring inside the exhaust fan. Prioritize electrical safety by turning off the power at the circuit breaker before touching any wires. Carefully disconnect each wire, noting their connections to guarantee wiring compatibility with your new fan.
Follow these steps:
- Confirm the power is off using a voltage tester.
- Take a photo or label wires to remember their original setup.
- Loosen wire nuts and gently separate the wires.
- Inspect wires for damage before proceeding.
Choose the Right Bathroom Exhaust Fan
Selecting the right bathroom exhaust fan guarantees effective ventilation and prevents moisture buildup. First, consider the fan’s ventilation effectiveness, measured in cubic feet per minute (CFM). Choose a fan with a CFM rating appropriate for your bathroom size; this ensures it removes moisture efficiently and reduces mold risks.
Next, pay attention to noise levels. You don’t want a fan that sounds like a jet engine every time you use it. Look for fans rated in sones, where a lower sone rating means quieter operation. Fans around 1.0 sone or less are ideal for a peaceful bathroom environment.
Furthermore, check for energy-efficient models to save on electricity bills and consider features like built-in lights or humidity sensors if you want extra convenience. By balancing ventilation effectiveness with quiet operation, you’ll select a fan that keeps your bathroom fresh without disturbing your routine.
Install the New Bathroom Exhaust Fan
Once you have the right fan, you’ll need to turn off the power at the circuit breaker to guarantee safety before starting the installation. Begin by removing the old fan housing carefully. Then, position the new fan housing into the opening, ensuring it fits snugly to optimize ventilation airflow. Secure it with screws to prevent movement and noise.
Follow these steps to install your new bathroom exhaust fan effectively:
- Attach the fan housing to the ceiling joists for stability.
- Connect the ductwork tightly to maintain proper airflow and prevent leaks.
- Wire the fan according to the manufacturer’s instructions, ensuring all connections are secure.
- Install the fan grille, designed for noise reduction, to keep the bathroom quiet and comfortable.
Test Your New Bathroom Exhaust Fan
How can you be sure your new bathroom exhaust fan is working properly? Start by turning it on and paying close attention to the fan noise. It should run smoothly without any rattling, grinding, or excessive vibration. Unusual sounds often indicate an installation issue or a faulty fan that needs addressing.
Ensure your bathroom fan runs smoothly without rattling or grinding to confirm proper installation and function.
Next, check the airflow efficiency. Hold a piece of tissue or a small strip of paper near the fan intake; it should be pulled firmly toward the vent, signaling good suction. If airflow feels weak, verify that the ductwork is correctly connected and not kinked or blocked.
Also, ensure the fan effectively removes steam after a hot shower. You can test this by running the fan while the bathroom fills with steam and observing how quickly it clears. If it doesn’t, you may need to revisit installation or consider a more powerful fan.
Testing your fan now ensures it operates efficiently and quietly for years to come.
Maintain Your Bathroom Exhaust Fan for Longer Life
To keep your bathroom exhaust fan running efficiently and quietly, you need to perform regular maintenance. This helps prevent breakdowns and extends its lifespan. Start by focusing on cleaning filters regularly, as clogged filters reduce airflow and strain the motor. Improving ventilation around the fan also prevents moisture buildup, which can cause damage.
Follow these simple steps to maintain your exhaust fan for longer life:
- Turn off power before cleaning to ensure safety.
- Remove and clean the fan cover and filters with warm, soapy water.
- Vacuum dust and debris from the fan blades and motor housing.
- Check for proper airflow and clear any obstructions in the vent duct.
Frequently Asked Questions
Can I Replace a Bathroom Exhaust Fan Without a Permit?
You can often replace a bathroom exhaust fan without a permit, especially if it’s a simple DIY installation. However, you need to make sure your new fan meets local ventilation standards to avoid any code violations.
Some areas require permits for electrical work or major changes, so check with your local building department first. Following proper guidelines ensures your replacement is safe and up to code without unnecessary hassle.
How Do I Reduce Noise From My Bathroom Exhaust Fan?
Reducing noise from your bathroom exhaust fan is like tuning a guitar; it needs the right adjustments. Start with soundproofing techniques like adding foam insulation or a sound baffle around the fan to absorb vibrations.
You can also install fan speed control to lower the noise without sacrificing airflow. Regularly cleaning the fan blades helps, too. These steps make your fan quieter and your bathroom more peaceful.
What Is the Average Lifespan of a Bathroom Exhaust Fan?
You can expect your bathroom exhaust fan to last around 10 to 15 years with proper fan maintenance. Following ventilation standards helps guarantee it runs efficiently and reduces wear and tear.
Regularly cleaning the fan and checking for any issues will extend its lifespan. If you notice increased noise or reduced airflow, it might be time to inspect or replace it to maintain good air quality and prevent moisture problems.
Are There Energy-Efficient Bathroom Exhaust Fan Options?
Yes, you can find energy efficient models that help reduce electricity use while keeping your bathroom well-ventilated. Eco friendly options often come with features like low wattage motors and ENERGY STAR certification. So you’ll save money and help the environment.
When shopping, look for fans labeled as energy efficient models to guarantee they use less power without sacrificing performance. It’s a smart choice for your home and the planet.
Can a Bathroom Exhaust Fan Help Prevent Mold Growth?
Yes, a bathroom exhaust fan can help prevent mold growth by improving ventilation effectiveness. When you use the fan, it removes excess moisture from the air, which mold needs to thrive.
Without proper ventilation, dampness lingers, making mold more likely. So, by running your exhaust fan during and after showers, you actively reduce humidity, cutting down the chances of mold forming in your bathroom.
It’s a simple, effective mold prevention step you shouldn’t skip.
Conclusion
Replacing your bathroom exhaust fan isn’t as intimidating as it seems. By following these simple steps, you’ll breathe new life into your bathroom with fresh, efficient ventilation.
Remember safety first. Always turn off the power before you start. With the right tools and a bit of patience, you’ll have your new fan humming smoothly in no time.
Think of it as giving your bathroom a gust of fresh air, literally! Replacing your bathroom exhaust fan is a great way to improve air quality and keep your space comfortable.