How to Check the Temperature Inside Your Freezer
If you’ve ever opened your freezer only to find your food isn’t as frozen as it should be, you’re not alone. Many people struggle with keeping their freezer at the right temperature, which can lead to spoiled food and wasted money.
Knowing how to check the temperature inside your freezer is key to avoiding these problems and keeping your frozen goods safe.
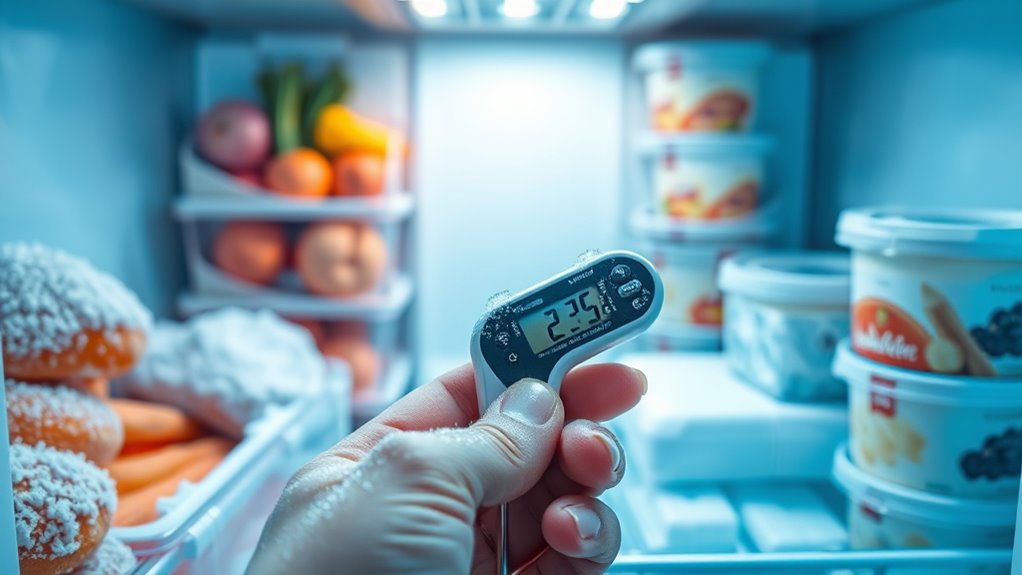
To check your freezer’s temperature, place a freezer thermometer near the center, away from walls, vents, food, and the door. Keep the door closed for several minutes, then check the stabilized reading. Your freezer should stay at 0°F (-18°C) or colder.
Test different areas for warm spots, and adjust the control if necessary. Wait 12–24 hours before checking again.
Check seals, vents, and airflow if temperatures remain high.
The following steps explain how to maintain consistent results.
Key Takeaways
- Place a freezer thermometer near the center, away from walls, vents, packages, and the door.
- Keep the door closed and wait several minutes for the thermometer reading to stabilize.
- Check that the temperature is 0°F (-18°C) or colder for safe, effective food storage.
- Test different freezer areas to identify warm zones, then record readings for comparison.
- After adjustments, door openings, or power outages, wait 12 to 24 hours before rechecking the temperature.
Find the Ideal Freezer Temperature
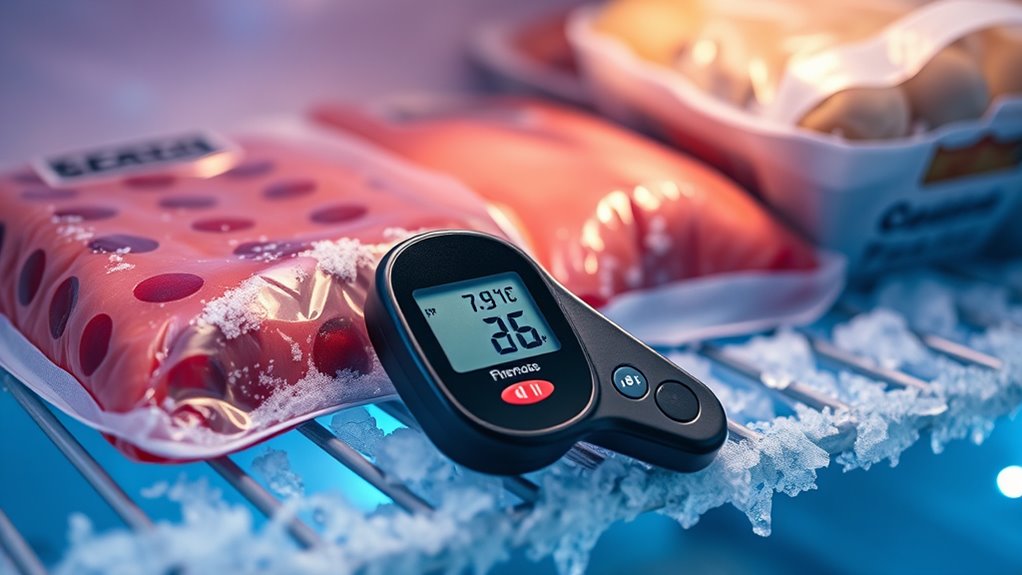
Set your freezer to 0°F (-18°C) or colder to keep food safely frozen and preserve its quality. This temperature slows bacterial growth and helps maintain the flavor, texture, and nutritional value of frozen food. Keep the setting at or below 0°F, but don’t assume a colder setting always provides better results. Extremely low temperatures can increase energy use without offering meaningful benefits.
Watch for temperature fluctuations, which can partially thaw food and encourage ice crystals, freezer burn, or quality loss. Opening the door frequently, overloading the compartment, or placing warm items inside can cause these changes. Leave enough space for cold air to circulate, yet keep the freezer reasonably full to help stabilize its temperature.
Store food in tightly sealed, moisture-resistant packaging, and label items with dates so you can use older packages first. If food has thawed completely and remained above 40°F (4°C) for over two hours, discard it rather than risking illness. Consistent freezing protects both safety and quality.
Choose a Freezer Thermometer
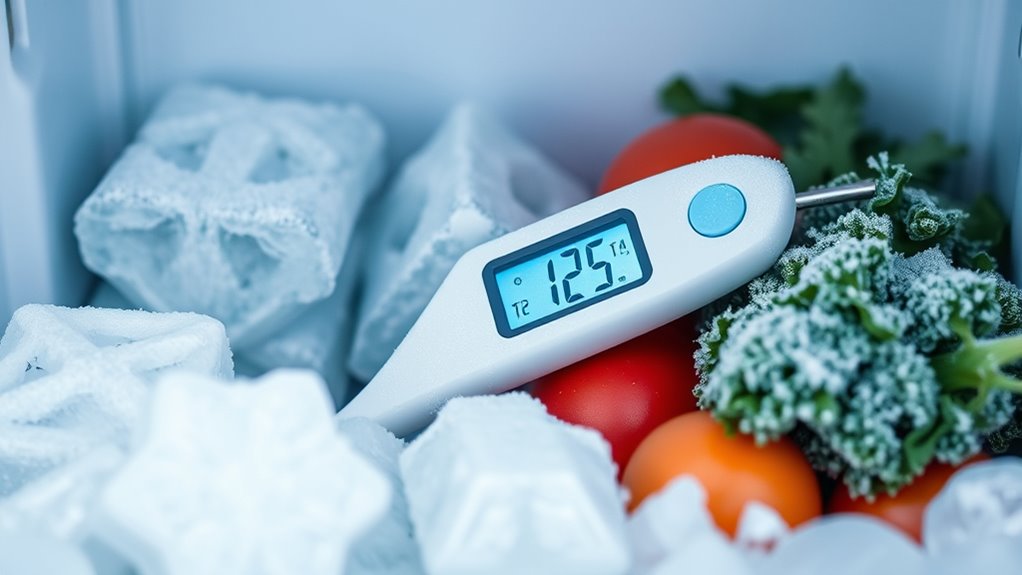
Choose a freezer thermometer that can accurately measure temperatures at or below 0°F (-18°C). Select a model designed for freezers rather than a general indoor thermometer, since it must remain reliable in consistently cold conditions. An easy-to-read dial or digital display helps you check the reading quickly, while a wide temperature range lets you spot unsafe warming and excessive cooling.
Look for a thermometer with clear degree markings, a sturdy housing, and materials that resist moisture and corrosion. A hanging, standing, or magnetic design can suit your freezer placement, but choose based on compatibility with your appliance and shelves. Avoid relying on built-in freezer settings alone; they often show the selected level, not the actual air temperature.
A thermometer can also help you investigate ice formation. If frost builds up near food or the walls, compare the thermometer’s reading with your freezer’s target temperature. Choose a model with dependable accuracy, and replace it if its display fades or readings seem inconsistent.
Place the Thermometer Correctly
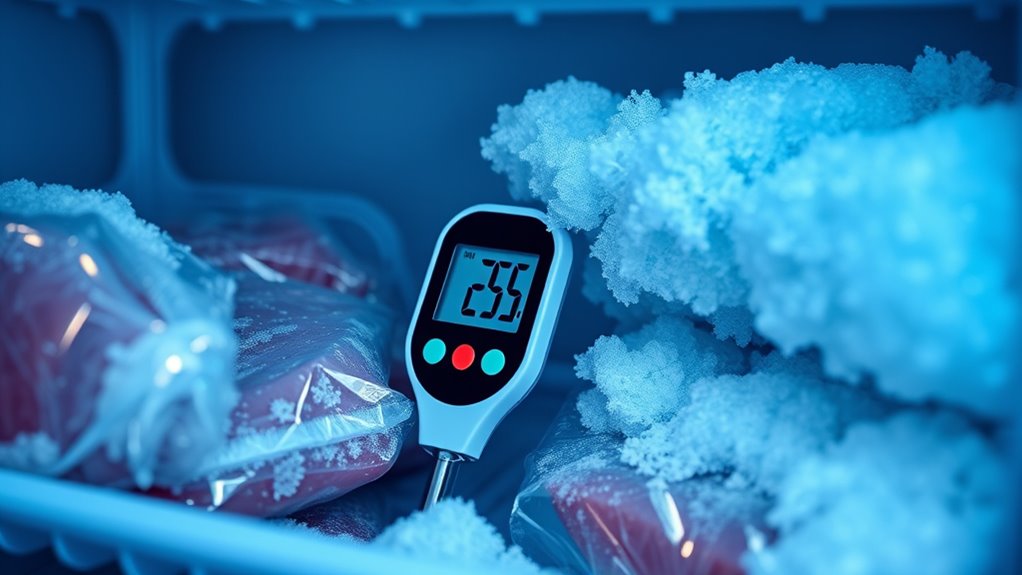
Place the thermometer where air can circulate freely, ideally near the center of the freezer and away from the walls, vents, door, and frozen food. This placement gives you a more representative reading of the compartment’s overall temperature. Don’t attach the device directly to a wall or let it rest against a package, since those surfaces can transfer heat or cold and distort the result.
Position the thermometer upright or according to the manufacturer’s instructions, ensuring its sensor remains unobstructed. If you use a liquid-filled model, keep it level so the indicator stays accurate. Avoid placing it in the door, where frequent opening exposes it to warmer room air.
You should also check that the display remains easy to read without moving the device. Before using it, follow the manufacturer’s guidance for temperature calibration. Proper calibration helps you identify inaccurate readings and confirms that the thermometer measures the freezer’s actual conditions correctly.
Wait for a Stable Reading
After you put the thermometer in the freezer, give it a few minutes to settle. Don’t write down the temperature right away—wait until the reading stops changing. Once it stays steady, that’s when you can check and record the accurate temperature.
Allow Time to Settle
After placing the thermometer inside, give it enough time to reach the freezer’s actual temperature rather than checking it immediately. Leave it in the center, away from walls, vents, frozen packages, and the door. These areas can create misleading readings because cold air moves unevenly during normal operation.
Keep the door closed while the thermometer settles. Opening it repeatedly lets warm air enter and forces the freezer to work harder, delaying a reliable result. If you’ve recently loaded groceries, completed a freezer defrost, or noticed a damaged door seal, allow extra time for conditions to normalize.
Don’t move the thermometer or handle it while you wait. A stable environment helps its sensor adjust gradually and prevents a brief fluctuation from influencing your assessment. Patience now supports an accurate temperature check later.
Check After Stabilization
Once the thermometer has had time to adjust, check the display without opening the freezer for long. A stable number gives you a more reliable picture than an immediate reading after loading groceries or changing the setting. Record the temperature, then compare it with your freezer’s recommended range, usually 0°F (-18°C).
If the reading seems high or low, repeat the check later to rule out temporary temperature fluctuations. Watch for patterns rather than reacting to one unusual result.
- Frosted packages may signal warm, moist air.
- A crowded shelf can block cold airflow.
- A nearly empty freezer may change quickly.
- The door seal should grip a sheet of paper.
- A simple log can reveal recurring shifts.
Regular checks support good freezer maintenance and help you spot problems before food quality suffers. If readings remain abnormal, inspect the seal, vents, and settings, then contact a technician.
Read the Freezer Display or Dial
Look for the temperature display on your freezer’s control panel, or find the dial if it has one. Take a look at the number that’s showing, or check the dial setting based on its markings. Make sure the temperature is within the recommended range, which is usually 0°F (-18°C) or lower.
Locate the Temperature Display
Look for the temperature display or control dial inside the freezer, typically on the upper wall, side panel, or near the door. Use a flashlight if frozen food or frost blocks your view. You’ll usually find a digital screen, numbered dial, or small indicator window connected to the appliance’s temperature regulation system.
Improve display visibility by wiping away moisture, ice crystals, or dust with a dry cloth.
- A glowing digital screen above the storage baskets
- A round dial beside the interior light
- A narrow indicator window near the door seal
- Small numbers printed around a recessed knob
- Frost-free plastic framing the control area
Open the door briefly while you search, then close it to protect the frozen contents. Don’t move the dial or interpret its markings yet; simply identify where the freezer reports or controls temperature. Note whether the display is easy to see under normal lighting.
Interpret Dial Settings
Read the freezer’s display or dial to determine whether it shows the actual temperature or only a cooling setting. A digital display usually reports degrees, while a numbered dial often represents cooling intensity rather than a measured temperature.
If the dial uses words such as “colder” or “warm,” treat it as a setting, not a thermometer reading. Turn the control gradually, then allow the freezer time to respond before judging the change.
Don’t assume a higher number always identifies a specific temperature; consult your owner’s manual for the model’s control design. For accurate temperature calibration, place an appliance thermometer inside and compare its reading with the display.
Understanding this difference improves freezer maintenance and helps you recognize when the control, sensor, or display may need attention.
Check Recommended Range
Once you know whether the display shows a temperature or a setting, compare it with the recommended freezer range. For food safety, your freezer should stay at 0°F (-18°C) or colder. A digital display makes this check easy: confirm the number, then watch it for several minutes.
If you see a dial, use its markings as a guide rather than assuming “maximum” always means coldest.
Picture these signs while checking:
- A steady 0°F glowing on the screen
- Frosted packages resting on solid shelves
- A dial pointer aligned with “colder”
- A thermometer hanging near the center
- A warning light flashing after a temperature rise
If the reading exceeds 0°F, lower the setting slightly and recheck later. Don’t set it colder than necessary, though; balanced cooling supports energy efficiency and helps prevent excess frost.
Record the reading if you’re troubleshooting recurring fluctuations.
Compare the Reading With 0°F
Compare your freezer thermometer’s reading with the recommended temperature of 0°F (-18°C). This benchmark helps you confirm that frozen food remains safely stored and maintains its quality. If the reading sits at 0°F, your freezer meets the standard.
A slightly colder reading generally supports food safety, although it may increase energy use. If the temperature rises above 0°F, check how far it has climbed. A reading a few degrees higher may not signal an immediate problem, but food can gradually lose quality, and prolonged warming can create safety concerns.
Adjust the freezer control according to the manufacturer’s guidance, then allow enough time for the temperature to stabilize before checking again. If the reading falls far below 0°F, your freezer may use more electricity than necessary.
Raising the setting slightly can improve energy efficiency while keeping food properly frozen. Don’t rely on the control dial alone; use the thermometer to verify the actual temperature.
Test Different Areas for Temperature Differences
Test the thermometer in several areas of the freezer, since temperatures can vary between the front, back, top, and bottom shelves. Place it in each location, close the door, and wait for the reading to stabilize before recording it. Keep the thermometer away from walls, vents, and freshly added food, which can distort results.
Move it carefully so you don’t leave the door open longer than necessary. Picture these testing spots:
- The front shelf beside frequently used items
- The back corner near the cold-air outlet
- The top shelf beneath the lid or ceiling
- The bottom shelf near frozen packages
- The door compartment, if your model has one
Compare the readings to identify warm or cold zones. A consistent temperature supports food preservation by limiting thawing and refreezing. It can also improve energy efficiency because you’ll spot airflow problems, overcrowding, or damaged seals that make the appliance work harder.
Record your results, then address unusual differences according to the manufacturer’s guidance.
Set the Freezer to 0°F
Find your freezer’s temperature controls—they’re usually inside the compartment or on the exterior panel. Adjust the setting to 0°F. Then, give it a few hours to stabilize before you check the temperature with a thermometer.
Find the Temperature Controls
Once you’ve located the temperature controls, set the freezer to 0°F, the recommended temperature for keeping food safely frozen. Look for the control panel inside the compartment, along the upper wall, or near the front edge.
On some models, you’ll find a numbered dial; others use electronic buttons or a digital display. Use your owner’s manual if the control isn’t obvious, and note its location for easy access later.
Proper freezer insulation helps maintain a steady environment, while 0°F limits ice crystal formation and protects food quality.
Picture these details as you search:
- A small dial marked with numbers
- An illuminated digital temperature display
- Buttons beside a snowflake symbol
- A control tucked beneath a shelf
- A label identifying the freezer thermostat
Keep the door open only briefly while locating the control, so warm air doesn’t enter unnecessarily.
Adjust the Freezer Setting
Set the freezer to 0°F using the dial, buttons, or digital controls you located. If your control uses a numbered scale, choose the setting recommended in your owner’s manual, since higher numbers don’t always indicate colder temperatures. Make small adjustments rather than moving the control to its coldest position.
A 0°F setting helps preserve food quality, limit ice crystal formation, and maintain safe storage conditions. Check that the door closes fully, because warm air entering around a damaged gasket can affect performance. Keep vents clear, and don’t pack items tightly against interior walls; proper airflow helps the appliance maintain its selected setting.
Freezer insulation also affects efficiency, so inspect the door seal for gaps, tears, or looseness. If you notice damage, replace the gasket or arrange a repair.
Allow Time to Stabilize
After setting the freezer to 0°F, allow 12 to 24 hours for the temperature to stabilize before checking it. Keep the door closed during this period so warm air doesn’t disrupt the reading.
A recently stocked freezer may need additional time because frozen packages absorb and release cold differently. Consider seasonal fluctuations, especially if your kitchen feels unusually hot or cold. After power outages, wait until the freezer has fully recovered before judging its performance.
Picture the freezer settling into a steady rhythm:
Frosted walls holding a consistent chill
Packages resting undisturbed on shelves
A thermometer lying safely between foods
Cold air staying inside the sealed compartment
A quiet compressor cycling on and off
Place your thermometer inside, then check it after stabilization. If it reads above or below 0°F, adjust the setting slightly and wait another 12 hours before measuring again. Avoid frequent changes, which can create temperature swings and confuse your results.
Fix Common Causes of a Warm Freezer
If your freezer reads warmer than 0°F (-18°C), check the door seal, airflow, and frost buildup first. Close the door on a sheet of paper; if you can pull it out easily, clean or replace the gasket. Make sure shelves and packages don’t block interior vents, which need clear paths to circulate cold air. Rearrange crowded items and leave space around the walls.
Thick frost can insulate the evaporator and restrict airflow. Move food to a safe temporary location, unplug the freezer, and let the ice melt completely. Never chip frost with a knife or use a heat gun because you could damage the liner or create a hazard. Clean the interior, dry it, and restore power.
Also, vacuum dust from condenser coils and confirm the freezer sits away from heat sources. Check that the temperature control hasn’t changed accidentally. These maintenance tips improve energy efficiency and help your freezer cool properly.
Recheck the Freezer Temperature Regularly
Check the freezer temperature again after making adjustments, then verify it regularly with a reliable appliance thermometer. Place the thermometer near the center, away from walls, vents, and the door. Aim for 0°F (-18°C), and check after several hours of closed-door operation.
Create a simple schedule, such as checking weekly and after power outages, heavy loading, or unusual noises. Record each reading so you can spot gradual changes before food softens or spoils. These maintenance tips support food safety, energy efficiency, and dependable performance.
A steady display shows a cold, stable interior. Frost-covered packages may signal rising moisture or poor sealing. A crowded shelf can block cold air circulation. A cracked door gasket lets chilled air escape. A temperature log reveals slow changes over time.
If readings remain above 0°F, inspect the seal, airflow, and settings before calling a technician. Don’t rely on the freezer’s dial alone; it indicates a setting, not the actual temperature. Recheck after every correction to confirm the problem is resolved.
Frequently Asked Questions
How Often Should I Defrost My Freezer?
Defrost your freezer whenever ice buildup exceeds ¼ inch, rather than following a strict calendar. For many models, that means every six to twelve months. Frost-free freezers usually don’t require manual defrosting, but check your owner’s manual.
During each defrosting schedule, unplug the appliance, remove food, let ice melt, and clean and dry the interior. Regular freezer maintenance improves efficiency, preserves storage space, and helps your freezer maintain a steady, safe temperature.
Can Freezer Temperature Affect Food Quality and Freezer Burn?
Yes, freezer temperature directly affects food quality and freezer burn. Keep your freezer at 0°F (-18°C) or colder to support reliable food preservation. Warmer temperatures allow ice crystals to grow, damaging texture, drying food, and increasing spoilage risk.
Temperature fluctuations make freezer burn more likely, especially when you store food loosely wrapped. Use airtight packaging, remove excess air, and avoid overcrowding so cold air circulates evenly. Check the temperature regularly to maintain consistent storage.
How Long Can Food Remain Safely Frozen During a Power Outage?
Food stays safely frozen for about 48 hours in a full, unopened freezer, or 24 hours in a half-full one. Picture your freezer as a sealed snow cave: each time you open it, warmth rushes inside.
For Power outage safety, keep the door closed and move perishables to dry ice or another freezer if needed. Freezer temperature stability improves when you group packages together.
Discard food that rises above 40°F for over two hours.
Should I Organize Foods Differently in a Chest Versus Upright Freezer?
Yes, you should organize foods differently in chest and upright freezers. In a chest freezer, place frequently used items near the top and use baskets for smaller packages. Practice proper stacking by keeping heavier foods below lighter ones.
In an upright freezer, group foods by type on separate shelves or drawers for easier access. Apply clear labeling techniques, including dates and contents, so you can rotate older packages first and minimize searching.
When Should I Replace an Old or Malfunctioning Freezer?
Your freezer’s warning light is a canary in a coal mine: replace it when repairs no longer keep food safely frozen. Replace units that repeatedly warm, leak refrigerant, frost excessively, damage food, or consume excessive electricity.
If it’s over 15 years old, compare repair costs and energy savings with a new model. Prioritize freezer maintenance and temperature calibration first, but don’t delay replacement when temperatures remain unsafe or parts become unavailable.
Conclusion
Keeping your freezer at 0°F protects your food and your peace of mind. Use a reliable thermometer, place it correctly, and wait for a stable reading before checking the temperature.
Test several spots to uncover sneaky warm zones, then fix airflow, frost, or seal problems promptly. Recheck regularly because a freezer can drift from perfect to perilous overnight.
With these simple steps, you’ll keep your frozen food in an icy fortress instead of a thawing disaster. Checking the temperature inside your freezer is key to making sure your food stays safe and fresh.