3 Simple Steps to Repair Car Brakes
Struggling with squeaky or unresponsive brakes? You’re not alone. Many drivers find brake repair intimidating and confusing, but it doesn’t have to be that way. With the right guidance, you can tackle this common car maintenance task yourself and save time and money.
To repair your car brakes in three simple steps, start by inspecting the brake pads for wear and the rotors for grooves or warping. Next, safely remove the wheels and calipers, replace the worn pads and rotors, and reassemble everything correctly, topping off brake fluid as needed.
Finally, test your brake system by bleeding air out and taking a slow test drive to ensure proper function and responsiveness. Keep going to uncover detailed tips for each step.
Key Takeaways
- Inspect brake pads and rotors for wear, grooves, or warping before starting repairs.
- Remove wheels and brake calipers carefully to access and replace brake pads and rotors.
- Compress caliper pistons using a C-clamp to fit new brake pads properly.
- Install new rotors and pads, then securely reinstall brake calipers and check brake fluid levels.
- Bleed the brake system to remove air, pump the pedal for firmness, and test drive for performance.
How to Inspect Brake Pads and Rotors for Common Issues
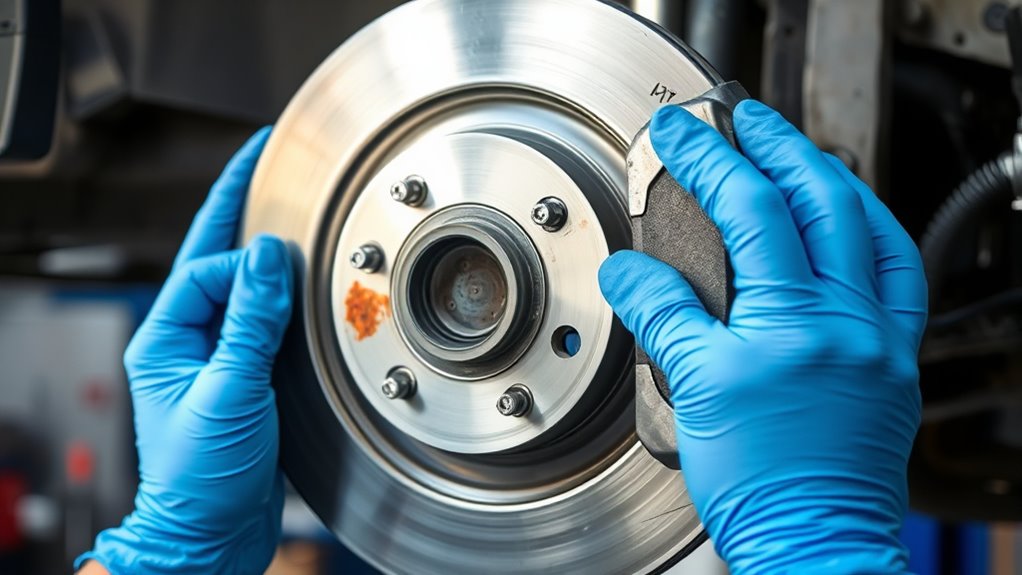
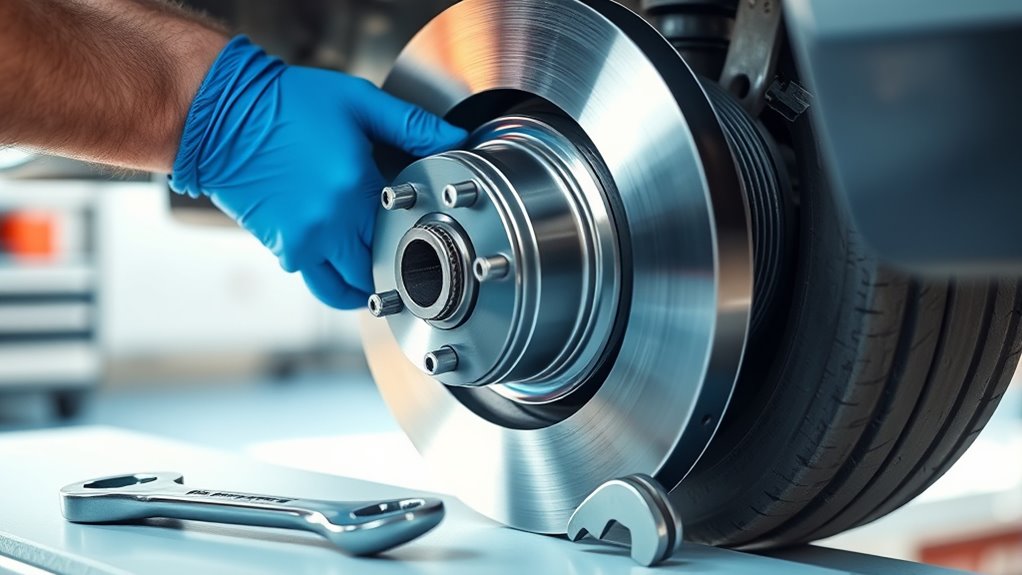
Before you begin repairing your car brakes, you need to inspect the brake pads and rotors carefully. Start by examining the brake pad materials for wear. Most pads are made from organic, semi-metallic, or ceramic compounds, and you want to check if the friction material has worn down close to the metal backing plate. If it’s under 3mm thick, it’s time for replacement.
Next, look at the rotor surface finish. The rotors should be smooth and free from deep grooves, scoring, or cracks. Uneven surfaces or rust spots can cause vibrations and reduce braking efficiency. Run your fingers along the rotor to feel for any ridges or rough patches.
Also, check for warping by spinning the wheel and listening for scraping noises or vibrations. Catching these issues early guarantees you avoid more costly damage and keeps your brakes functioning safely and smoothly.
How to Safely Replace Brake Pads and Rotors
Once you’ve identified worn brake pads and damaged rotors, you can move on to replacing them safely. First, lift your car and remove the wheel to access the brake assembly. Loosen and remove the brake calipers carefully; don’t let them hang by the brake lines to avoid damage.
Use a C-clamp or brake caliper tool to compress the caliper piston fully, creating space for the new pads. Remove the old brake pads and take off the rotor. Sometimes it requires gentle tapping if it’s stuck.
Compress the caliper piston with a C-clamp, then remove old pads and gently tap off the rotor if needed.
Clean the hub surface before installing the new rotor to guarantee proper fit. Slide on the new rotor and replace the brake pads into the caliper bracket.
Reinstall the brake calipers and secure them tightly. Don’t forget to check your brake fluid level afterward, topping it up if necessary, since compressing the caliper piston can cause fluid displacement. This careful process ensures your brakes function safely and effectively.
How to Test and Fine-Tune Your Brake System After Repair
Although you’ve replaced the brake pads and rotors, you still need to test your brake system thoroughly to guarantee everything works correctly. Start by checking the brake fluid level and quality. Proper brake fluid maintenance is essential for system performance.
If the fluid looks dirty or low, replace it and perform brake system bleeding to remove any trapped air that could cause spongy brakes. Next, pump the brake pedal several times to ensure it feels firm and responsive. If the pedal feels soft or sinks, bleeding the brakes again may be necessary.
Once the pedal feels right, take your car for a slow test drive in a safe area. Pay close attention to braking response, noises, or vibrations. If you notice any issues, recheck your brake fluid and consider bleeding the system again.
Fine-tuning these steps guarantees your brakes operate safely and efficiently after repair.
Frequently Asked Questions
What Tools Are Essential for Basic Brake Repairs?
You’ll need a lug wrench to remove the wheels for brake pad inspection and a C-clamp or brake caliper tool to compress the caliper piston. A socket set helps you take off caliper bolts during rotor replacement.
Don’t forget a jack and jack stands for safety, plus a torque wrench to tighten everything correctly. Having brake cleaner and a wire brush makes cleaning parts easier, ensuring your repairs go smoothly.
How Often Should Brake Fluid Be Changed?
Imagine your car’s heart slowing down. That’s what old brake fluid feels like. You should change your brake fluid every two years or about 30,000 miles to keep it pumping strong.
The brake fluid lifespan varies, but sticking to a regular fluid replacement schedule guarantees safety and performance. Don’t wait for warning signs; treat your brakes like the lifeline they are.
You’ll avoid costly repairs and stay safe on the road.
Can Brake Repairs Be Done on All Car Models?
You can perform brake repairs on most car models, but brake system safety always comes first. Some vehicles, especially luxury or electric models, might need specialized parts or tools, which can affect the replacement cost considerations.
Always check your car’s manual and consult a professional if you’re unsure. Proper repairs guarantee your brakes work reliably, keeping you safe on the road and avoiding costly damage down the line.
What Are the Signs of a Brake Fluid Leak?
You’ll notice signs of a brake fluid leak if your brake system diagnosis reveals a soft or spongy brake pedal, reduced braking power, or fluid pooling under your car.
You might also smell a sweet, oily scent or see warning lights on your dashboard. Catching these signs early is vital for fluid leak prevention, helping you avoid brake failure and guarantee your car stays safe to drive.
When Should a Professional Mechanic Be Consulted?
You should consult a professional mechanic when you notice unusual noises, vibrations, or a soft brake pedal, especially if you’re unsure about brake pad replacement or brake rotor inspection. Trying to fix these issues yourself might lead to bigger problems.
Since brakes are essential for your safety, it’s best to have an expert check them right away to avoid accidents and costly repairs down the road. Don’t take chances with your brakes!
Conclusion
Now that you’ve tackled inspecting, replacing, and fine-tuning your brakes, you might think you’re done. But before you hit the road, there’s one essential test left, one that could reveal if your repair truly holds up under pressure.
Don’t rush it. Take a moment to feel the difference, listen for the silence, and make certain every stop is as smooth and safe as you deserve. Your safety depends on it, so always trust the 3 simple steps to repair car brakes to keep you secure.