7 Simple Steps to Paint Interior Walls Like a Pro
Painting interior walls like a pro can feel overwhelming, especially if you’re new to it or have struggled with uneven coverage and messy edges before. You’re not alone—many people find it tricky to get that smooth, professional finish without spending hours or wasting paint.
But with the right tools and techniques, you can transform your space confidently and efficiently.
To paint interior walls like a pro, start by gathering quality brushes, rollers, and painter’s tape. Choose the right paint finish for your room’s use and lighting.
Protect floors and furniture with drop cloths and plastic coverings.
Prep walls by cleaning, filling holes, and sanding. Cut in edges carefully with painter’s tape and steady strokes.
Roll paint evenly in “W” patterns and apply additional coats as needed.
Keep following for tips to perfect each step effortlessly.
Key Takeaways
- Prepare walls by cleaning, filling holes, sanding, and protecting floors and furniture with drop cloths and painter’s tape.
- Choose the right paint finish based on room use, lighting, and surface condition for optimal durability and appearance.
- Cut in edges and corners carefully with a brush held at 45 degrees for clean, sharp lines before rolling.
- Use a roller with appropriate nap, applying paint in overlapping “W” patterns for even coverage without drips or streaks.
- Allow proper drying time, sand lightly between coats, and apply multiple coats as needed for a smooth, uniform finish.
Gather Supplies for Painting
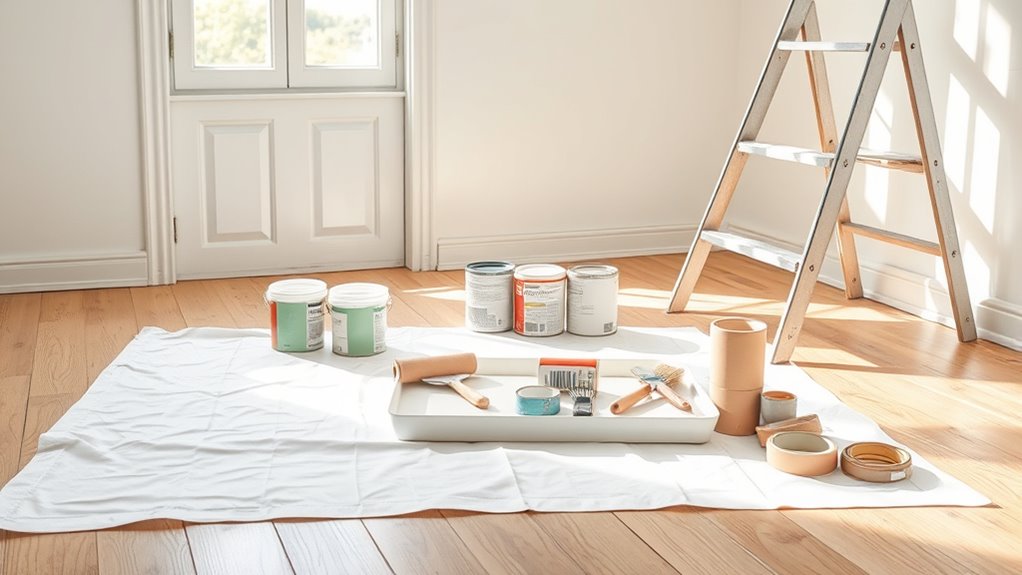
Before you begin painting, gather all the essential supplies to guarantee a smooth process. Start with quality brushes and rollers suited for your chosen paint finishes, whether matte, satin, or gloss. Don’t forget painter’s tape to protect trim and create clean edges.
Drop cloths will keep your floors safe from spills. Next, select a paint tray, stir sticks, and a ladder if needed for higher walls.
As you prepare, consider your color schemes carefully. Having paint samples on hand can help you visualize how colors interact in your space. Organize your supplies in one area to avoid interruptions once you start.
Also, keep cleaning rags and a bucket of water nearby for quick cleanups.
Choose the Right Paint for Your Walls
How do you pick the perfect paint for your interior walls? Start by understanding the different paint finishes available. Paint finishes range from flat and matte to eggshell, satin, semi-gloss, and gloss. Each finish texture serves a purpose, affecting durability, appearance, and ease of cleaning.
Choosing the right interior paint finish impacts durability, look, and ease of cleaning.
For example, flat finishes hide imperfections well but are harder to clean, while satin and semi-gloss finishes offer more durability and moisture resistance, making them ideal for kitchens and bathrooms.
Consider the room’s use and lighting when choosing finish textures. High-traffic areas benefit from tougher finishes like satin or semi-gloss. Living rooms and bedrooms often look great with eggshell or matte finishes, which create a soft, inviting feel.
Also, pick a paint formulated for interior walls to ensure proper coverage and longevity. By selecting the right paint finish, you’ll achieve a professional, polished look that stands up to daily wear and tear.
Protect Floors and Furniture Before Painting
Before you start painting, make sure to protect your floors with suitable coverings like drop cloths or plastic sheets. It’s a good idea to move any furniture out of the way if you can. If moving isn’t possible, cover it tightly to prevent accidental spills. Also, don’t forget to secure the edges and corners well so paint doesn’t seep through.
Choose Suitable Floor Coverings
Protecting your floors and furniture with the right coverings saves you time and hassle during cleanup. Before you start painting, choose floor coverings that shield your surfaces without damaging them, especially if you recently had carpet installation or have delicate area rugs.
Here’s how to pick the best floor coverings:
- Use heavy-duty drop cloths for hardwood or tile floors to prevent paint stains.
- Avoid placing area rugs directly under your workspace to keep them paint-free.
- Consider plastic sheeting for quick, disposable protection. It’s ideal after carpet installation.
- Secure coverings with painter’s tape to stop slipping and accidental paint spills.
Move and Cover Furniture
Once you’ve cleared the floors, move your furniture to the center of the room or another protected area. This furniture relocation helps create more space to work and prevents accidental paint splatters.
Use protective coverings like drop cloths or plastic sheets to shield your furniture and floors from spills and dust. Make sure the coverings are large enough to extend beyond the furniture’s edges, providing full protection.
Secure the coverings with painter’s tape or weights to keep them from shifting as you move around. By taking these steps, you’ll protect your belongings effectively and keep the workspace clean.
Proper furniture relocation and protective coverings set the stage for a smooth, professional paint job without unnecessary mess or damage.
Secure Edges and Corners
After moving and covering your furniture, the next step is to secure the edges and corners of your room. Proper edge sealing and corner finishing protect your floors and furniture from paint splatters and guarantee clean, sharp lines.
Follow these steps for effective protection:
- Use painter’s tape along baseboards, window trims, and door frames for precise edge sealing.
- Apply plastic or paper drop cloths on floors, securing edges with tape to avoid slipping.
- Cover any remaining exposed furniture with plastic sheeting, taping edges tightly to prevent paint drips.
- For corner finishing, carefully tape all inside and outside corners to maintain clean paint lines and avoid bleed-through.
These steps help you paint with confidence and achieve professional-looking results.
Prepare Walls to Get a Smooth Finish
Before you start painting, you’ll want to prepare your walls thoroughly to guarantee a smooth finish. Begin by cleaning the walls to remove dust, dirt, and grease that could prevent paint from adhering properly.
Next, inspect the wall texture and look closely for any surface imperfections such as cracks, holes, or dents. Use spackle or joint compound to fill these flaws, then let it dry completely.
Once dry, sand the patched areas gently with fine-grit sandpaper until smooth and level with the rest of the wall. If your wall has an uneven texture, consider lightly sanding the entire surface to create a more uniform base.
Finally, wipe down the walls with a damp cloth to remove sanding dust. Taking these steps assures your paint will go on evenly, enhancing the overall look and durability of your interior walls.
How to Cut In Edges Like a Pro
To cut in edges like a pro, you’ll want to start with the right brush—one that feels comfortable in your hand and suits the job perfectly. It really makes a difference. Then, keep a steady hand as you paint. This helps you avoid those wobbly lines and uneven edges that can make the job look sloppy. Just focus on maintaining clean lines, and before you know it, your walls will have that sharp, professional finish everyone loves.
Choosing The Right Brush
How do you achieve those crisp, clean lines when painting interior walls? It starts with choosing the right brush. Different brush types serve specific purposes, so picking one designed for cutting in will make your job easier.
Consider the handle ergonomics too. Comfortable grips reduce fatigue and improve control.
Here’s what to look for:
- Brush Types: Angled sash brushes are perfect for edges and corners.
- Bristle Material: Synthetic bristles work best with latex paint, natural for oil-based.
- Brush Size: A 2- to 2.5-inch brush offers precision without sacrificing speed.
- Handle Ergonomics: Look for handles that fit comfortably in your hand to maintain steady control.
Choosing the right brush sets you up for professional-looking results every time.
Steady Hand Techniques
When you want sharp, clean edges on your walls, developing a steady hand is essential. Start by practicing steady hand exercises, such as slowly tracing straight lines on paper or holding your brush steady while resting your elbow on a stable surface. These drills improve your brush control and build muscle memory.
Hold your brush like a pencil, gripping it near the ferrule for better precision. Use gentle, deliberate strokes rather than quick or heavy movements. Keep your wrist relaxed but steady to avoid shaking.
When cutting in, move the brush slowly along the edge, allowing the paint to flow smoothly without drips.
Maintaining Clean Lines
Where do you start to achieve those crisp, professional-looking edges every time you paint? It all begins with mastering brush techniques and understanding paint consistency.
Here’s how to cut in edges like a pro:
- Use a high-quality angled brush for better control and precision.
- Thin your paint slightly to improve flow but keep it thick enough to avoid drips.
- Load your brush with paint, then remove excess on the can’s edge to prevent blobs.
- Hold the brush at a 45-degree angle and make smooth, steady strokes along edges.
Roll Paint Evenly on Your Walls
Why does rolling paint evenly matter so much? Uneven paint leads to streaks, patches, and an unprofessional finish. When you combine proper brush techniques with the right roller selection, you guarantee smooth, consistent coverage.
Choose a roller nap suited for your wall texture. Use short naps for smooth surfaces and longer naps for textured walls.
Load your roller evenly, then use a “W” pattern to spread paint broadly before filling in gaps without pressing too hard. This method prevents drips and roller marks.
| Step | Tip | Result |
|---|---|---|
| Roller Selection | Match nap length to texture | Smooth, even coverage |
| Brush Techniques | Cut edges before rolling | Clean, sharp lines |
| Rolling Method | Use “W” pattern, light pressure | Avoid streaks, drips |
Apply Additional Coats and Let Paint Dry
After rolling your paint evenly, you’ll want to apply additional coats to achieve full coverage and a richer color. Each coat should have the right layer thickness, not too thick to avoid drips and not too thin to prevent patchiness. Proper drying time between coats is vital for a smooth finish.
Follow these steps:
- Wait the recommended drying time on the paint can before applying the next coat.
- Lightly sand any rough spots once the first coat is dry to ensure smoothness.
- Apply the second coat evenly, maintaining consistent layer thickness.
- Repeat if necessary until the color looks uniform and vibrant.
Frequently Asked Questions
How Do I Remove Paint Stains From Clothing?
To remove paint stains from clothing, start by scraping off excess paint carefully. Then, soak the stained area in warm water mixed with detergent for effective stain removal.
If the paint is water-based, you can usually wash it out easily. For oil-based paint, use a solvent like turpentine or rubbing alcohol before cleaning the clothing.
Always check the fabric care label and test solvents on a small area first to avoid damage.
What Is the Best Time of Year to Paint Interior Walls?
Painting interior walls is best done in spring or fall, when seasonal considerations align with moderate temperatures and humidity. You don’t want to paint when it’s too hot or cold, as climate impact can cause paint to dry unevenly or peel.
Think of it like catching the perfect wave; timing is everything. These seasons offer ideal conditions for paint to cure properly, ensuring a smooth, lasting finish you’ll be proud of.
How Do I Dispose of Leftover Paint Safely?
You should never pour leftover paint down the drain or throw it in the trash. Instead, look for local paint recycling programs that accept unused paint.
For small amounts, let the paint dry out completely, then dispose of it with household waste. If you have solvent-based paint, follow your community’s hazardous waste guidelines for proper solvent disposal.
This keeps harmful chemicals out of the environment and guarantees safe, responsible handling.
Can I Paint Over Wallpaper Without Removing It?
You might feel tempted to paint over wallpaper without removing it, but this shortcut can lead to peeling and uneven surfaces. For the best results, focus on thorough wall preparation: clean the wallpaper, repair any damage, and apply a high-quality primer to guarantee paint adhesion.
Skipping these steps risks a messy, short-lived finish. So, take your time prepping and priming. You’ll thank yourself when your walls look flawless and last longer.
How Long Should I Wait Before Rehanging Wall Decorations?
You should wait at least 24 to 48 hours for drying time before rehanging wall decorations. This guarantees the paint has fully set and won’t smudge or peel.
Proper wall preparation, like cleaning and priming, helps the paint dry evenly and faster. If you rush, your decorations might damage the fresh paint.
Conclusion
Now that you’ve mastered these seven simple steps, your walls will transform like a canvas touched by a maestro’s brush. Just as a writer crafts each sentence with care, you’ve prepared, protected, and painted with precision.
Remember, every stroke brings your vision to life. So roll with confidence, let each coat settle, and watch your space bloom into a masterpiece that even Michelangelo would admire.
Your pro-level finish for painting interior walls like a pro is just a brush away!