Step-by-Step Guide for Installing Bathroom Fixtures
Struggling with bathroom fixture installations? You’re not alone. Many people find the process confusing and overwhelming, especially when trying to avoid leaks and ensure everything fits perfectly. But with the right guidance and tools, you can tackle this project confidently and get a flawless, long-lasting setup.
To install bathroom fixtures, start by clearing the area and turning off the water supply. Carefully remove old fixtures, then measure and prepare your space.
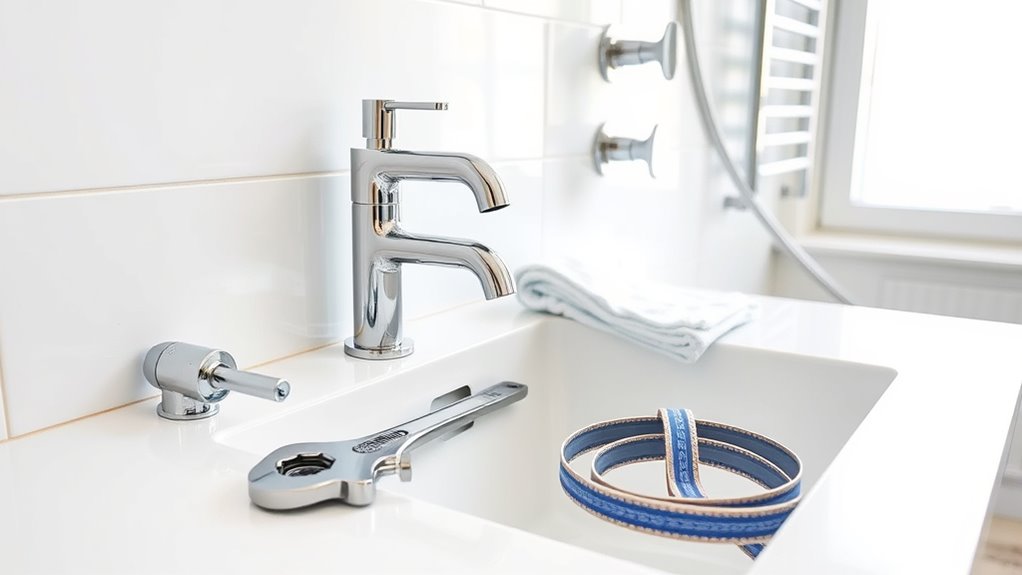
Gather your tools like wrenches, sealants, and supply lines. Connect new fixtures securely to water and drainage, sealing joints cleanly to avoid leaks.
After installation, test water flow and check for leaks. If you want to guarantee a flawless, long-lasting setup, understanding each detailed step will help you tackle the process confidently.
Key Takeaways
- Clear your workspace, turn off the water supply, and carefully remove old fixtures. While doing this, measure plumbing and fixture compatibility to avoid surprises later.
- Gather all the necessary tools, plumbing supplies, and safety gear. Make sure everything is ready before you start the installation.
- Connect water supply lines and drainage pipes securely. Install fixtures level and seal all joints with mildew-resistant caulk for a clean finish.
- Measure accurately, support heavy fixtures properly, and apply sealant smoothly. Don’t forget to comply with local building codes to keep everything up to standard.
- Test for leaks, check water flow and valve operation, and troubleshoot using the manufacturer’s guidelines to ensure everything functions properly.
How To Prepare Your Bathroom For Fixture Installation
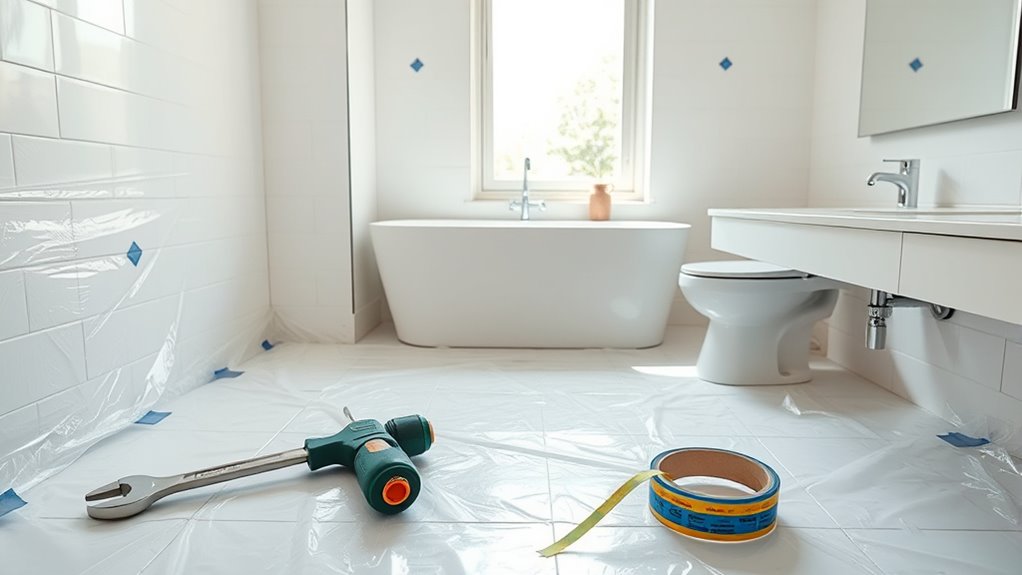
Before you begin installing new bathroom fixtures, you need to clear the space and turn off the water supply. This step prevents any water damage and gives you enough room to work comfortably. Start by removing old fixtures carefully, noting how they’re connected.
Next, clean the area thoroughly, as a clean surface helps with better adhesion and easier installation. When prepping, consider your bathroom design and how your new fixture styles will complement the space. Measure existing plumbing and fixture spots to verify compatibility and avoid surprises during installation.
Protect your floors with drop cloths to prevent scratches or stains. Also, check for any leaks or damage around plumbing before proceeding. By preparing your bathroom properly, you save time and reduce frustration, making the installation smoother.
Tools And Materials You Need For Bathroom Fixture Installation
Although having a clear plan is essential, gathering the right tools and materials is what guarantees your bathroom fixture installation goes smoothly. Before you begin, consider your bathroom design and fixture styles carefully. These influence the specific tools and supplies you’ll need.
To get started, make sure you have the following:
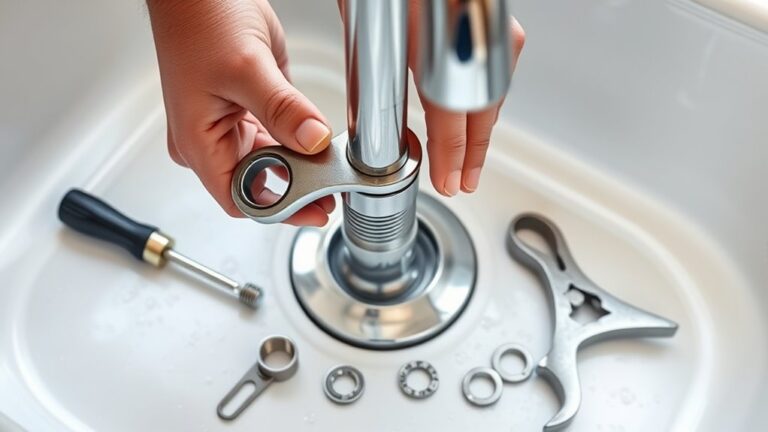
- Basic Hand Tools – A screwdriver set, adjustable wrench, pliers, and a tape measure are must-haves for most installations.
- Plumbing Supplies – Teflon tape, pipe sealant, and flexible supply lines ensure secure connections without leaks.
- Mounting Hardware – Anchors, screws, and brackets tailored to your fixture styles provide stable support.
Having these on hand prevents delays and helps you adapt to different fixture types. By matching your tools and materials with your bathroom design and chosen fixtures, you’ll achieve a seamless, professional-looking installation every time.
How To Remove Old Bathroom Fixtures Safely
Gathering the right tools and materials sets you up for success, but the next step is tackling the removal of your old bathroom fixtures safely. Start by turning off the water supply to avoid leaks or water damage. Carefully disconnect any water lines with a wrench, then remove mounting screws or bolts holding the fixture in place.
Use caution to avoid damaging surrounding tiles or walls. Preserving your bathroom decor during removal is key, especially if you plan to reuse elements. Take note of the existing fixture styles to guarantee your replacement fits properly and complements your bathroom’s look.
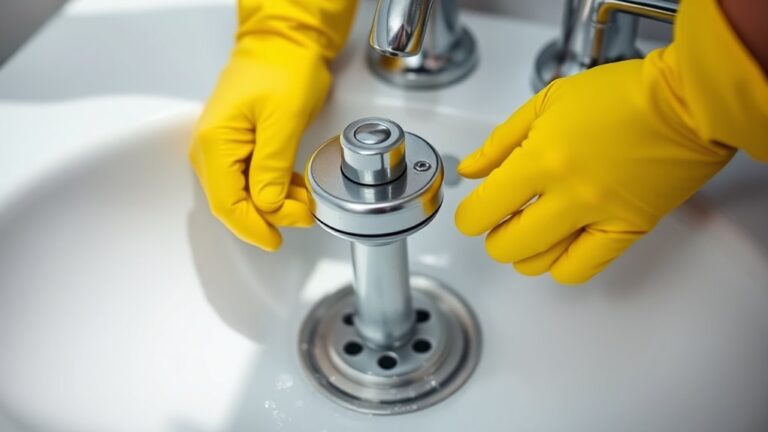
If caulk or sealant secures the fixture, gently cut through it with a utility knife to prevent surface damage. Always wear gloves and safety glasses to protect yourself from sharp edges or debris. By following these steps, you’ll create a clean slate, ready for new fixtures that improve your bathroom decor and suit your preferred fixture styles.
How To Connect Water Supply Lines And Drainage For Fixtures
Two key connections you’ll make when installing bathroom fixtures are the water supply lines and drainage. Confirming proper water pressure and fixture compatibility is essential for a smooth setup and long-lasting performance.
Ensuring correct water pressure and fixture compatibility is crucial for successful bathroom fixture installation.
Here’s how to connect them effectively:
- Check Fixture Compatibility: Confirm that your fixtures match your water supply line fittings to avoid leaks or damage.
- Attach Water Supply Lines: Connect flexible supply lines to the fixture valves, tightening them securely but not overly, to maintain ideal water pressure.
- Set Up Drainage: Align drainage pipes from the fixture to the home’s waste system, using slip nuts and washers to prevent leaks.
Always turn off the main water supply before connecting lines. After installation, test water flow and drainage thoroughly to catch any issues early. Proper connections ensure your fixtures work efficiently and last longer.
How To Install A Bathroom Sink Step-By-Step
Before you start installing your bathroom sink, make sure you have all the necessary tools and parts ready to go. Begin by turning off the water supply and removing the old sink if present.
Attach the faucet to the new sink and secure the drain assembly. Position the sink on the countertop or wall bracket, then connect the water supply lines and drainage pipes tightly. Confirm your bathroom lighting and ventilation systems are in place to maintain comfort and prevent moisture buildup.
| Step | Tool/Part Needed | Tip |
|---|---|---|
| 1. Prep Area | Wrench, Bucket | Turn off water, catch residual water |
| 2. Attach Faucet | Faucet, Sealant | Use plumber’s putty to avoid leaks |
| 3. Mount Sink | Brackets, Screws | Check level to prevent water pooling |
| 4. Connect Lines | Supply Lines, Wrench | Tighten securely; test for leaks |
Following these steps ensures your bathroom sink installation is smooth and efficient.
How To Install A Showerhead Without Leaks
To install a showerhead without leaks, start by preparing the connections carefully. You’ll want to make sure everything is clean and free of old tape or debris. Next, apply plumber’s tape evenly around the threads—this helps create a tight seal.
Once you’ve got the showerhead installed, turn on the water and keep an eye out for any drips or leaks. If you spot any, tighten the connection a bit more or add a little extra tape. That’s it—easy and leak-free!
Preparing Showerhead Connections
Although it might seem straightforward, properly preparing your showerhead connections is essential to prevent leaks and guarantee a secure fit. Before you start, make sure the area around the shower arm is clean and dry, just like you’d confirm tile patterns align perfectly or lighting fixtures are securely mounted.
Here’s what you need to do:
- Inspect the shower arm threads for damage or old sealant remnants.
- Clean the threads thoroughly to remove any debris or buildup.
- Check the shower arm’s alignment. Make sure it’s straight and positioned well to avoid strain on the connection.
These steps set the foundation for a leak-free showerhead installation, saving you time and water down the line.
Applying Plumber’s Tape
When you apply plumber’s tape correctly, you create a watertight seal that prevents leaks at the shower arm connection. Start by wrapping the tape clockwise around the threaded end of the shower arm, overlapping each layer slightly. Two to three wraps usually suffice to guarantee a secure fit.
This step is vital for appliance compatibility, as it helps your showerhead fit snugly without gaps. Avoid stretching the tape too much; a firm but gentle application works best.
Proper sealing not only keeps water contained but also complements your decorating ideas by ensuring your new fixture functions flawlessly. Taking care with plumber’s tape now saves you from water damage and maintains the sleek look of your bathroom setup.
Testing For Water Leaks
How can you be sure your showerhead installation is leak-free? Testing for water leaks is essential not only to maintain water conservation but also to preserve your bathroom’s aesthetic design. Here’s how to check effectively:
- Turn on the water slowly and observe all connections closely for any drips or moisture.
- Use a dry cloth to wipe around the joints, then check again after a few minutes. If the cloth gets wet, you have a leak.
- Inspect the showerhead itself to ensure water flows smoothly without spraying erratically, which could indicate loose fittings.
Fix any leaks immediately to avoid water waste and damage that can ruin your bathroom’s look. A tight, leak-free installation guarantees efficiency and a clean, polished finish.
How To Install A Toilet Without Plumbing Issues
Before you begin installing a toilet, make sure the flange and drainpipe are in good condition to prevent leaks and clogs. Check for any cracks or damage, and replace parts if needed.
Next, position the new wax ring on the flange to create a tight seal. Carefully place the toilet bowl onto the flange, aligning the bolts, and press down firmly to secure it. Tighten the nuts evenly but avoid overtightening, which can crack the porcelain.
Connect the water supply line to the fill valve and turn on the water to check for leaks. Flush a few times to ensure proper drainage.
Good ventilation is essential to avoid moisture buildup that can damage your bathroom decor and cause mold. Install an exhaust fan or open a window to improve airflow.
How To Seal And Finish Bathroom Fixtures For A Clean Look
Why does sealing and finishing bathroom fixtures matter? It protects your investment, prevents water damage, and guarantees a polished, clean look. Without proper sealing, moisture seeps into gaps, causing mold or deterioration. Finishing touches also let you highlight decorative accents and maintain color coordination.
Here’s how to seal and finish like a pro:
- Choose the right sealant: Use a high-quality, mildew-resistant caulk that matches the fixture’s color to blend seamlessly with your bathroom’s palette.
- Apply carefully: Run a steady bead along joints and edges, smoothing it with a wet finger or tool to avoid gaps and ensure neat lines that complement your decorative accents.
- Allow proper drying time: Don’t rush. Wait at least 24 hours before exposing fixtures to water for a durable, flawless finish.
Common Bathroom Fixture Installation Mistakes And How To Avoid Them
You’ll want to avoid common mistakes like incorrect measurements because they can throw off the entire installation. And when it comes to applying sealant, doing it the wrong way can lead to leaks and damage over time. Plus, don’t overlook plumbing codes—they’re there to keep your bathroom safe and working properly.
Incorrect Measurements Issues
Although measuring might seem straightforward, incorrect measurements are one of the most common mistakes when installing bathroom fixtures. Getting these wrong can cause misaligned tiles, unstable fixtures, and costly rework. To avoid these issues, focus on:
- Check tile alignment carefully. Measure from multiple reference points to ensure your fixture won’t disrupt the tile pattern or require cutting tiles awkwardly.
- Account for fixture weight. Make sure your measurements allow for proper support, especially with heavier fixtures like wall-mounted sinks or toilets.
- Double-check clearance spaces. Verify distances between fixtures and walls to avoid cramped setups or interference with doors and drawers.
Improper Sealant Application
How do you guarantee your bathroom fixtures stay watertight and secure? Proper sealant application techniques are key. Many installers rush or apply sealant unevenly, leading to leaks and water damage.
Avoid common sealing mistakes like using too much sealant, which causes messy overflow, or too little, which leaves gaps. Always clean and dry surfaces before applying sealant to assure strong adhesion.
Use a steady hand to create a smooth, continuous bead around fixtures, preventing water from seeping behind them. Don’t forget to tool the sealant by smoothing it with a finger or tool for better contact and appearance.
Ignoring Plumbing Codes
Why do so many bathroom installations fail inspections? Often, it’s because people ignore plumbing codes. These codes exist to guarantee safety and functionality by following universal standards. Skipping them can lead to leaks, poor drainage, or costly rework.
To avoid this, keep these points in mind:
- Study local building codes: They vary, so don’t assume your installation fits every area.
- Use universal standards for fixtures: This ensures compatibility and long-term reliability.
- Schedule inspections early: Catch mistakes before closing walls or finishing surfaces.
Following building codes isn’t just bureaucracy. It protects your investment and prevents headaches down the road. Always prioritize compliance to ensure your bathroom works safely and efficiently for years to come.
How To Test And Troubleshoot Your New Bathroom Fixtures
Once you’ve installed your bathroom fixtures, you’ll want to make *certain* everything functions properly before finishing up. Start by turning on the water supply and checking for leaks around connections and seals. Test each fixture’s water flow to ensure proper pressure and temperature control.
Pay attention to fixture durability by gently operating parts like handles and valves; they should feel sturdy without excessive play. If you notice any drips or loose fittings, tighten them or replace faulty washers.
Next, assess material compatibility. Make sure all parts, such as seals and pipes, are suitable for your fixture’s materials to avoid corrosion or damage. If you experience issues like low water pressure or inconsistent temperature, inspect aerators and cartridges for debris or defects.
Don’t hesitate to consult the manufacturer’s guide for troubleshooting tips specific to your fixture model. By thoroughly testing and addressing problems early, you’ll ensure your bathroom fixtures perform reliably and last longer.
Frequently Asked Questions
What Is the Average Cost of Bathroom Fixture Installation?
The average cost of bathroom fixture installation usually ranges between $200 and $1,200, depending on cost factors like labor, fixture type, and bathroom size. You’ll find that material options also impact the price. Premium materials like brass or high-end porcelain will cost more than standard options.
If you choose simpler fixtures and standard materials, you can keep costs down. Always budget for unexpected expenses to avoid surprises during installation.
How Long Does a Typical Bathroom Fixture Installation Take?
A typical bathroom fixture installation usually takes about 2 to 4 hours, depending on the fixture and your experience. If you’re tackling it yourself, focus on DIY tips like gathering all tools beforehand and turning off the water supply.
Don’t skip safety precautions. Wear gloves and double-check connections to prevent leaks or injuries. Taking your time ensures a smooth installation and helps you avoid costly mistakes.
Can I Install Bathroom Fixtures Myself or Should I Hire a Professional?
Of course, you can totally install bathroom fixtures yourself because who doesn’t love DIY challenges like unexpected leaks or misaligned fittings? But if you want to skip headaches, consider the professional benefits: expertise, proper tools, and time saved.
Professionals spot problems you might miss and guarantee everything works perfectly. So while you can try it, hiring a pro often means less stress and a job done right the first time.
What Are the Best Brands for Durable Bathroom Fixtures?
You’ll want to check out luxury brands like Kohler and Delta if you’re after durable bathroom fixtures with a sleek finish. They offer long-lasting quality and stylish designs.
For budget options, consider American Standard or Glacier Bay. They balance affordability with reliability.
Choosing between luxury brands and budget options depends on your style and wallet, but both can provide fixtures that stand up to daily use without sacrificing function or look.
How Do I Recycle or Dispose of Old Bathroom Fixtures Responsibly?
Wondering how to handle old bathroom fixtures without harming the planet? Start by checking if local fixture recycling programs accept your items. They often take metal and porcelain parts.
You can also donate gently used fixtures to Habitat for Humanity or similar charities. If those options aren’t available, look for eco friendly disposal methods at waste facilities that specialize in construction debris.
Taking these steps guarantees your old fixtures don’t just end up in a landfill.
Conclusion
Installing your bathroom fixtures is like assembling the pieces of a puzzle. Each step matters to create a perfect fit. By preparing carefully, using the right tools, and following each step closely, you’ll avoid common mistakes and guarantee everything works smoothly.
Take your time sealing and testing your fixtures so your bathroom feels fresh and functional. With patience and attention, you’ll turn your space into a reliable, stylish oasis you can enjoy every day. Installing bathroom fixtures properly ensures your bathroom looks great and functions perfectly for years to come.