How to Clean Kitchen Appliances Safely
Keeping your kitchen appliances clean can feel like a never-ending chore. If you’ve ever struggled with stubborn grime, tricky controls, or worrying about damaging your devices, you’re not alone. Many people find it hard to balance effective cleaning with keeping their appliances safe and in good working order.
Unplug each appliance, let hot surfaces cool, and check its manual before cleaning. Use mild dish soap, warm water, microfiber cloths, and soft sponges; don’t spray liquids near controls, vents, or electrical parts.
Steam-clean microwaves, gently scrub ovens and stovetops, and wash refrigerator interiors with food-safe cleaners. Descale coffee makers and kettles as directed, keeping motor bases dry. Dry every component completely before reassembly, and inspect seals, filters, and cords regularly.
Keep going for appliance-specific techniques and prevention tips.
Key Takeaways
- Unplug appliances and let hot surfaces cool before cleaning. Keep cords, plugs, controls, vents, and electrical components dry.
- Use mild dish soap, warm water, microfiber cloths, and soft sponges. Avoid abrasive cleaners, steel wool, bleach, and harsh solvents.
- Follow the manufacturer’s instructions carefully. Remove only approved parts and confirm which components are dishwasher-safe.
- Clean spills, filters, seals, shelves, and removable components regularly. Then rinse and dry everything thoroughly before putting it back together.
- Descale coffee makers, kettles, and dishwashers as directed. Never mix vinegar or descaling products with bleach.
Gather Safe Cleaning Supplies for Appliances
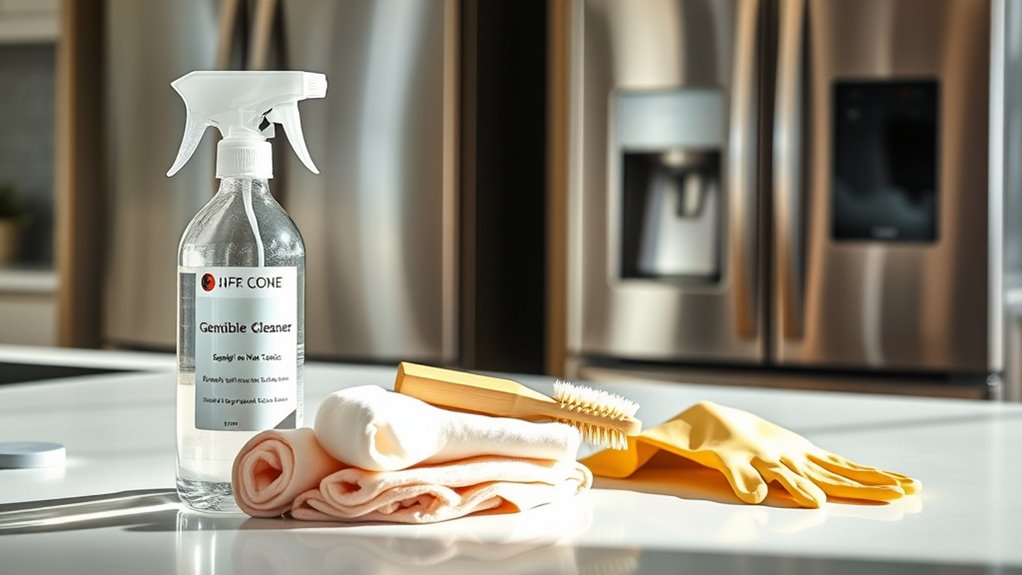
Before you start, gather mild dish soap, warm water, microfiber cloths, a soft sponge, an old toothbrush, and baking soda. Choose supplies that won’t scratch surfaces or leave harsh residues. For choosing eco-friendly supplies, select plant-based soap, reusable cloths, and biodegradable sponges when possible.
Check each product’s label, and avoid abrasive powders, steel wool, chlorine mixtures, and strong solvents unless your appliance guide specifically approves them. Prepare a small bucket or bowl for diluted soap, plus clean water for rinsing. Use separate cloths for washing and drying so you don’t spread grease or residue.
Check labels, avoid harsh cleaners, prepare diluted soap and rinse water, and use separate cloths for washing and drying.
Keep paper towels available for messy spills, but rely on washable materials for routine cleaning. Practice storing cleaning products safely. Keep soaps, powders, and sprays sealed, upright, and away from food, heat, children, and pets.
Never combine cleaners, especially products containing bleach, ammonia, or acids. Label homemade solutions with their ingredients and date, and discard them if they change smell, color, or texture.
Follow Appliance-Specific Electrical Safety Rules
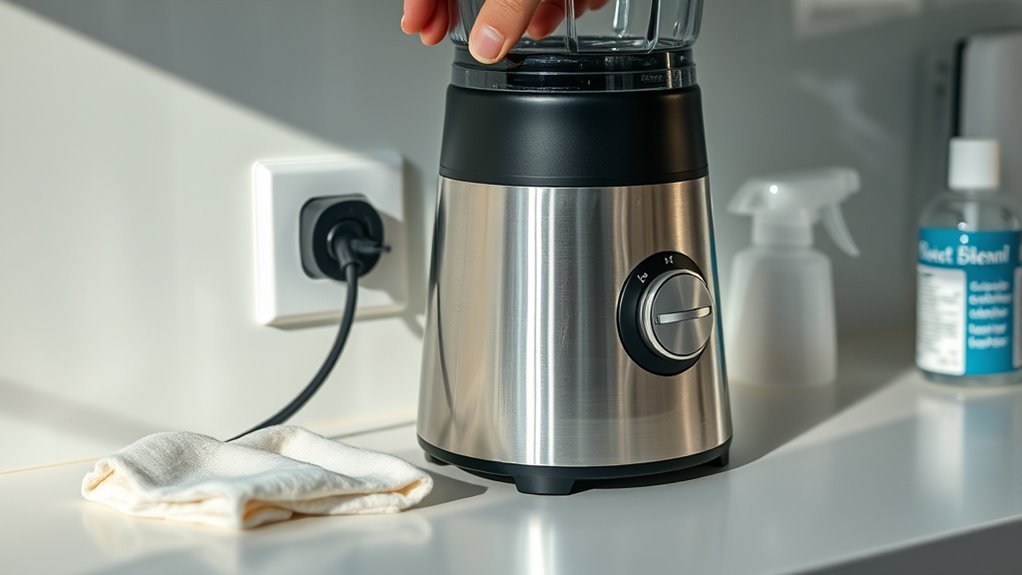
Unplug each appliance and check its manual for model-specific cleaning instructions before you touch electrical parts. Keep cords, plugs, outlets, and control panels dry. Never spray cleaner directly onto an appliance. Instead, apply a small amount to a cloth, then wipe carefully.
Don’t pull an appliance by its cord or use it with damaged wiring. Avoid handling plugs with wet hands. If a cord shows fraying, melting, or exposed wires, stop using the appliance and arrange professional repair or replacement. Never remove a grounding prong or bypass a safety switch.
Follow the manufacturer’s instructions for removable parts, grounding, ventilation, and access panels. Allow heating elements, motors, and other hot components to cool fully before cleaning. Keep water away from openings, vents, fans, and internal connections. These steps reduce electrical hazards and support reliable appliance maintenance.
If you’re unsure whether a part is safe to remove or wipe, don’t guess. Consult the manual or a qualified technician before proceeding.
Clean Your Microwave Without Damage
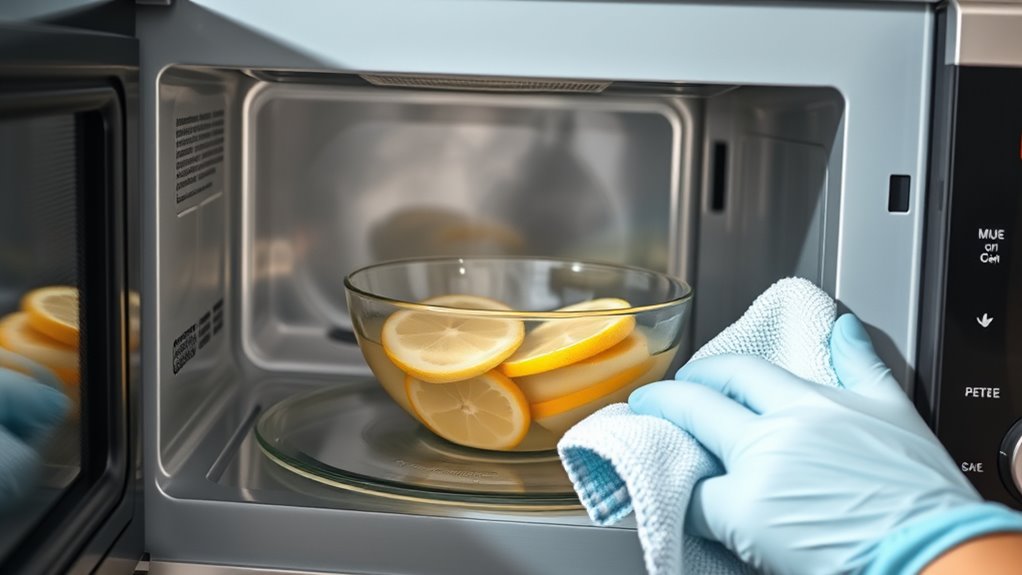
Once the microwave has cooled and you’ve followed its electrical safety instructions, start with the removable parts. Lift out the microwave turntable and support ring, then wash them in warm, soapy water. Dry everything completely before replacing it.
For safe steam cleaning, place a microwave-safe bowl containing one cup of water inside. Heat it for three to five minutes, then let the bowl sit for another five minutes. The softened residue should wipe away easily with a damp microfiber cloth. Don’t run the appliance empty, and don’t use metal, abrasive powders, or harsh chemicals. Keep moisture away from vents, controls, and the door seals.
| Area | Safe method | Avoid |
|---|---|---|
| Turntable | Wash and dry | Sudden temperature changes |
| Interior | Wipe after steaming | Scraping or soaking |
| Door seal | Use a damp cloth | Chemical cleaners |
Wipe the exterior gently, and leave the door open briefly so the interior can air-dry. Check that no crumbs remain around the seal before your next use.
Remove Grease From Ovens and Stovetops
To remove grease from ovens and stovetops, let the surfaces cool completely, then wipe away loose crumbs and spills with a dry cloth. For effective grease removal, mix warm water with a few drops of dish soap. Apply the solution with a soft sponge, scrub greasy areas gently, and rinse with a clean, damp cloth. Dry every surface to prevent streaks and rust.
For oven cleaning, remove racks and wash them separately in warm, soapy water. Spread a baking-soda paste over baked-on grease, avoiding heating elements, vents, and door seals. Let it sit for several hours or overnight, then loosen residue with a nonabrasive scraper and wipe thoroughly. Don’t use harsh chemicals unless your appliance’s manual approves them.
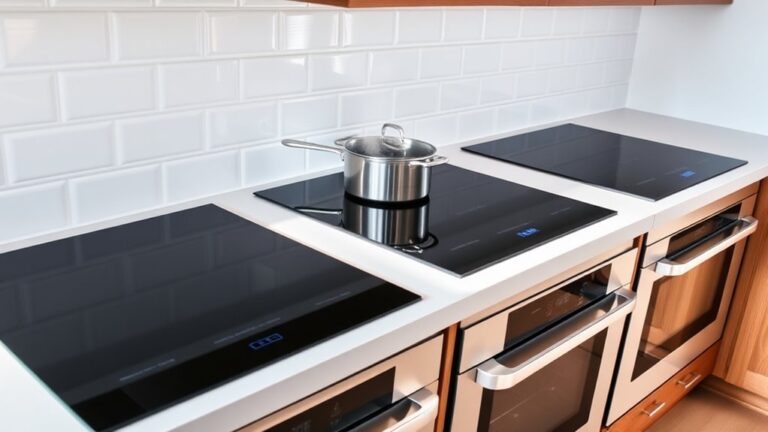
On glass stovetops, use a cleaner labeled for glass and a razor scraper designed for that surface. Avoid steel wool, abrasive powders, and excess water around controls. Reconnect power only after everything’s fully dry. Regularly wipe spills after cooking to keep buildup manageable.
Clean Refrigerators and Freezers Safely
To clean your refrigerator or freezer safely, start by unplugging it and taking out all the food. Then, use food-safe cleaners on the shelves, drawers, and all the surfaces. Make sure to dry everything thoroughly to keep mold and odors from developing.
Unplug Before Cleaning
Before cleaning a refrigerator or freezer, unplug it from the wall to prevent electric shock and protect the appliance from damage. Grip the plug firmly, and don’t pull the electrical cord to disconnect it.
Keep your hands dry, and check that the floor around the power outlet is free of water before reaching behind the appliance. Practice power outlet safety by inspecting the outlet for scorch marks, looseness, or other damage.
Complete an electrical cord inspection as well. Look for fraying, exposed wires, crushed sections, or a damaged plug. Don’t use the appliance if you notice any problem; contact a qualified technician instead.
After unplugging, secure the cord away from standing water and your work area. Wait several minutes before opening panels or removing accessible parts, and keep children away while you clean.
Use Food-Safe Cleaners
Choose a cleaner labeled food-safe, or mix equal parts warm water and white vinegar for routine refrigerator and freezer cleaning. Apply it with a clean microfiber cloth, then wipe shelves, drawers, walls, and door seals. Don’t spray directly near vents, controls, or electrical parts; dampen your cloth instead.
For stronger spills, use a small amount of unscented dish soap diluted in warm water, and rinse surfaces with a fresh damp cloth. Dry everything thoroughly before replacing food.
- Remove food and place perishables in a cooler.
- Take out removable shelves and bins.
- Wash each piece separately with cleaner and water.
- Follow the appliance manual for approved products.
Check ingredient labels carefully, because harsh chemicals can compromise food safety. Add interior cleaning to your cleaning schedules, especially after leaks or sticky spills. Never combine vinegar with bleach or other cleaners.
Prevent Mold And Odors
Keep refrigerators and freezers dry and well ventilated to prevent mold and odors. Check door seals regularly and replace cracked or loose gaskets that let warm, damp air inside.
Don’t overcrowd shelves; spacing between containers improves air circulation and keeps temperatures steady. Wipe spills immediately, especially around drawers, shelves, and door edges where moisture can hide.
Remove expired food weekly and store leftovers in sealed containers to limit smells and contamination. Unplug the appliance before deep cleaning, then wash removable parts with warm, soapy water and dry them completely.
Clean interior surfaces with a food-safe solution, avoiding harsh chemicals near food. Leave the doors open briefly after cleaning so moisture evaporates.
For extra mold prevention, keep a small box of baking soda inside and never store wet produce or damp containers.
Clean the Dishwasher Without Damaging Seals
Use a gentle approach when cleaning your dishwasher so its rubber seals remain watertight. Remove the racks and wipe loose debris from the door gasket, frame, and filter area with a soft, damp cloth. Avoid abrasive pads, knives, and stiff brushes because they can scratch surfaces or nick the gasket.
- Mix warm water with a small amount of mild dish soap.
- Wipe the seal’s folds, then rinse the cloth and remove soap residue.
- Clean the filter according to your manual, keeping harsh chemicals away from rubber parts.
- Dry the gasket and door edges completely before closing the dishwasher.
For effective seal protection, inspect the gasket for cracks, flattening, or trapped debris. Replace it if it no longer sits evenly. Check detergent compatibility before using any dishwasher cleaner since bleach, solvents, and concentrated degreasers may degrade rubber.
Don’t pour vinegar or other acidic cleaners onto seals repeatedly. Run the appliance’s recommended cleaning cycle only with products labeled safe for dishwashers and follow the manufacturer’s instructions.
Descale Coffee Makers and Electric Kettles
Mineral scale can build up inside coffee makers and electric kettles, affecting performance and leaving a chalky taste. For effective coffee maker maintenance, empty the machine, remove the filter, and fill the reservoir with equal parts white vinegar and water. Run half a brewing cycle, switch the machine off, and let the solution sit for 30 minutes.
Finish the cycle, then run two full cycles with fresh water. Check your manufacturer’s instructions first, since some models require a descaling product.
For kettle descaling, unplug the kettle and pour in equal parts vinegar and water, staying below the maximum-fill line. Let the solution sit for an hour, then boil it once if the manual permits.
Discard the mixture, rinse thoroughly, and boil fresh water twice before use. Wipe loose scale from the interior with a soft cloth, but don’t use abrasive pads or immerse electrical bases.
Descale both appliances regularly, especially when water is hard.
Clean Blenders, Mixers, and Toasters Safely
Before cleaning a blender or mixer, unplug it and separate removable parts from the motor housing. Rinse jars, bowls, lids, and beaters with warm water, then wash them with dish soap and a soft sponge. Handle blender blades carefully; never reach into sharp assemblies, and check your manufacturer’s instructions before removing them.
Keep the motor base and controls dry. Wipe them with a barely damp cloth, then dry immediately.
- Soak stubborn food on removable parts rather than scraping with metal tools.
- Wash mixer attachments individually, inspecting seams and locking points.
- Clean toaster crumb trays over a bin, then brush loose crumbs from slots.
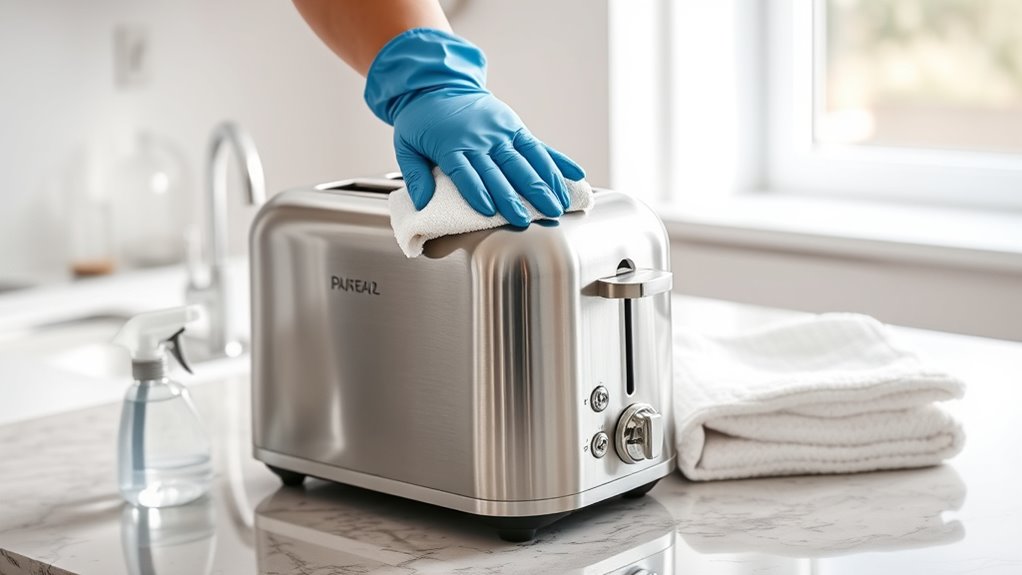
- Wipe the toaster exterior without spraying liquid into openings.
Never immerse a blender base, mixer motor, or toaster. Don’t insert knives, forks, or wet cloths into toaster slots.
Let every washable component dry completely before reassembly. Confirm blades, attachments, and lids lock securely, and keep cords away from water. Cleaning routinely helps appliances operate safely and smoothly.
Fix Odors, Residue, and Cleaning Problems
You can get rid of lingering odors by using a mild, appliance-safe cleaner and making sure to ventilate the area well. If you’re dealing with stubborn residue, try soaking any removable parts and then gently scrubbing them. To avoid cleaning problems in the future, just follow the care instructions for each appliance and make sure every component is completely dry before putting it back together.
Eliminate Lingering Odors
Lingering odors usually come from trapped food residue, grease, or moisture, so clean the affected surfaces and removable parts thoroughly. After washing, dry everything completely before reassembly; damp interiors encourage musty smells. Improve air quality by ventilating the room while you clean and keeping appliance doors open briefly afterward.
- Place a bowl of baking soda inside a refrigerator, microwave, or oven once it’s cool and empty.
- Simmer water with lemon slices in a microwave for several minutes, then wipe the interior dry.
- Run an empty dishwasher cycle with a manufacturer-approved deodorizing cleaner.
- Wash removable seals and trays with warm, soapy water, then air-dry them fully.
Don’t mix cleaners or use fragrances to mask odors. Check filters and replace them as directed. Regular odor control protects appliance longevity, prevents recurring smells, and keeps food from absorbing unwanted flavors.
Remove Stubborn Residue
When odors persist or buildup resists routine washing, target the residue causing the problem. Stubborn residue often hides around seals, hinges, blades, heating elements, and dispenser openings.
Unplug the appliance, remove detachable parts, and check the manufacturer’s instructions before applying any cleaner. Soak removable pieces in warm, soapy water, then loosen deposits with a soft brush or nonabrasive sponge.
For baked-on food, cover the spot with a damp cloth for several minutes before scrubbing gently. Use a paste of baking soda and water on compatible surfaces, but avoid abrasive powders, steel wool, and harsh chemicals that can scratch finishes or damage components.
Cotton swabs help reach narrow crevices. Rinse every cleaned part thoroughly and dry it completely before reassembly. If residue remains, repeat the treatment rather than scraping aggressively or mixing cleaners.
Prevent Cleaning Problems
Prevent cleaning problems by tackling odors and residue before they become entrenched. After each use, wipe spills, crumbs, and splashes from surfaces, seals, and handles. Leave appliance doors or lids open briefly so moisture can escape, then dry them completely.
Add these habits to your appliance maintenance routine:
- Empty drip trays, crumb drawers, and filters weekly.
- Wash removable parts with suitable soap, and rinse away every trace.
- Deodorize refrigerators and microwaves with baking soda, not harsh fragrances.
- Follow cleaning schedules for deep cleaning, filter replacement, and descaling.
Never mix cleaning chemicals, especially bleach and ammonia. Use manufacturer-approved products on stainless steel, nonstick coatings, and rubber gaskets.
If an odor persists, unplug the appliance and inspect hidden spills, clogged filters, or trapped food. Replace damaged seals promptly to prevent leaks, mold, and recurring residue.
Prevent Appliance Grease, Odors, and Scale
Simple habits can keep grease, odors, and mineral scale from building up in your kitchen appliances. Wipe spills and splatters as soon as you notice them, especially around stovetops, microwaves, and toaster ovens. After cooking, leave appliance doors open briefly so moisture and smells can escape.
Wipe spills promptly and air out appliances after cooking to prevent grease, odors, and moisture from building up.
Clean removable parts regularly, and dry them completely before reinstalling them.
For better appliance maintenance, create cleaning schedules that match each appliance’s use. Run an empty dishwasher cycle with white vinegar or a manufacturer-approved descaler to reduce mineral buildup, but don’t mix vinegar with bleach.
Empty your refrigerator’s old food promptly, wipe shelves weekly, and place an open box of baking soda inside to absorb odors. Clean coffee makers and kettles with the recommended descaling solution when water flow slows or residue appears.
Use range-hood filters as directed, and wash them before grease hardens. Check manufacturer instructions first, since some finishes and parts require specific cleaners. Consistent care keeps appliances fresher, safer, and easier to clean.
Frequently Asked Questions
How Often Should Kitchen Appliances Receive a Professional Inspection?
Schedule a professional inspection of your kitchen appliances at least once a year. You should arrange professional servicing sooner if you notice unusual noises, leaks, overheating, inconsistent performance, or damaged cords.
High-use appliances, gas equipment, and older models may need inspections every six months. Follow each manufacturer’s recommendations, too. Regular appliance maintenance helps you catch hazards early, improve efficiency, and extend equipment life.
Don’t attempt complex electrical or gas repairs yourself.
Which Cleaning Products Are Unsafe for Households With Pets?
Avoid bleach, ammonia, phenols, formaldehyde, and products containing essential oils such as tea tree or eucalyptus around pets. These substances can irritate lungs, burn paws, or cause poisoning when licked.
Choose pet-friendly cleaners labeled non-toxic, fragrance-free, and suitable for kitchens. Then ventilate the area and keep animals away until surfaces dry.
Read every label carefully, store products securely, and recognize toxic chemical risks, including drooling, vomiting, weakness, or breathing trouble.
Can Appliance Warranties Be Voided by Using Homemade Cleaning Solutions?
You can void an appliance warranty through homemade solutions, but it isn’t automatic. Read your warranty’s care requirements first, because manufacturers may deny claims when DIY cleaning causes damage, corrosion, or electrical problems.
Follow approved instructions and keep product labels, receipts, and service records. When uncertain, contact the manufacturer before cleaning. That small step can save you a headache and clarify your warranty implications, especially when DIY cleaning involves harsh or acidic ingredients.
How Should You Clean Appliance Exteriors Made From Specialty Materials?
For a specialty surface, you’ll need to follow the manufacturer’s care instructions before cleaning. Remove loose dust with a soft microfiber cloth, then wipe using a solution approved for that material.
Don’t use vinegar, bleach, abrasive pads, or untested homemade cleaners, which can stain, dull, or void coverage. If the instructions permit gentle abrasives, apply them sparingly and test first in a hidden area.
Dry thoroughly to prevent streaks, spotting, or corrosion.
When Should an Old Appliance Be Replaced Rather Than Cleaned?
Replace an old appliance when repairs cost nearly as much as a new model, performance remains unreliable, or safety problems persist after cleaning.
Check its appliance lifespan. Refrigerators, dishwashers, and ovens often last about 10 to 15 years, while smaller appliances may last less.
Watch for replacement indicators like frayed cords, gas leaks, rusted interiors, overheating, unusual noises, and unavailable parts.
If efficiency has declined markedly, you’ll likely save money and reduce risks by upgrading.
Conclusion
Safe appliance cleaning protects your food, home, and health. Unplug each device, follow its manual, and use gentle, appliance-safe products instead of excess water or harsh chemicals.
Tackle grease, scale, crumbs, and odors regularly so they don’t become stubborn problems. Small habits make a measurable difference. The U.S. Department of Energy says refrigerators account for about 4% of a typical home’s energy use.
Clean coils and seals can help your refrigerator work efficiently and safely every day. Keeping up with safe appliance cleaning ensures your kitchen runs smoothly and your appliances last longer.